Table of Contents
Advertisement
Quick Links
Advertisement
Table of Contents

Subscribe to Our Youtube Channel
Related Manuals for Dedicated Micros DM/ICE-HYPER-D


Summary of Contents for Dedicated Micros DM/ICE-HYPER-D
- Page 1 HyperDome Cameras DM/ICE-HYPER...
-
Page 2: Table Of Contents
Camera Settings ..........8 Quickstart ............11 Notes ..............14 Whilst every attempt is made to ensure these manuals are accurate and current, Dedicated Micros reserve the right to alter or modify the specification of the machine described herein without prejudice. Dedicated Micros ©2007... -
Page 3: Introduction
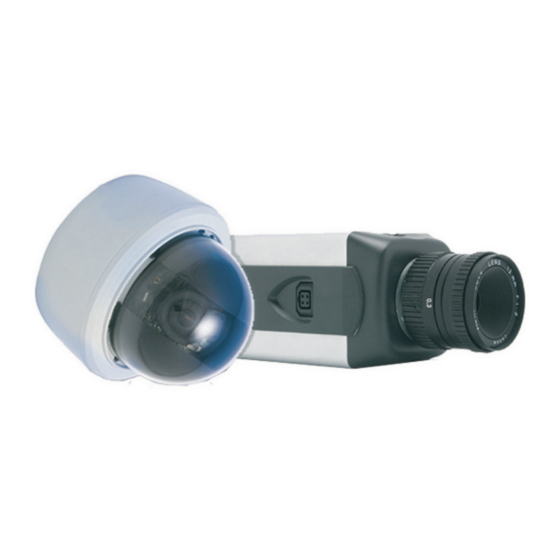
All cameras are fitted with a Direct Drive/Auto Iris lens connector, have adjustable back focus and can accept C and CS lenses. Models DM/ICE-HYPER-D Colour/Mono High Resolution 480 TVL 1/3” DPS™ 1.0 lux at F1.2 Dedicated Micros ©2007... -
Page 4: Important Safeguards
Connect the equipment into an outlet on a different circuit different to the receiver. Consult the dealer or an experienced radio/TV technician for help. Modifications not expressly approved by the manufacturer could void the user’s authority to operate the equipment under FCC rules. Dedicated Micros ©2007... -
Page 5: Camera Care
CCD sensor. The camera and lens set-up must be correct to avoid possible damage due to long term exposure to bright light. A lens with an automatic iris is recommended under these conditions. Dedicated Micros ©2007... -
Page 6: Installation
Optionally, adjust the camera for different lighting conditions and to cater for movement in the scene. The camera can also be adjusted for image stability during video switching. Reattach the shim, camera liner and dome cover. Dedicated Micros ©2007... -
Page 7: Surface Mount Installation
The camera assembly is adjustable in all three axes. Adjust the camera until it is pointing in the desired direction. FOV & Focus Use the levers on the varifocal lens to adjust the camera’s field of view, and focus. Dedicated Micros ©2007... -
Page 8: Camera Settings
In these situations, setting the White Balance Range to Wide corrects the white balance. PRO (default) This setting limits the white balance range to 2800 - 6500K. This provides a more accurate colour rendition. WIDE This setting extends the white balance range to 2500 - 9500K Dedicated Micros ©2007... - Page 9 0 or 525 120° (LL-Phase 2) 240° (LL-Phase 3) Setting the Camera Language Press button A until Language is selected and then press button B to select the language for the menu system from English, French, German, or Spanish. Dedicated Micros ©2007...
-
Page 10: Final Assy
Final Assy When all the connections and adjustments have been made, re-attach the camera liner and dome cover. Dedicated Micros ©2007... -
Page 11: Quickstart
Quickstart Dedicated Micros ©2007... - Page 12 Dedicated Micros ©2007...
- Page 13 Templates ø25mm(1”) 4.5mm( ”) 32.5mm(1 ”) 43mm(1 ”) ø4mm( ”) 43mm(1 ”) NOT TO SCALE Dedicated Micros ©2007...
-
Page 14: Notes
Notes Dedicated Micros ©2007... - Page 15 Quickstart ..............................11 Recess Mount Installation ..........................7 Setting the Camera Language........................9 Surface Mount Installation ..........................7 Synchronisation ............................. 9 Using AC Line Lock ............................9 Video Output Colour/Mono Mode ........................9 White Balance Range ............................ 8 Dedicated Micros ©2007...
- Page 16 Neckarstrafle 15, 23456 Hawthorne Blvd. 41836 Hückelhoven, Germany Suite 100, Torrance, CA 90505, USA Dedicated Micros France Dedicated Micros, Australia PTY. 9-13 rue du Moulinet 5/3 Packard Avenue, Castle Hill, 75013 Paris, France NSW 2154, Australia Dedicated Micros Slovenia Dedicated Micros, Asia PTY...
Need help?
Do you have a question about the DM/ICE-HYPER-D and is the answer not in the manual?
Questions and answers