Table of Contents
Advertisement
Quick Links
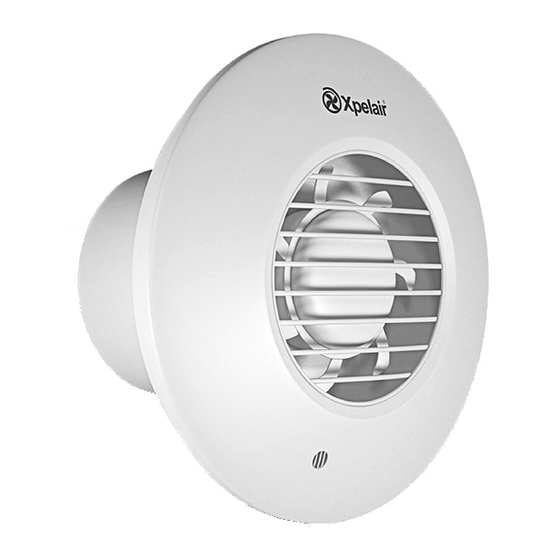
Xpelair Simply Silent Shower Fan SSSFC100
Installation and Maintenance Instructions
D
o read the entire instruction leaflet before commencing installation.
Do install each fan with a means for disconnection in all poles in the fixed wiring.
Do make sure the mains supply is switched off before attempting to make electrical connections or carry out any
maintenance or cleaning.
Please leave this leaflet with the fan for the benefit of the user.
Components:
1.
Simply Silent Shower Fan
2.
3m flexible 4" / 100mm ducting
3.
External fixed louvre grille with 2 x invisible screw covers
4.
5 x wall plugs
5.
5 x screws
6.
1 x self-adhesive foam strip for duct connection (if required)
UK customers:
If you have any queries before or after installing this product call the Xpelair Technical Hotline +44 (0) 844 372 7766.
Our engineers are there to help you during normal office hours. Or you can fax at all other times on +44 (0) 844 372 7767.
Customers outside the UK should contact your local Xpelair distributor.
Simply Silent Shower Fan
Advertisement
Table of Contents

Subscribe to Our Youtube Channel
Summary of Contents for Xpelair SSSFC100
- Page 1 UK customers: If you have any queries before or after installing this product call the Xpelair Technical Hotline +44 (0) 844 372 7766. Our engineers are there to help you during normal office hours. Or you can fax at all other times on +44 (0) 844 372 7767.
- Page 2 Cleaning and maintenance of the appliance shall not be made by children. The Xpelair Simply Silent Shower Fan SSSFC100 is an in-line axial fan designed to extract damp air from your room to the outside through the loft / ceiling space. The fan has the following features: ...
- Page 3 Back plate fixing positions Quickfix clamps...
- Page 4 Front Cover Removal Depress Cover Latch with tool & remove Cover Minimum 30 seconds Maximum 30 minutes Factory setting: Timer 15 minutes...
- Page 5 Wiring and setting up Where to locate the fan. Locate the fan where there is access from the ceiling for the ducting through the roof space and out through the soffit see Fig. A for general installation arrangement. At least 110mm from the edges of the mounting surface to the centre of the hole.
- Page 6 Installation For ceiling mounting the fan, you will also need: A 100mm diameter prepared hole. A 100mm diameter prepared hole for the external grille, ideally positioned to allow condensation to run away from the first bend in the duct towards the external grille. ...
- Page 7 Mount the external grille in the soffit 11. Align the grille centrally and squarely over the 100mm hole in the soffit and mark the positions of the two screw holes. Drill the two holes and insert suitable fixings. 12. Attach the external grille to the outer end of the flexible duct. Use the self-adhesive foam strip to seal the duct to the grille.
- Page 8 UK only: We, Redring Xpelair Group Limited, provide a guarantee against faulty parts and manufacture for a period of 2 years from the date of purchase. In the unlikely event of a product breakdown during the guarantee period the product should be returned to the place of purchase or to Redring Xpelair Group Limited.


Need help?
Do you have a question about the SSSFC100 and is the answer not in the manual?
Questions and answers