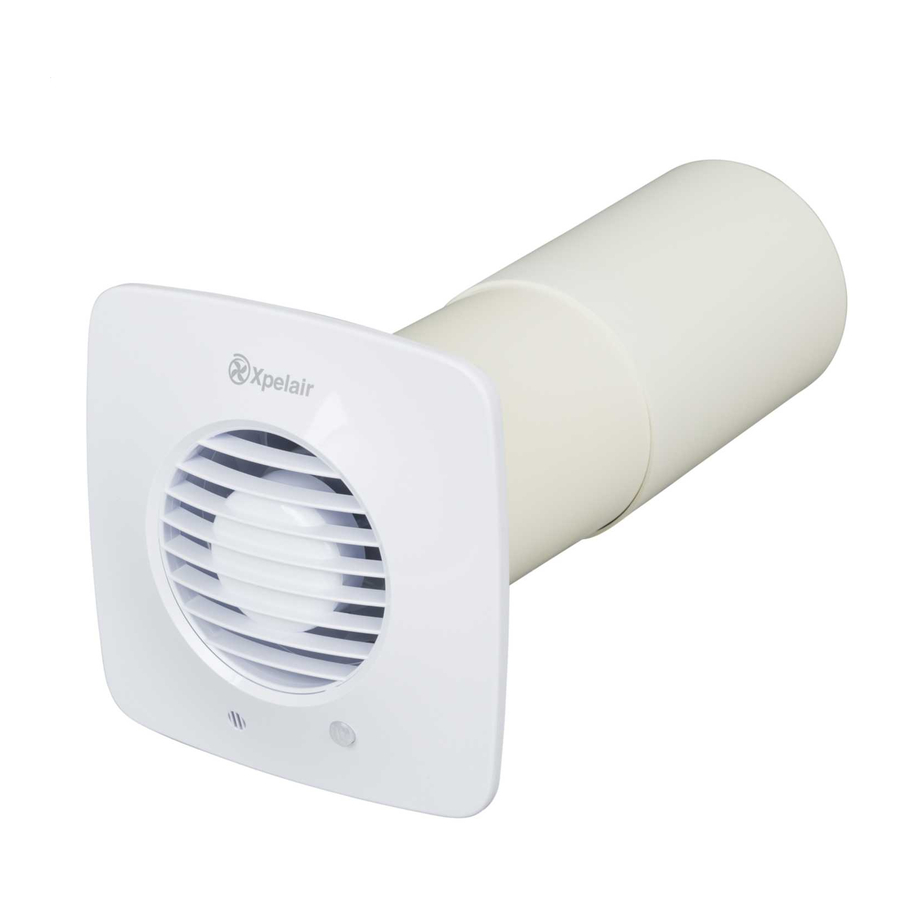
Xpelair DX100 Installation And Maintenance Instructions Manual
Toilet/bathroom 100mm/4" fan range
Hide thumbs
Also See for DX100:
Table of Contents
Advertisement
Advertisement
Table of Contents

Summary of Contents for Xpelair DX100
- Page 1 Installation and maintenance instructions DX100 Standard DX100PC Pull Cord DX100T Time DX100H Humidistat DX100HP Humidistat and Pull Cord DX100PIR Integral Body Movement Sensor DX100VTD Delay Timer Toilet/Bathroom 100mm/4" Fan Range Retain for future reference ®...
-
Page 2: Assembly
DX100PIR... -
Page 3: Using The Fan
DX100H & DX100HP DX100T DX100PIR... -
Page 4: Installing
• If installing in sealed double glazing, a specially manufactured unit should be obtained from the glazing manufacturer. You will also require a special kit, Xpelair Cat. ref. DXDG. • If installing in sash windows, you should mount the fan in the upper window. Secure the... -
Page 5: Preparing The Hole
WARNING : DO NOT MAKE ANY CONNECTIONS TO THE ELECTRICAL SUPPLY AT THIS STAGE. For Australia only (DX100, DX100PC. DX100HP & DX100PIR) Connection to the supply can be made by a flexible 2-core cable complete with 3 pin plug for... - Page 6 Xpelair necessary, positioning condensation trap as Toilet/Bathroom near to the fan as possible. If installing in a ceiling Fans DX100, 1. Check there are no buried pipes or cables DX100PC, DX100T, in the ceiling/joists etc. DX100H, DX100HP If in doubt, seek professional advise.
- Page 7 Using the fan DX100 & DX100VTD only • Operate the fan using the on/off switch. Repeat to switch off. DX100PC only •...


Need help?
Do you have a question about the DX100 and is the answer not in the manual?
Questions and answers