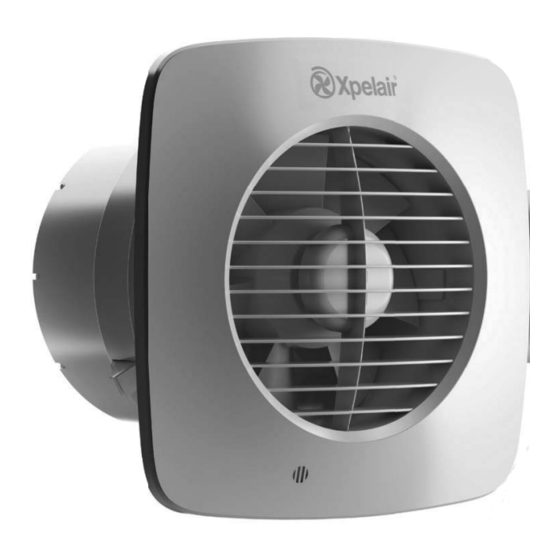
Summary of Contents for Xpelair Simply Silent SSGX150S
- Page 1 Xpelair Simply Silent ™ GX150 Window Fan Installation and Maintenance Instructions SSGX150S (93195AW) SSGX150PS (93222AW) SSGX150R (93196AW) SSGX150PR (93223AW)
-
Page 2: Installation And Maintenance Instructions
Installation and Maintenance Instructions Standard Pull Cord SSGX150S (93195AW) SSGX150PS (93222AW) SSGX150R (93196AW SSGX150PR (93223AW) • Do read the entire instruction leaflet before commencing installation. • Do install each fan with a means for disconnection in all poles in the fixed wiring. • Do make sure the mains supply is switched off before attempting to make electrical connections or carry out any maintenance or cleaning. • Please leave this leaflet with the fan for the benefit of the user. -
Page 3: Installation
Requirements of all authorities concerned must be observed for exhaust All Xpelair Simply Silent™ GX150 AC air discharge and intake flow rates. fans have the following features: • Two speed extraction • Not suitable for use in possible chemical (Selectable at installation) corrosive atmospheres. -
Page 4: Overall Dimensions (Mm)
Overall Dimensions (mm) Install Window Duct Assemble Gasket CLAMP SCREW REMOVE PAPER BACKING FROM SELF ADHESIVE GASKET STICK DUCT TO WINDOW, TIGHTEN SCREWS GENTLY TO SECURE DUCT IN WINDOW HOLE. NOTE LEVEL LINE AND ORIENTATION Install Fan Front cover removal SECURE FAN TO WINDOW DUCT WITH SCREWS PROVIDED DEPRESS COVER LATCH WITH TOOL & REMOVE COVER & BAFFLE COMPLETE... -
Page 5: Wiring And Setting Up
Wiring and Setting Up SHUTTER ACTUATOR SEE DETAIL A CONNECTIONS CUSTOMER CONNECTION TERMINAL DETAIL A SCALE 2.000 LOW SPEED HIGH SPEED SET JUMPER TO REQUIRED POSITION FOR SPEED SETTING Electrical Connections FUSE For fixed wiring circuits the protective fuse for the appliance must not exceed 5A. FROM SHUTTER ACTUATOR Either wire may be installed in either terminal for the shutter actuator to operate... -
Page 6: Fan Settings
If working above ground floor • If metal switch boxes are used, earthing level, safety precautions must regulations must be followed. be observed. • The cross-sectional area of the supply cord used should be ranged from 1-1.5mm². Fan installation • SSGX150S / SSGX150R / SSGX150PS / 1. Carefully insert the fan into the window duct. SSGX150PR – 2 core. 2. Feed the mains cable and shutter actuator 1. Check that the electrical rating shown cable through the cable entry hole in the inside the back-plate matches your back plate to the terminals. (See Figure E) - Page 7 2. Remove the front baffle assembly by Xpelair have a comprehensive range of services depressing the latch on the underside of the including: cover and pulling off the front baffle from the • Free technical advice help-desk from bottom. Engineers on all aspects of ventilation. 3. To clean the front baffle assembly, either • Free design service, quotations and site surveys. wipe it with a damp, lint free cloth or wash it • Service and maintenance contracts to suit all with warm soapy water. Thoroughly dry the requirements. front cover and refit. Please ask for details: 4. Do not immerse the fan in water or other • By telephone on Techline: +44 (0) 844 372 7766 liquids to clean any other parts of the fan. • By fax on Techfax: +44 (0) 844 372 7767 5. Do not use strong detergents, solvents or • At the address below chemical cleaners 6. Allow fan to dry thoroughly before use. Head Office, UK Sales Office and Spares 7. Apart from cleaning, no other maintenance is Redring Xpelair Group Ltd, Newcombe required.
- Page 8 Head Offi ce, UK Sales Offi ce and Spares Redring Xpelair Group Ltd, Newcombe House, Newcombe Way, Orton Southgate, Peterborough, PE2 6SE England Telephone: +44 (0) 844 372 7761 www.xpelair.co.uk www.xpelair.co.uk/international FM02118 ISO 9001: 2000 Part No: 26136AA...


Need help?
Do you have a question about the Simply Silent SSGX150S and is the answer not in the manual?
Questions and answers