Table of Contents
Advertisement
Advertisement
Table of Contents

Related Manuals for AirPro P2501


Summary of Contents for AirPro P2501
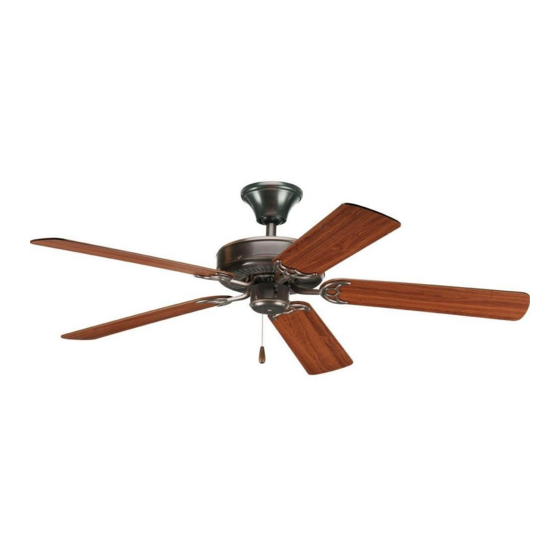
- Page 1 Ceiling Fan Installation Manual P2501...
- Page 2 PROGRESS LIGHTING 15-Year Limited Warranty PROGRESS LIGHTING FAN MOTORS ARE WARRANTED TO THE END USER TO BE Date Purchased FREE OF ELECTRICAL AND/OR MECHANICAL DEFECTS FOR A PERIOD OF 15 YEARS FROM DATE OF SALE. PULL CHAIN SWITCHES, REVERSE SWITCHES, Store Purchased CAPACITORS AND METAL FINISHES ARE WARRANTED FOR A PERIOD OF 1 YEAR.
-
Page 3: Table Of Contents
Safety Rules............................. Unpacking Your Fan ........................Installing Your Fan ........................... Operating Your Fan ........................Care of Your Fan ..........................Troubleshooting ..........................Specifications ..........................Table of Contents... -
Page 4: Safety Rules
1. To reduce the risk of electric shock, insure electricity has been turned Do not operate reversing switch while fan blades are in motion. Fan off at the circuit breaker or fuse box before beginning. must be turned off and blades stopped before reversing blade direction. -
Page 5: Unpacking Your Fan 2
Unpack your fan and check the contents. You should have the following items: a. Blade attachment hardware (16 screws) Set of blades (5) 5. Fan motor assembly b. Blade bracket attachment hardware 2. Mounting plate (located inside canopy) 6. Set of blades bracket (5) (11 screws with lock washers) 3. -
Page 6: Installing Your Fan
Figures 1,2 and 3 are examples of different Tools Required ways to mount the outlet box. Phillips screw driver, straight slot screw Provide strong support driver, adjustable wrench, step ladder, and wire cutters. Recessed Mounting Options outlet box If there isn't an existing UL listed mounting Ceiling box, then read the following instructions. -
Page 7: Hanging The Fan
5. Tighten two set screws on top of the fan O P T I O N 1 : S T A N D A R D C E I L I N G Hanging the Fan motor firmly. (Figure 6) MOUNTING REMEMBER to turn off the power, Follow 1. - Page 8 OPTION 2: CLOSE-TO-CEILING Installing Fan to the MOUNTING Screw with Electrical Box lock washer Motor collar (3 of 6 places) 1. Remove the mounting plate from the canopy by loosening the four screws on the top of the . Pass the 120-volt supply wires through the canopy.
-
Page 9: Making The Electrical Connections
Step 4 After connecting the wires, spread WARNING UL Listed them apart so that the green and white wires electrical WHEN USING THE STANDARD BALL/HANGER PIPE are on one side of the outlet box and the black MOUNTING, THE TAB IN THE RING AT THE BOTTOM OF wire is on the other side. -
Page 10: Finishing The Installation
2. Install the remaining two mounting WARNING Finishing the ELECTRICAL DIAGRAMS ARE FOR screws into the holes in the canopy and REFERENCE ONLY. OPTIONAL USE OF tighten firmly. Installation ANY LIGHT KIT SHALL BE UL LISTED AND MARKED SUITABLE FOR USE WITH 3. - Page 11 Blade blancing Attaching the Fan Screws Blade All blades are grouped by weight. Because Blades natural woods very in density, the fan may wobble even though the blades are weighed Rubber NOTE: Your fan blades are reversible. Select washer equally. the blade side finish which best accentuates Blade your decor.
-
Page 12: Operating Your Fan
WARNING NOTE TO REDUCE THE RISK OF PERSONAL INJURY, WAIT FOR FAN TO STOP BEFORE DO NOT BEND THE BLADE HOLDERS CHANGING THE SETTING OF THE WHILE INSTALLING, BALANCING THE SLIDE SWITCH. BLADES, OR CLEANING THE FAN. DO NOT INSERT FOREIGN OBJECTS BETWEEN Turn on the power and check the operation of ROTATING FAN BLADES. -
Page 13: Care Of Your Fan 10
Here are some suggestions to help you 3. You can apply a light coat of maintain your fan furniture polish to the wood blades for additional protection and enhanced 1 . B e c a u s e o f t h e f a n ' s n a t u r a l beauty. -
Page 14: Troubleshooting
Problem Solution Fan will not start. 1.Check circuit fuses or breakers. 2. Check line wire connections to the fan and switch wire connections in the switch housing. CAUTION: Make sure main power is off. Fan sounds noisy. 1. Make sure all motor housing screws are snug. 2. -
Page 15: Specifications 12
Fan Size Watts N.W. G.W. C.F. Speed Volts Amps Xxxx 52" Medium High These are approximate measures. They do not include Amps and Wattage used by the light kit. 2005 Progress Lighting Co. 101 Corporate Dr., Spartanburg, SC 29304-5704 All Rights Reserved Specifications 12.
Need help?
Do you have a question about the P2501 and is the answer not in the manual?
Questions and answers