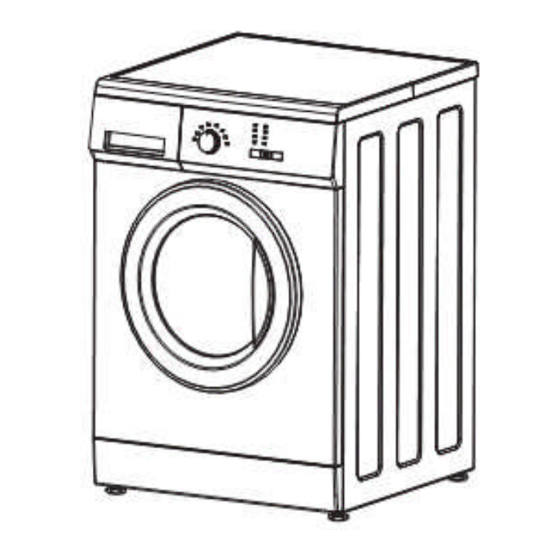
Galanz XQG60-A708E Service Manual
Hide thumbs
Also See for XQG60-A708E:
- Owner's manual (11 pages) ,
- After-sales service manual (58 pages)
Subscribe to Our Youtube Channel
Summary of Contents for Galanz XQG60-A708E
- Page 1 Service manual of 6.0kg front loading washing machine Please carefully read this manual before service, judge fault in order to work on the Repairs. Suitable Model number: Models XQG60-A708E...
- Page 2 Dismentle Guide--------------------------------------------------------------------------------------9 This manual is applicable to the production of Galanz automatic washing machine series, only for guiding maintenance, not as maintenance based on other brand or OEM product. For subsequent development and improvement, maybe some of washing machine parameters have been...
- Page 3 adjusted, specific to the washing machine practical parameters or product instruction 1. Safety Notices avoid harm or injure user and other’s life and property, the follow instructions about safety should be In order to seriously obeyed: Ignore the content. When wrong to use, use the following mark to classify and express the possible harm or damage degree.
- Page 4 ⒌Do not wash water-proof clothes such as raincoat\down jacket\shower curtain\sleeping bag ⒍Washer is for clothes that can be washed. Any question, please refer to the washing instruction on the clothes. XQG60-A708E ◆ energy-efficient washing The function is applicable for a small amount of clothes. Less water and electricity will be consumed.
- Page 5 3. installation 3.1、Remove all outer package, including the foam base, check if the machine is intact.Water drops may appear on the packing plastic bag and the glass of the observation window occasionally, they are condensation resulted from water testing before the product leaves the factory. It is normal. 3.2、Install according to the following order Transit bolts ●...
- Page 6 3.2.2、Inspection operation ① ②press power supple ③press Plugged in plug, connect inlet hose “start/pause” ④confirm inflow water ⑤confirm automatic corotation and reverse ⑥Close power, open power again, choose dewatering, then press”start/pause”. ⑦confirm drain away water and dewatering ⑨Close power Facia...
- Page 7 1. Program knob 2. temperature 3. start/pause 4.Power 4.Electrical diagrams circuit diagram...
- Page 8 5. Error indication & analysis...
- Page 9 5.1 error indication. Error Code Checking/Reason Settlement ◆Is thewater tap opening or water floe too slow? 1、Check the water tap close or ◆ Does sensor open and the water flow ● ● ◎ pressure air leakage? 2.Check the sensor pressure flooding water error (E1)...
- Page 10 Attention:1、●—indicate the light is off;◎—indicate the light is flicking 2、when the error occurs,all LED light are flickering except indicator light on the control panel. Those indicator lights can judge what kind of error by washing ,rinsing and drycleaning 5.2 Self-Examine Mode Press【K1】...
- Page 11 Attention:during the detection, for example: the failure occurs in the process of measurement, the machine will not conduct the following programs unless the problem has been solved and proceed the detection function again, it can finish all the detection function. During the detection,press button “start\pause”...
- Page 12 ①Remove the inlet hose and clip picture4 ①Remove the inlet hose(picture 4) Inlet valve ①Take of the inlet valve connection ②Remove two bolts from the back of the inlet valve ③Remove the hose clip and hose DOWN FRAME ① Using corns or screwdriver to open the bottom dam-board(picture 5), remove the one bolt ②Using the screwdriver to open the dam-borad(picture 5...
- Page 13 Pulley, motor and absorber ①Remove the back cover ②Loosen the big screw nut from the pulley and take out the belt ③Remove the pulley ①Take off the motor connection plug wire ②Remove two bolts from motor holder, and take out the motor bush.(picture 14) ③Follow the arrow to take off the motor (picture15) ④Ensure the bush is in the motor holder while reset the...
- Page 14 Heater Loosen the M6 bolt from heater. please do not compete loosen the bolt.(picture19) ②Pull out the heater Attention Ensure the heater has put into the clip Switch component and door lock ①Remove the front cover real ring spring (photo 7) Remove the 2 bolt from the fixed door lock (photo ③...
- Page 15 6.1.3 Inside door AS 6.1.4Outside door AS...
- Page 16 6.1.5 Control panel AS 6.1.6 Drum AS...
- Page 17 6.1.7 Drying AS(Attention:this picture only for the washer combine with dryer machine)...
- Page 18 6.1.8 Top Cover AS...
- Page 19 6.2 components exploded view...
- Page 20 10.2.1、Drum AS...


Need help?
Do you have a question about the XQG60-A708E and is the answer not in the manual?
Questions and answers