Erreka TORO KM1800 Quick Installation And Programming Manual
Hide thumbs
Also See for TORO KM1800:
- Quick installation and programming manual (30 pages) ,
- Installation manual (146 pages)
Advertisement
Quick Links
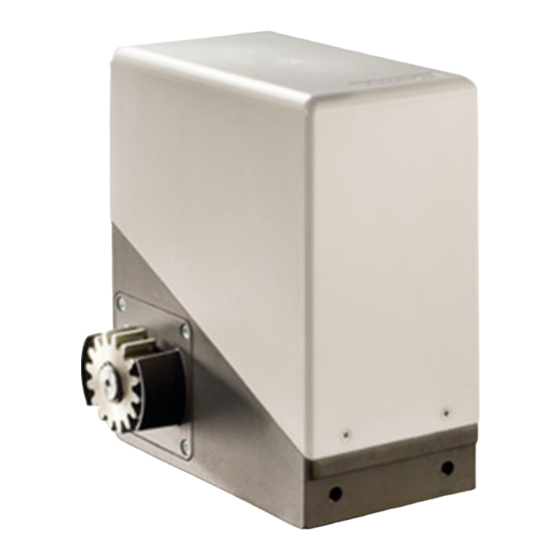
TORO
KM1800 / KM2500
Quick installation and programming guide
This quick guide is a summary of the complete installation manual. The manual contains safety warnings
IMPORTANT
and other explanations which must be taken into account. The installation manual can be downloaded by
NOTE
going to the "Downloads" section at the Erreka website:
http://www.erreka.com/Automatismos/descargaDocumentos.aspx
A1
Only the exterior control panel is
necessary for the KM2500. The KM1800
model has a built-in control panel.
Assembly levels (mm)
Elements of the complete installation
ELECTRICAL CABLING:
Element
A1: Main power supply
KM1800
A2: Main power supply
KM2500
B: Flashing light
C: Photocells (Tx / Rx)
D: Pushbutton/wall key
E: Operator KM2500 (motor/
limit switches)
F: Antenna
C160B
A2
Nº threads x section
2
3x1.5mm
2
5x1.5mm
2
2x0.5mm
2
2x0.5mm
/ 4x0.5mm
2
2x0.5mm
2
4x1.5mm
/ 3x0.5mm
Coaxial cable 50k (RG-58/U)
English
E160B
Maximum
length
30m
30m
20m
2
30m
50m
2
20m
5m
11
Advertisement

Related Manuals for Erreka TORO KM1800


Summary of Contents for Erreka TORO KM1800
- Page 1 This quick guide is a summary of the complete installation manual. The manual contains safety warnings IMPORTANT and other explanations which must be taken into account. The installation manual can be downloaded by NOTE going to the "Downloads" section at the Erreka website: http://www.erreka.com/Automatismos/descargaDocumentos.aspx Elements of the complete installation ...
- Page 2 KM1800: general connections (AP606 control panel) (photocells without testing) (photocells with testing) P160Z Turning direction: DIP7, DIP8, DIP10: Photocell testing: Press PUL1 (close) and PUL2 (open) to For the correct operation of the Opening photocells (SG.A): place DIP6 check the turning direction of the system, ensure DIP7, DIP8 and DIP10 in ON to enable testing.
- Page 3 KM1800: Total opening radio code programming (with RSD receiver only) 3 Place the DIPs as shown in the 5 Place DIP1 and DIP4 in OFF. If a receiver other than RSD is used, see the corresponding instructions. figure (DIP1=ON, DIP4=ON). DL3 DL3 remains off.
- Page 4 KM1800: function and mode selection using SW2 (DIP1 = OFF) Modes and functions Option Effect DIP1 the flashing light comes on and the operation begins after a 3 second warning DIP2 Advance warning the flashing light comes on and the operation begins immediately step-by-step opening (the gate halts if a key command is activated during opening, and closes if activated again)
- Page 5 KM2500: general connections (exterior control panel) The connection of the operator to the VIVO-T101 control panel is shown as an example. Check the control board instructions. VIVO-T101 KM2500 P1 P2 P3 P4 P5 P6 P15 P14 P16 P7 P8 P11 P12 P22 P23 G7 G8...
Need help?
Do you have a question about the TORO KM1800 and is the answer not in the manual?
Questions and answers