Advertisement
Quick Links
900
SITdefault
Saab 9-3 M03-
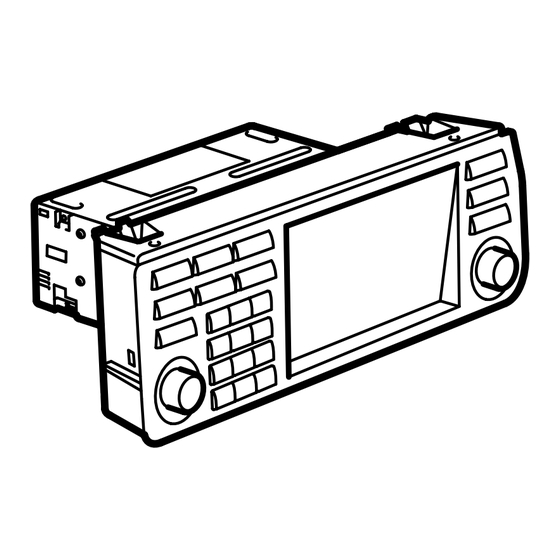
Navigation system
Accessories Part No.
12 787 151
12 788 472
12 801 752
12 801 753
MONTERINGSANVISNING · INSTALLATION INSTRUCTIONS
MONTAGEANLEITUNG · INSTRUCTIONS DE MONTAGE
Group
9:51-02
SCdefault
Installation instructions
Date
Instruction Part No.
Jan 03
12 801 443
Saab 9-3 M03-
Replaces
F930A120
Advertisement

Related Manuals for Saab 12 787 151


Summary of Contents for Saab 12 787 151
- Page 1 MONTAGEANLEITUNG · INSTRUCTIONS DE MONTAGE SITdefault Saab 9-3 M03- Navigation system Accessories Part No. Group Date Instruction Part No. Replaces 12 787 151 12 788 472 12 801 752 12 801 753 9:51-02 Jan 03 12 801 443 F930A120 Saab 9-3 M03-...
- Page 2 · 3 Fibre optic cable Bracket for baggage compartment equipment (certain cars), comprising: (x 2 in kit 12 787 151 and 12 788 472) – Bracket (x 1 in kit 12 801 752 and 12 801 753) – Screw (x3) 4 Wiring harness –...
-
Page 3: Bus Communication
AMP1 is an amplifier below the left-hand front seat tion. AMP2 is an amplifier by the rear fuse box CDC is a CD changer by the rear fuse box DVD is a DVD player by the rear fuse box Saab 9-3 M03-... - Page 4 OFF position. Following which the control module can be removed. 2 Open the hatchback. 3 Remove the battery's minus cable and take the key from the ignition. Saab 9-3 M03-...
- Page 5 12 Undo the screw from the C-pillar trim. Do not unscrew it completely as an expander is fitted to the screw which can be lost. 13 Remove the C-pillar trim by carefully pulling the trim forwards, together with the screw. Saab 9-3 M03-...
- Page 6 Use 82 93 474 Removal tool and prise out- wards. 17 Draw the courtesy handle straight out. 18 Undo the ceiling trim from the weatherstrip by the rear doors. 19 Carefully lower the ceiling at the rear edge so that the antenna can be reached. Saab 9-3 M03-...
- Page 7 25 Guide down the antenna cable alongside the C-pillar to the centre of the parcel shelf. The cable must be secured in the existing cable clamps. Cars with telematics unit in centre of parcel shelf: Connect the antenna cable to the telemat- ics unit. Saab 9-3 M03-...
- Page 8 26 Fit the ceiling trim above the rear doors' weatherstrip. 27 Press and fasten the rear courtesy handle securely into the end pieces. 28 Fit the high-level brake light cover and press and fasten the headlining clip. Saab 9-3 M03-...
- Page 9 · The cable should not lie against any sharp edg- es as this may cause increased signal reduc- tion. Saab 9-3 M03-...
- Page 10 38 Slide in the parcel shelf trim. Make sure the lugs fully engage the mountings in the parcel shelf plate. 39 Fit the clips to the parcel shelf trim. 40 Raise the backrest. Check that the backrest is locked. Saab 9-3 M03-...
- Page 11 45 Fit the anti-rattle tape around the connector. Cars where there is no bracket at the rear fuse box: Continue with step 46. Cars where the bracket at the rear fuse box is fitted: Continue with step 64. Saab 9-3 M03-...
- Page 12 50 Cars where there is no bracket at the rear fuse box: Draw the seat backwards so that the fitting hooks loosen from their positions. Fold the whole seat backwards. 51 Cars where there is no bracket at the rear fuse box: Remove the amplifier. Saab 9-3 M03-...
- Page 13 · The cable should not lie against any sharp edg- es as this may cause increased signal reduc- tion. Saab 9-3 M03-...
- Page 14 59 Cars where there is no bracket at the rear fuse box: Fit the cover on the cable duct, fold back the carpet and guide the connector and the cables out through the hole in the carpet. Saab 9-3 M03-...
- Page 15 62 Cars where there is no bracket at the rear fuse box: Move the seat backwards and reset the position of the backrest. 63 Cars where there is no bracket at the rear fuse box: Fit the scuff plate. Saab 9-3 M03-...
- Page 16 72 Fit the A-pillar trim. 73 Fit the scuff plate. 74 Cars where there is no bracket at the rear fuse box: Continue with step 75. Cars where the bracket at the rear fuse box is fitted: Continue with step 82. Saab 9-3 M03-...
- Page 17 The visible red light is a class 1 laser. Do not look directly into the optical fibre or the control module connector at close range. A distance of less than 20 mm between your eyes and the light source may cause eye injury. Saab 9-3 M03-...
- Page 18 82 Cars where the bracket at the rear fuse box is fitted: Remove the bracket and take it out in order to facilitate access. 83 Locate the connector for the DVD player at the rear fuse box. 84 Connect the kit's wiring harness to the connector. Saab 9-3 M03-...
- Page 19 88 Amplifier and/or CD changer is fitted: Fit one connection on one of the kit's fibre optic cables in position 2 in the kit's connector. Saab 9-3 M03-...
- Page 20 1 in the kit's connector where a fibre optic cable is already connected to position 2. Fit the lock. 93 Fit the small connector in the DVD player's connector. Saab 9-3 M03-...
- Page 21 96 Fit the lock tab. 97 Secure the fibre optic cables on the rear fuse box using two cable ties where one of which is fitted to the fibre optic cable which runs from the parcel shelf. Saab 9-3 M03-...
- Page 22 102Fit the hatch in the luggage compartment left- hand side trim and raise the hatch on the right- hand side. If the bracket for the DVD player was not fitted earlier then the new hatch must be fitted. 103Lower the luggage compartment floor. Saab 9-3 M03-...
- Page 23 The visible red light is a class 1 laser. Do not look directly into the optical fibre or the control module connector at close range. A distance of less than 20 mm between your eyes and the light source may cause eye injury. Saab 9-3 M03-...
- Page 24 111 Fit the blue marked fibre optic cable (which was not connected) behind the control panel to posi- tion 2. Fit the lock. 112 Fit the small connector to the large connector. Saab 9-3 M03-...
- Page 25 12 801 443 25 F930A142 113 Connect the connector to the kit's control panel. 114 Fit the control panel. 115 Position and fit the air vent. Saab 9-3 M03-...
- Page 26 Locate the unmarked connector with two cables. Connect the connector to the microphone. Fit the microphone on the right-hand side (LHD) or the left-hand side (RHD). Remove the piece of tape covering the opening for the microphone. Saab 9-3 M03-...
- Page 27 An audible confirmation will sound when activa- tion is complete. 126Cars where the left-hand front seat is electri- cally adjustable: Reset the position of the seat if it has been changed. Saab 9-3 M03-...
Need help?
Do you have a question about the 12 787 151 and is the answer not in the manual?
Questions and answers