Table of Contents
Advertisement
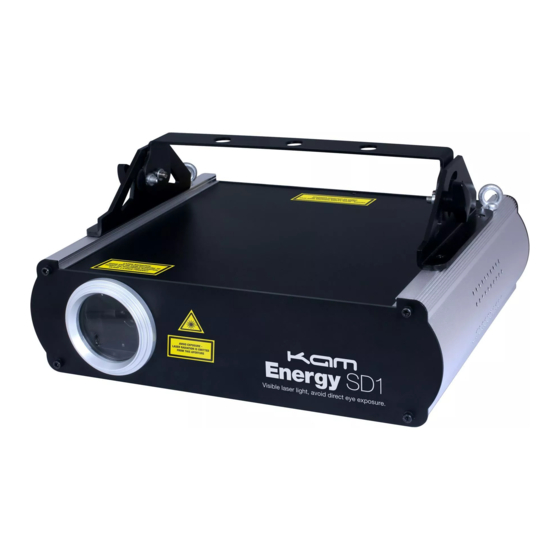
Energy SD1
Powerful colour animation laser
M
A
N
U
A
L
V
E
R
S
I
O
N
2
.
0
2 9 - 0 5 - 1 4
Please visit the Kam website Download Area to get custom created ILDA files
that you can download and add to an SD card to play on your Kam Energy SD1 laser!
For the latest instruction manual updates, the Laser Download Area and information on the entire Kam range visit:
www.kam.co.uk
Kam products are manufactured by: Lamba plc, Unit 1, Southfields Road, Dunstable, Bedfordshire, United Kingdom LU6 3EJ
Telephone: (+44) (0)1582 690600 • Fax: (+44) (0)1582 690400 • Email: mail@lambaplc.com • Web: www.lambaplc.com
If this product is ever no longer functional please take it to a recycling plant for environmentally friendly disposal.
Due to continuous product development, specifications and appearance are subject to change.
© Copyright Lamba plc 2014. E&OE.
Advertisement
Table of Contents

Related Manuals for KAM Energy SD1


Summary of Contents for KAM Energy SD1
- Page 1 Please visit the Kam website Download Area to get custom created ILDA files that you can download and add to an SD card to play on your Kam Energy SD1 laser! For the latest instruction manual updates, the Laser Download Area and information on the entire Kam range visit: www.kam.co.uk...
-
Page 2: Manufacturer Declarations
Thank you for purchasing this Kam product, we are sure that it will serve you for many years to come. To optimise it’s performance, please read these instructions carefully to familiarise yourself with the basic operations of the unit. Please retain them for future reference.This unit has been tested at the factory before being shipped to you. To prevent or reduce the risk of electrical shock or fire, do not expose the unit to rain or moisture. -
Page 3: Overhead Rigging
Laser safety warnings… Potential laser injury hazard exists with this product! Please read these instructions carefully, which include important information about installation, safe use and service! Caution Avoid direct eye contact with laser light. Never intentionally expose your eyes or others to direct laser radiation. Caution This laser product can potentially cause instant eye injury or blindness if laser light directly strikes the eyes. - Page 4 Front panel functions Number Feature Function Power indicator LED Illuminates red when the unit is turned on to show the unit is powered up. Sound indicator LED Flashes when an audio signal is received by the built-in microphone for reference. Laser output aperture The laser light is emmited from here.
- Page 5 Recommended operation settings The Kam Energy SD1 laser comprises of two main menus. The first menu (Projector setting menu) is accessed when the unit power is switched on (1) and the Menu control knob (9) is simultaneously rotated. The second menu is accessed when the unit has fully powered up and has pre-loaded its settings.
-
Page 6: Language Setting
Important: To access ALL the option in the secondary menu, ensure that you have selected Multi-colour in the Projector setting and set the Scanner rate to 20K and then Saved these options. This will allow you to change between all of the available settings in the secondary menu. - Page 7 ILDA show mode - This mode plays each individual animation on the SD card. It allows the user to cycle through each animation individually. To operate in this mode, select ILD show from the Mode menu, then scroll down and select Exit. All available ILDA files are then listed.
- Page 8 Built-in show mode - This mode plays the animations that are built into the hardware of the laser. To operate in this mode, select Built-in show from the Mode menu, then scroll down and select Exit. Rotate the Menu Control knob to view the available shows 1- 3.
- Page 9 Several operating modes were pre-programmed into the unit on DMX channel 1. Before controlling other DMX channels, please ensure that DMX channel 1 is set in it’s proper value. The Energy SD1 is configured in such a way that this unit can operate in 24 channels.
- Page 10 With DMX channel 1 the value being above 201, the laser becomes 24-channel operation set into two sections. The reason for the two sections is that this Energy SD1 laser will allow pattern shape overlay. DMX channels 3-14 give you full control on the first layer of patterns, 15-24 will give you full control of the second layer of patterns.
- Page 11 vertical 064-255 Bends, stretches and morphs the image shrinking CH11 000-063 Manually adjusts gradual redraw position gradual 064-255 Adjusts the speed of gradual redraw redraw CH12 000-255 Adjusts the pattern node clarity 000-007 Primary 008-015 016-023 Green 024-031 Yellow 032-039 Blue CH13 040-047...
-
Page 12: Product Specification
CH22 000-063 Manually adjusts gradual redraw position gradual 064-255 Adjusts the speed of gradual redraw redraw CH23 000-255 Adjusts the pattern node clarity 000-007 Primary 008-015 016-023 Green 024-031 Yellow 032-039 Blue CH24 040-047 Pink colour 048-055 Cyan 056-063 White 064-127 Colour rotation 128-191...
Need help?
Do you have a question about the Energy SD1 and is the answer not in the manual?
Questions and answers