Fluke 175 Calibration Information Manual
Hide thumbs
Also See for 175:
- User manual ,
- Calibration information manual (23 pages) ,
- Manual supplement (8 pages)
Table of Contents
Advertisement
Introduction
To avoid electric shock or injury, do not perform the performance tests or
calibration adjustment procedures unless qualified to do so.
The information provided in this document is for the use of qualified personnel only.
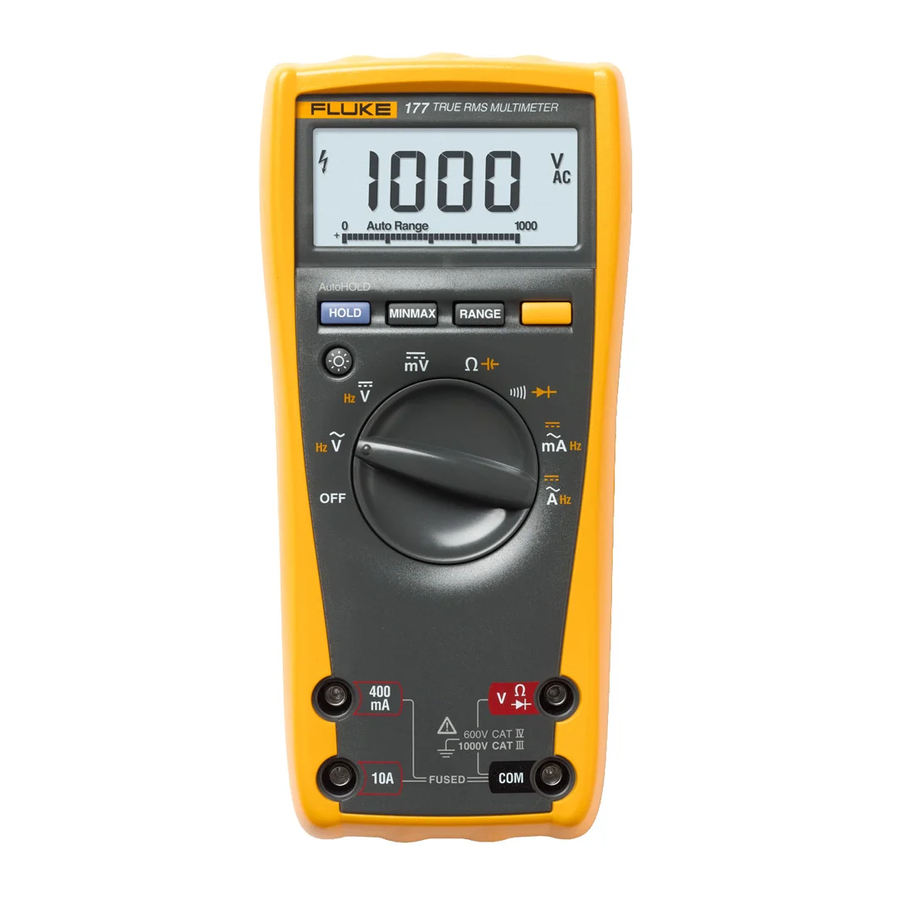
The 175, 177, 179 Calibration Information provides the information necessary to adjust and verify the
performance of the 175, 177, and 179 True-rms Multimeters (hereafter known as the Product).
The following information is included in this document:
Safety Information and International Electrical Symbols
Test Lead Alert
Specifications
Testing and Replacing the Fuses
Replacing the Battery
Cleaning
Replacing the LCD
Performance Tests
Calibration Adjustment
User-Replaceable Parts and Accessories
Complete Warranty
See the 175, 177, 179 Users Manual for complete operating instructions.
How to Contact Fluke
To contact Fluke, call one of the following telephone numbers:
Technical Support USA: 1-800-44-FLUKE (1-800-443-5853)
Calibration/Repair USA: 1-888-99-FLUKE (1-888-993-5853)
Canada: 1-800-36-FLUKE (1-800-363-5853)
Europe: +31-402-675-200
Japan: +81-3-6714-3114
Russia: +8-495-664-75-12
Singapore: +65-6799-5566
Anywhere in the world: +1-425-446-5500
Or, visit Fluke's website at www.fluke.com.
To register your product, visit http://register.fluke.com.
To view, print, or download the latest manual supplement, visit http://us.fluke.com/usen/support/manuals.
PN 1600476, March 2001, Rev. 6, 10/15
© 2011-2015 Fluke Corporation. All rights reserved. Specifications are subject to change without notice.
All product names are trademarks of their respective companies.
Calibration Information
Warning
175, 177, 179
True-rms Multimeters
1
Advertisement
Table of Contents

Related Manuals for Fluke 175


Summary of Contents for Fluke 175
-
Page 1: Calibration Information
The information provided in this document is for the use of qualified personnel only. The 175, 177, 179 Calibration Information provides the information necessary to adjust and verify the performance of the 175, 177, and 179 True-rms Multimeters (hereafter known as the Product). -
Page 2: Safety Information
175, 177, 179 Calibration Information Safety Information In this manual, a Warning identifies conditions and procedures that are dangerous to the user. A Caution identifies conditions and procedures that can cause damage to the Product or the equipment under test. - Page 3 True-rms Multimeters Symbols Replace the batteries when the low battery indicator shows to prevent incorrect measurements. Do not apply more than the rated voltage, between the terminals or between each terminal and earth ground. Measure a known voltage first to make sure that the Product operates correctly. ...
-
Page 4: Test Lead Alert
175, 177, 179 Calibration Information Test Lead Alert To remind you to check that the test leads are in the correct terminals, momentarily shows on the display when you move the rotary switch to or from the mA or A position. -
Page 5: Electrical Specifications
True-rms Multimeters Electrical Specifications Electrical Specifications Accuracy ( [ % of Reading ] Counts ] ) Function Range Resolution 600.0 mV 0.1 mV 1.0 % + 3 1.0 % + 3 1.0 % + 3 6.000 V 0.001 V (45 Hz to 500 Hz) (45 Hz to 500 Hz) (45 Hz to 500 Hz) -
Page 6: Test The Fuses
If the display shows a resistance value in the range shown in Figure 1, the fuse is good. If the display reads , replace the fuse and test again. If the display shows any other value, have the Product serviced. See How to Contact Fluke earlier in this manual. -
Page 7: Replace The Fuses
True-rms Multimeters Replace the Fuses aik12f.eps Figure 1. Test the Current Fuses Replace the Fuses Warning To prevent possible electrical shock, fire, personal injury, or damage to the Product: Remove the test leads and any input signals before replacing the fuse. ... -
Page 8: Maintenance
175, 177, 179 Calibration Information aik13f.eps Figure 2. Battery and Fuse Replacement Maintenance Warning To prevent possible electrical shock, fire, personal injury, or damage to the Product: Repair the Product before use if the battery leaks. Do not operate the Product with covers removed or the case open. Hazardous voltage exposure is possible. -
Page 9: Replace The Lcd
True-rms Multimeters Replace the LCD Replace the LCD Caution To prevent contamination, do not handle the conductive edges of the LCD or the LCD Elastomeric Connectors. If the edges are contaminated, clean them with alcohol. Allow the alcohol to dry before reassembling. -
Page 10: Performance Tests
In the performance tests, the Product is referred to as the unit under test (UUT). Required Equipment A Fluke 5500A Multi-Product Calibrator (or equivalent) is required for the performance test procedures in this document. If an equivalent calibrator is used, it must meet the accuracy specifications shown in Table 2. - Page 11 Having NO connection to the V input. 1. Set the UUT Rotary Switch to the position called for in Table 2 (175) or Table 3 (177/179), and for all measurements other than current (amps), connect the calibrator to the V and COM input terminals.
- Page 12 175, 177, 179 Calibration Information Table 3. Performance Tests 175 (continued) Product Response Test (Switch Position) 5500 Output Lower Limit Upper Limit 30 mV 29.8 mV dc 30.2 mV dc -300 mV -300.7 mV dc -299.3 mV dc DC Millivolts 600 mV 598.9 mV dc...
- Page 13 True-rms Multimeters Performance Tests Table 4. Performance Tests 177/179 Product Response Test (Switch Position) 5500 Output Lower Limit Upper Limit 300 mV 45 Hz 296.7 mV ac 303.3 mV ac 500 mV 500 Hz 494.7 mV ac 505.3 mV ac 500 mV 1 kHz 489.7 mV ac 510.3 mV ac...
- Page 14 175, 177, 179 Calibration Information Table 4. Performance Tests 177/179 (continued) Product Response Test (Switch Position) 5500 Output Lower Limit Upper Limit 500 495.3 504.7 5 k 4.954 k 5.046 k 50 k 49.54 k 50.46 k...
-
Page 15: Calibration Adjustment Procedure
True-rms Multimeters Calibration Adjustment Calibration Adjustment Perform the calibration adjustment procedures if the Product fails the performance test. The Product buttons behave as follows when the calibration mode is enabled: Press and hold to test the present function. This measurement is uncalibrated and may be ... - Page 16 175, 177, 179 Calibration Information The Product is damaged and requires service if: and messages continue to appear after a proper recalibration. and messages are alternating on the display. message appears on the display.
- Page 17 True-rms Multimeters Calibration Adjustment Table 5. Calibration Steps (continued) If the Product has a serial number from 83911001 to 83911240 or 84060001 and above, or if the model number flashes on the display at turn on, use the following steps. Function (Switch Position) Calibration Step Input Value...
-
Page 18: User-Replaceable Parts And Accessories
Switch Detent Spring 822643 Switch Knob 648706 Calibration Button 1564889 Lens 648714 [1] Fluke accessories are available from your authorized Fluke distributor. [2] To avoid shock, injury, or damage to the Product, use exact replacement only. - Page 19 True-rms Multimeters User-Replaceable Parts and Accessories aik16f.eps Figure 4. User-Replaceable Parts and Accessories...
- Page 20 Lifetime Limited Warranty Each Fluke 20, 70, 80, 170 and 180 Series DMM will be free from defects in material and workmanship for its lifetime. As used herein, “lifetime” is defined as seven years after Fluke discontinues manufacturing the product, but the warranty period shall be at least ten years from the date of purchase.
Need help?
Do you have a question about the 175 and is the answer not in the manual?
Questions and answers