Advertisement
Advertisement
Table of Contents

Related Manuals for Technibel AOV 15 S


Summary of Contents for Technibel AOV 15 S
- Page 1 NOTICE D'INSTALLATION INSTALLATION INSTRUCTIONS AO (V) AOV 15 S 15 GTS AOV 25 S 25 GTS AOV 55 55 GT AOV 85 CLIMATISEUR MONOBLOC A CONDENSATION PAR EAU SINGLE PACKAGED ROOM AIR CONDITIONER WITH WATER COOLED CONDENSER Octobre 2013 10 11 180 - F.GB - 09...
-
Page 2: Table Of Contents
MARKING This product marked conforms to the essential requirements of the Directives : - Low voltage no. 2006/95/EC, - Electromagnetic Compatibility no. 2004/108/EC. NOTE: This symbol mark and recycle system are applied only to EU countries and not applied to the countries in the other area of the world. -
Page 3: Introduction
1- INTRODUCTION • The equipment must be installed, started-up and maintained by authorised and qualified personnel, in accordance with local rules and professional standards. 1.1 - GENERAL SUPPLY CONDITIONS • Generally speaking, the material is transported at the consignee's risk. •... -
Page 4: Installation
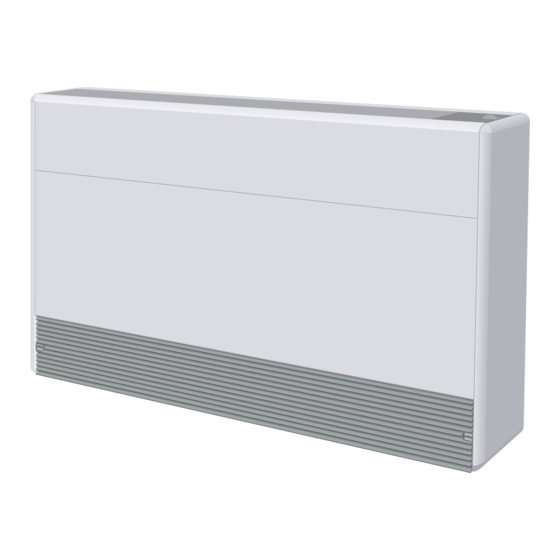
2.2 - WEIGHT • AO (V) 15 : 39 kg • AO (V) 25 : 60 kg • AO (V) 55 : 75 kg • AOV 85 : 100 kg 2.3 - DIMENSIONS Cut-out for pipes 60 x 110 AO (V) 15 AO (V) 25 AO (V) 55 (see instructions) -
Page 5: Choosing The Location
3.3 - REMOVING THE FAN ASSEMBLY • Remove the fastening screws. • Disconnect the loom at connector A. • Pull the fan assembly. 3.3 - CHOOSING THE LOCATION AVOID: • Putting the unit in very damp places. This unit is designed to be installed in sheltered rooms (IP 20). -
Page 6: Connections
3.5.3 - HORIZONTAL BLOWING • Remove the cabinet (see page 5). 1 - Remove the outlet grille (1) : undo the two clips (A) by turning them a quarter of a turn (using a screw driver or a coin). 2 - Remove the door (9) by pressing on the side to release the hinge pin (B). 3 - Remove the control panel (7) by taking out the two fastening screws (C). -
Page 7: Condensate Drain Connection
4.4.1 - STANDARD MODELS (with or without water valve) • For AOV 15 S, AOV 25 S and AOV 55, on single phase, connect it to a 16 A power supply plug (protected). • For AOV 85 (single and three phases), cable is provided without plug. They are to be connected to a protected power supply. -
Page 8: Accessories
5 - ACCESSORIES 5.1 - FOR FOLLOWING ACCESSORIES lease refer to instructions provided with each of them. • Wall support: - K 60 U 026 Z • Electric heater: - K 60 C 840 Z - K 60 C 841 Z - K 60 C 842 Z - K 60 C 843 Z •... - Page 9 B - Connections with "RAB 30" manual remote control - Code K 60 D 076 Z RAB 30 K 60 D 076 Z Phase Neutral Operating switch with fan speed selection Auto Cooling Temperature setting knob Heating Position of the SR bridge located inside the controller: - on SR1 = Permanent ventilation.
-
Page 10: Starting Up
6 - STARTING UP IMPORTANT Before doing any work on the installation, check that the power supply is switched off and secured. All operations must be carried out by personnel that are approved and qualified for this type of equipment. 6.1 - PRELIMINARY CHECKS 6.3 - START THE UNIT •... - Page 11 10 05 400 - 05 WIRING DIAGRAM AOV 15 S - AOV 25 S 230/1/50 NOTE 1 AOV 15 S Power supply 230/1/50-60 " AOV 25 S RW LW NW HP> NOTE 1 : Electric heater (accessory). RW LW NW NOTE 2 : Speeds connection.
- Page 12 10 05 311 - 03 WIRING DIAGRAM AOV 85 230/1/50 NOTE 1 Power supply 230/1/50-60 " S2 S3 S4 NOTE 1 : Electric heater (accessory). NOTE 2 : Speeds connection. HP> NOTE 2 " B3 2 3 4 5 6 7 WIRING DIAGRAM AOV 85 400/3N/50...
- Page 13 10 05 476 - 02 WIRING DIAGRAM AO 15 GTS 230/1/50 AO 15 GTS Heating power supply 230/1/50-60 Air-con. Power supply 230/1/50-60 " S2 S3 S4 Speeds connection AO 15 GTS B NW HP> 2 3 4 5 6 7 "...
- Page 16 Par souci d'amélioration constante, nos produits peuvent être modifiés sans préavis. Due to our policy of continuous development, our products are liable to modification without notice. Z.I. Route départementale 28 CS 40131 Reyrieux 01601 TRÉVOUX Cedex France Tél. 04 74 00 92 92 - Fax 04 74 00 42 00 Tel.
Need help?
Do you have a question about the AOV 15 S and is the answer not in the manual?
Questions and answers