
Related Manuals for ESP DigiView 8i


Summary of Contents for ESP DigiView 8i
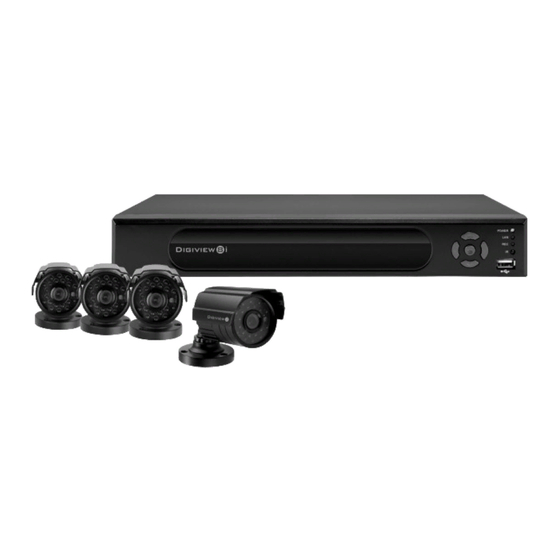
- Page 1 F248 Digiview8i Manual:Layout 2 29/7/11 13:58 Page 1 8 C H A N N E L N E T W O R K A B L E C C T V S Y S T E M W I T H I N T E G R A L 5 0 0 G B H A R D D R I V E U S E R M A N U A L...
-
Page 2: Safety Notice
F248 Digiview8i Manual:Layout 2 29/7/11 13:58 Page 2 SAFETY NOTICE IMPORTANT PRECAUTIONS! HIGH VOLTAGE HAZARD! HIGH VOLTAGE INSIDE! • Please keep this manual for later use. • Please strictly comply with the warning indications on the machine and in this book. -
Page 3: Table Of Contents
F248 Digiview8i Manual:Layout 2 29/7/11 13:58 Page 3 Contents Front panel layout ..........4 Rear panel layout . -
Page 4: Front Panel Layout
F248 Digiview8i Manual:Layout 2 29/7/11 13:58 Page 4 Front Panel FUNCTION LED COLOUR Main power on Blue Network connection on Green Recording status on Remote control receiver Keys Control keys for main menu navigation USB input for Mouse control or back up... -
Page 5: Rear Panel Layout
F248 Digiview8i Manual:Layout 2 29/7/11 13:58 Page 5 Rear Panel No. interface ID Description VIDEO IN Video input BNC connectors x 8 Ground column VIDEO OUT Video output BNC AUDIO-IN Audio in AUDIO-OUT Audio out OFF/ON Power switch NET/LAN Network Interface RS485 RS485 Interface DC-12V... -
Page 6: Basic Operations
F248 Digiview8i Manual:Layout 2 29/7/11 13:58 Page 6 Basic operations POWER ON Plug the lead from the 5-way power supply marked DVR into the 12VDC power supply input of the DVR. Turn on the DVR at the power switch located on the rear panel. The Power supply indicator light ( Blue) will illuminate on the DVR front panel followed by a short bleep. -
Page 7: Controls
F248 Digiview8i Manual:Layout 2 29/7/11 13:58 Page 7 Controls Right click the mouse anywhere on screen to activate the control menu selections. Selecting main menu will automatically show the SYSTEM LOGIN screen. The default settings are User Name: Admin Password: leave blank Once logged in you may now right click again to access your menu selections. -
Page 8: Playing Back A Recording
F248 Digiview8i Manual:Layout 2 29/7/11 13:58 Page 8 PLAYING BACK A RECORDING To view recorded data right click anywhere on screen and enter playback directly from the menu. The playback screen can also be found in the main menu shortcuts record > Playback. -
Page 9: Alarm Input And Output
F248 Digiview8i Manual:Layout 2 29/7/11 13:58 Page 9 Type Do you wish to back up all recorded material or recordings made from specific triggers such as alarm or motion detection events. Channel Select the channels that you wish to back up. Start Time Select the start date and time of the desired back up. -
Page 10: System
F248 Digiview8i Manual:Layout 2 29/7/11 13:58 Page 10 System The system sections allows configuration of much of the general functionality of the DVR. General Setting time and date, Language and machine identification details. Encode Each channel can be configured for recording resolution, frame rate and picture quality. -
Page 11: Remote Viewing
F248 Digiview8i Manual:Layout 2 29/7/11 13:58 Page 11 INFO HDD Info Information on Hard drive including HDD type . Space left on drive quoted both a capacity or record time left according to record settings. Live display of Specific KB/S and MB/H rate per channel. Time and dated data log of all major users and system functions. - Page 12 F248 Digiview8i Manual:Layout 2 29/7/11 13:58 Page 12 LOCAL NETWORK VIEWING - INTERNET EXPLORER After connecting your DVR to the network, your PC ‘Web browser’ (internet explorer) can be used for local or remote viewing. Step 1 Open web browser on a local PC (same premises as DVR), then enter the DVRs IP address and ‘HTTP port’...
- Page 13 F248 Digiview8i Manual:Layout 2 29/7/11 13:58 Page 13 Viewing your cameras Choose and click a viewing window on the left hand side where you wish to display your first camera. Next, pick a camera from the right hand list and double click it. The camera you have chosen will now be displayed in the left hand window.
-
Page 14: Troubleshooting
F248 Digiview8i Manual:Layout 2 29/7/11 13:58 Page 14 Troubleshooting The DVR cannot boot up normally. Real-time image problems such as the image color or the brightness distortion. Possible reasons are as follows: Possible reasons are as follows 1 The power supply is not correctly connected. - Page 15 F248 Digiview8i Manual:Layout 2 29/7/11 13:58 Page 15 There is audio signal in the surveillance Network connection is not stable. window but no audio signal in playback Possible reasons are as followed: Possible reasons are as followed: 1 Network is not stable. 1 Setting issues: the audio option is not chosen.
-
Page 16: Technical Support
F248 Digiview8i Manual:Layout 2 29/7/11 13:58 Page 16 Technical Support 01527 515145 Elite Security Products Telephone: 01527 515150 Unit 7, Target Park, Shawbank Rd Technical Support: 01527 515145 Lakeside, Redditch B98 8YN email: info@espuk.com...
Need help?
Do you have a question about the DigiView 8i and is the answer not in the manual?
Questions and answers