Table of Contents
Advertisement
Quick Links
Quick Guide
8CH / 16CH Full HD NVR
Rear View
Installation
CAM1-CAM8
WAN(UPLINK)
AUDIO IN
ALARM OUT
RS-485
Power Switch
Basic Layout
IP Camera
Network
DMS,
Attached
Web viewer
Storage
Mobile Viewer
(for backup)
Full HD monitor
Output for two monitors at the same time is not supported. Ether one of HDMI and VGA
output to one monitor is available.
Signal connection for POS and ATM is scheduled to be upgraded later.
Ethernet ports used for connecting the network cameras.
Network ports for connection to the internet, router or hub.
Microphone connection port.
Alarm Out port.
Communication port for connecting peripherals such as system
keyboards.
Power switch of the NVR.
Plug the power cord and turn this switch on
IP camera
External Hub
External eSATA
Storage
Microphone
Sensor
Control
Device
Speaker
POS
ATM
Access
controller
No.
AC input
RS-232C
ALARM IN
AUDIO OUT
USB
eSATA
VGA
HD MONITOR
LAN(DOWNLINK)
Connecting the camera
CAM 1-8 CH
Alarm
If the IP camera provides the alarm I/O port or Audio I/O port, you can make alarm or audio
connection. For more details, refer to the user manual of the IP camera.
Item
Description
NVR power input port. 100-240V AC, 50/60Hz
Signal connection port for POS and ATM.
Scheduled to be upgraded.
Alarm input signal port.
Port for speaker connection.
Port for connecting USB devices. (For mouse, backup device or
firmware upgrading)
Connection port for external SATA storage (HDD).
VGA video output port.
Port for connecting a full HD (1920x1080) supported monitor.
Use the HDMI cable to connect with a 1080p 60Hz monitor.
Exclusive Port dedicated to connect the NVR Hub.
Do not share with other device.
CAM 9-16 CH
IP camera
Extender Hub
(Only for 16 Channel NVR)
Advertisement
Table of Contents

Subscribe to Our Youtube Channel
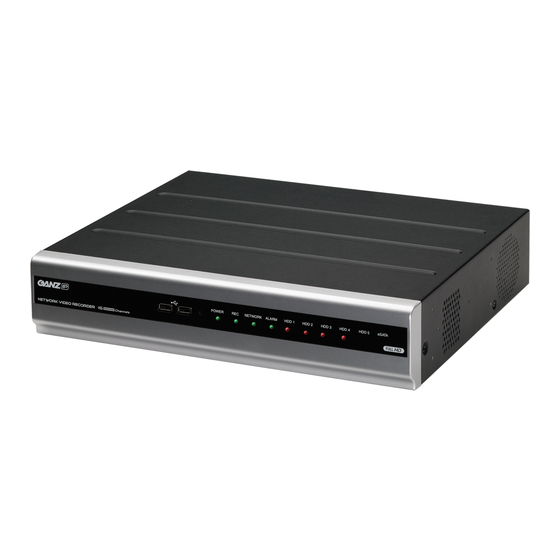
Summary of Contents for Ganz PixelMaster PRO NR16H
-
Page 1: Quick Guide
Quick Guide 8CH / 16CH Full HD NVR Rear View Item Description Installation NVR power input port. 100-240V AC, 50/60Hz AC input Signal connection port for POS and ATM. RS-232C Scheduled to be upgraded. Alarm input signal port. ALARM IN Port for speaker connection. - Page 2 [テキストを入力] Network Connection To access the Viewer Network setting Broadband Router Open the browser and enter the IP address of NVR, or enter the URL address in the address bar. (ex) if you use the DDNS of the NVR http://0015f123456.dvrlink.net.8080 if you do use the IP address of the NVR: http://192.168.1.116:8080 ADSL Modem...
-
Page 3: Time Search
Automatic Recording Setting >ALARM RECORD : Recording will proceed only if alarm event occurs. Recording >MOTION/ALARM RECORD : Recording will proceed only if a motion is detected or an alarm event occurs. >INTENSIVE MOTION RECORD : Normally recording will be performed in a low quality. However, the quality will switch to high if a motion is detected. -
Page 4: Live Screen
[テキストを入力] Log In Live Screen Network Connection Video Window Quick Menu Timeline Getting Started When the system starts, the login screen appears. Select the user ID and enter the password. The default user ID is "ADMIN"; the default password is "1234". Click<OK>.


Need help?
Do you have a question about the PixelMaster PRO NR16H and is the answer not in the manual?
Questions and answers