Table of Contents
Advertisement
Quick Links
Advertisement
Table of Contents

Subscribe to Our Youtube Channel
Related Manuals for Kleenmaid OMF6010


Summary of Contents for Kleenmaid OMF6010
- Page 4 Dear Customer, we would like to thank you and congratulate you on your choice. This new product has been carefully designed and built using top quality materials, and meticulously tested to ensure that it meets all your culinary requirements. Please read and observe these simple instructions, which will enable you to achieve excellent results from the very first time you use it.
-
Page 5: Table Of Contents
Contents User instructions, 6 First use, 6 Control panel, 7 Instructions for use: - conventional cooking, 7 - fan cooking, 7 - defrosting, 7 - grill cooking, 8 Cooling fan, 8 Thermostat, 8 Timer touch control, 9 IMPORTANT Setting the clock, 9 The oven’s data plate is accessible even Minute counter,9 Cooking time, 9... -
Page 6: User Instructions
User instructions The first time you use the oven Clean the oven thoroughly with soapy water and rinse well. To remove the lateral frames from smooth-walled ovens, proceed as shown in the figure. Operate the oven for about 30 minutes at maximum temperature to burn off all traces of grease which might otherwise create unpleasant smells when cooking. -
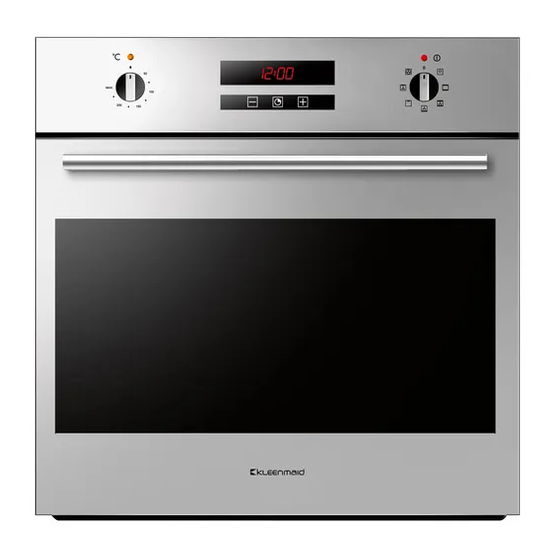
Page 7: Control Panel
Control panel functions Instructions for use Function symbols on the selector Conventional cooking Oven light (stays on while oven is in use). Conventional cooking uses top and bottom heat to cook a single dish. Place the food in the oven only once cooking temperature Top and bottom heating elements. -
Page 8: Grill Cooking
the fan starts working after approx.10 min. It is turned off when the temperature of the outer shell of the oven falls below 60°C. By switching off the oven with the thermostat at 200°C the fan stops working after approx. 30 min. Thermostat Use the thermostat to set the cooking temperature you need. -
Page 9: Timer Touch Control
Timer touch control Minute counter Setting the clock Fig. 2 Fig. 1 As this minute counter does not control the oven, when it finishes counting the oven will continue to work. “Auto” and “0:00” will start flashing when the unit is To set, press the central button for 3 seconds until switched on for the first time. -
Page 10: Programming Automatic Cooking
Replacing the oven light Programming automatic cooking IMPORTANT: The oven light must be the correct specification a) it must be able to resist high temp (up to 300°C) b) 240v c) power 25W d) E14 connection. Before proceeding, disconnect the appliance from the main electricity supply. - To prevent damage, place a tea cloth in the oven;... -
Page 11: Removing The Oven Door
Removing the oven door The oven door can be removed quickly and easily. To do so, proceed as follows: - Open the door fully. - Lift the two levers shown in fig. - Close the door as far as the first stop (caused by the raised levers). -
Page 12: Installation Instructions
Installation instructions Flush fitting The oven can be installed under a work top or in a cooking column. Figure shows the installation dimensions. Make sure that surrounding materials are heat resistant. Align the oven centrally with respect to the side walls of the units surrounding it and fix it in place with the screws and Allen screws provided. -
Page 13: Electrical Connections
Electrical connections Before connecting the oven to the mains power supply, make sure that: - The supply voltage corresponds to the specifications on the data plate on the front of the oven. - The mains supply has an efficient earth (ground) connection complying with all applicable laws and regulations.
Need help?
Do you have a question about the OMF6010 and is the answer not in the manual?
Questions and answers