Table of Contents
Advertisement
Quick Links
Advertisement
Table of Contents

Related Manuals for Matsui MFI60


Summary of Contents for Matsui MFI60
- Page 1 MFI60...
-
Page 2: Installation Preparation
Notes ● Carefully read this manual before installation Reading this manual will help to understand the connections of inlet, drain hoses and power cord, and to find a optimal position for the dishwasher. The installation of the pipes Electrical Shock Hazard and electrical equipment Disconnect electrical power before carrying out any re-wiring. - Page 3 【Figure1】 90 ° 90 ° Cabinet dimensions Less than 5mm 820mm between the top of dishwasher and 580mm Electrical, drain and cabinet and the water supply line entrances outer door aligned to cabinet. Space between cabinet bottom and floor 600 mm 【Figure2】...
- Page 4 Installation of the aesthetic panel ● To help assist the installation of the aesthetic panel a template has been provided to show where the bracket and holes need to be marked. Measure the corresponding dimentions on the template. Align the template card to one edge of the door.
- Page 5 Install the hook on the aesthetic wooden panel and put the hook into the slot of the outer door of dishwasher(see Figure 4a). After positioning of the panel, fix the panel onto the outer door using the screws provided(see Figure 4b) . Hop hook 【Figure4a】...
- Page 6 Make sure your plumbing is suitable to install First connect water inlet hose to your dishwasher Ensure black rubber seal is your new dishwasher. If in doubt contact a in place. qualified plumber. Then connect the straight end to your water mains supply Ensure black rubber seal is in place.
-
Page 7: Tension Adjustment Of The Door Spring
Tension adjustment of the door spring ● The door springs are set at the factory to the proper tension for the outer door. If aesthetic panel is installed, you will have to adjust the door spring tension. Rotate the adjusting screw to drive the adjustor to strain or relax the steel cable (see Figure 5). -
Page 8: Dishwasher Installation Steps
Dishwasher installation steps ● Install the aesthetic door to the outer door of the dishwasher using the brackets provided. Refer to the template for positioning of the brackets. Adjust the tension of the door springs by using an Allen key turning in a clockwise motion to tighten the left and right door springs. -
Page 9: Installation The Plinth
Installation the plinth ● 1 Unscrew the two screws and adjust the distance of left and right plinth tab to your need. The adjustable range is from 39mm to 134mm. [Figure a] [Figure a] 2 Fix the plinth on the plinth tab. According to your need to adjust the plinth height, the adjustable range is from 56mm to 122mm. -
Page 10: Start Of Dishwasher
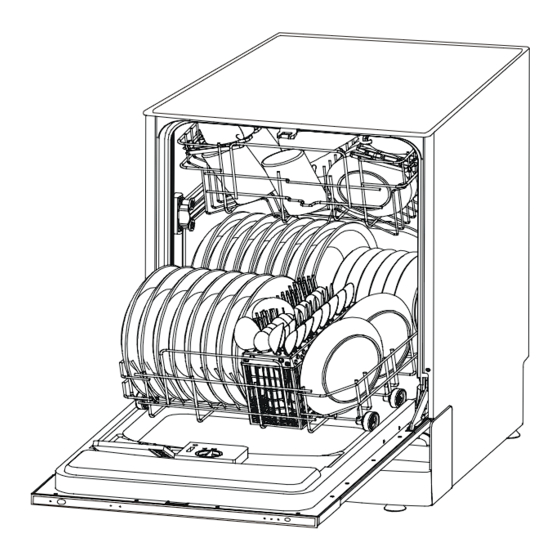
The dishwasher must be level for the racks to operate correctly and to give maximum wash performance. Place a spirit level on the door and the lower rack rail as shown in diagram 1 to check that the dishwasher is level. It is easy to level the dishwasher by adjusting the four leveling legs individually from the front of the dishwasher.
Need help?
Do you have a question about the MFI60 and is the answer not in the manual?
Questions and answers