Table of Contents
Advertisement
Quick Links
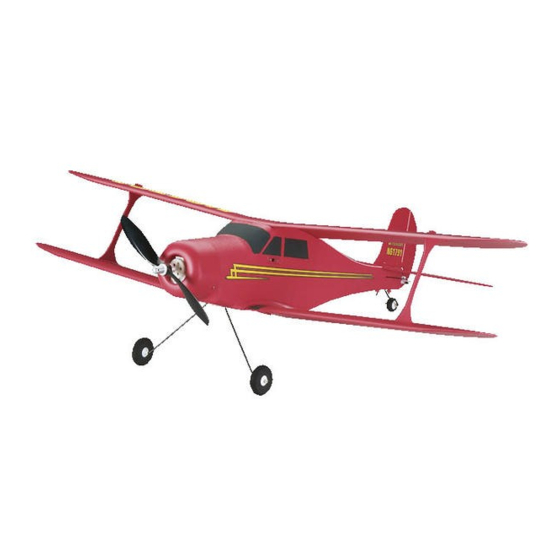
COMPLETE RTF AIRPLANE
REQUIRES:
8 "AA" Alkaline Batteries
Please read through this instruction booklet to THOROUGHLY familiarize yourself with the assembly and fl ight characteristics
of this airplane before beginning to assemble the kit.
Please inspect all parts carefully before starting assembly! If any parts are missing, broken or defective, or if you have any
questions about the assembly or fl ying of this airplane, please call us at (217) 398-8970 and we'll be glad to help.
Hobbico
®
guarantees this kit to be free from defects in both material and workmanship at the date of purchase. This warranty
does not cover any component parts damaged by use or modifi cation. In no case shall Hobbico's liability exceed the original cost
of the purchased kit. Further, Hobbico reserves the right to change or modify this warranty without notice.
In that Hobbico has no control over the fi nal assembly, no liability shall be assumed nor accepted for any damage resulting
from the use by the user of the fi nal user-assembled product. By the act of using the user-assembled product, the user accepts
all resulting liability.
If the buyers are not prepared to accept the liability associated with the use of this product, they are advised to return this kit
immediately in new and unused condition to the place of purchase.
To make a warranty claim send the defective part or item to Hobby Services at the address below:
Include a letter stating your name, return shipping address, as much contact information as possible (daytime telephone
number, fax number, e-mail address), a detailed description of the problem and a photocopy of the purchase receipt. Upon
receipt of the package the problem will be evaluated as quickly as possible.
Entire Contents © Copyright 2008
Please retain this information for future reference.
ASSEMBLE ONLY WITH ADULT SUPERVISION
WARRANTY
Hobby Services
3002 N. Apollo Dr., Suite 1
Champaign IL 61822 USA
Printed in China
™
HCA27xxMnl01
Advertisement
Table of Contents

Related Manuals for Flyzone beechcraft staggerwing


Summary of Contents for Flyzone beechcraft staggerwing
- Page 1 COMPLETE RTF AIRPLANE ™ REQUIRES: 8 “AA” Alkaline Batteries Please retain this information for future reference. ASSEMBLE ONLY WITH ADULT SUPERVISION Please read through this instruction booklet to THOROUGHLY familiarize yourself with the assembly and fl ight characteristics of this airplane before beginning to assemble the kit. Please inspect all parts carefully before starting assembly! If any parts are missing, broken or defective, or if you have any questions about the assembly or fl...
-
Page 2: Fcc Requirement
Because of its performance capabilities, and that the model remains structurally sound. the Beechcraft Staggerwing, if not assembled and operated correctly, could possibly cause injury to 3. Fly only on calm days (with wind speeds less yourself or spectators and damage to property. - Page 3 AIRFRAME PARTS AND HARDWARE Before starting to build, take an inventory of this kit to make sure it is complete and inspect the parts to make sure they are of acceptable quality. If you need assistance with assembly, contact Product Support.
-
Page 4: Assemble The Tail
ASSEMBLE THE TAIL ❏ 1. Remove all of the components from the plastic packaging and lay them out on your work surface. ❏ 4. Slide the wire through the holes in the top of fuselage, pressing the horizontal stab onto the top of the fuselage. -
Page 5: Install The Landing Gear
INSTALL THE LANDING GEAR ❏ 7. From the right side of the fi n holder install two 2mm x 8mm machine screws. Tighten the screws until the fi n fi ts snug in the fi n holder. Be careful ❏ 1. Slide the tail wheel wire into the slot on the not to overtighten the screws. -
Page 6: Install The Wings
landing gear retaining plug and two 2.5mm x 8mm sheet metal screws. Slide the landing gear wire into the slot in the fuselage. Insert the main landing gear retaining plug into the slot. Then, secure it with the two screws. INSTALL THE WINGS ❏... - Page 7 ❏ 3. Repeat these steps to install the top wing. The ❏ 5. Slide the strut locking ring over the tab top wing should be secured with a 3mm x 18mm extending through the wing from the strut. Rotate sheet metal screw. the locking ring ¼...
-
Page 8: Get The Model Ready To Fly
❏ 3. Charging the airplane battery while your car’s GET THE MODEL READY TO FLY engine is running can be dangerous, because it increases the chances of overcharging. For this CHARGING THE BATTERY PACK reason, you should never charge your battery while your car’s engine is running. -
Page 9: Balance The Model
INSTALL THE BATTERY and the wire into the hole inside of the battery compartment. Then, push the battery until it is seated against the bottom of the fuselage. ❏ 1. Check the switch on the left side of the airplane making sure it is in the off position. When the switch is forward the power to the airplane ❏... -
Page 10: Prepare The Transmitter
PREPARE THE TRANSMITTER ❏ 1. Locate the antenna and screw it into the top of the transmitter. ❏ 2. With the battery in place, turn the model upside down then lift the model with your fi ngertips on the lines under the wing. Position your fi ngertips where necessary to get the model to sit level, or “balance”. -
Page 11: Radio Adjustment
RADIO ADJUSTMENT CHECK THE CONTROL DIRECTIONS ❏ 1. Be sure your transmitter has fresh “AA” batteries installed (not included). Turn on the transmitter and center the trims. If necessary, adjust the control surfaces with the adjustment knobs to center them or use the trim levers on the radio. -
Page 12: Arming The Motor
the tail of the airplane securely. Move the throttle to the far right position and leave it there for approximately 10 seconds. Then, move it back to the far left position. The ESC is now armed. When you move the slider back to the right the motor will accelerate. - Page 13 6. Move the control stick down (towards you) so FLYING THE STAGGERWING that the plane climbs at a 20° to 30° angle. Allow the airplane to climb a few seconds before turning it. Your transmitter controls the altitude, direction and speed of the airplane.
-
Page 14: After The Flight
LANDING AFTER THE FLIGHT 1. For your fi rst couple of fl ights we recommend that Disconnect the battery from the airplane. Then, you attempt to land well before the motor stops. switch the transmitter off and remove the battery from the battery compartment of the airplane. -
Page 15: Replacement Parts
REPLACEMENT PARTS To order replacement parts for your Staggerwing, use the order numbers in the list below. Replacement parts are available only as listed. Replacement parts are not available from Product Support, but can be purchased from hobby shops or mail order/Internet order fi rms. If you need assistance locating a dealer to purchase parts, contact: Product Support Phone: 217-398-0007... - Page 16 OTHER FLYZONE PLANES AVAILABLE PIPER J-3 CUB PIPER J-3 CUB Add 8 “AA” batteries to this RTF, and you have everything you need for a low-key afternoon of sport fl ying. The airframe and reinforced 1-piece wing are molded foam, factory-fi nished and decaled. And all of the on-board electronics —...
Need help?
Do you have a question about the beechcraft staggerwing and is the answer not in the manual?
Questions and answers