
Subscribe to Our Youtube Channel
Related Manuals for Recsea WHS-RX100Mk 3


Summary of Contents for Recsea WHS-RX100Mk 3
- Page 1 SONY CYBER-SHOT DSC- RX100 III Waterproof Housing Recsea WHS-RX100Mk III MANUAL Please read this manual before use. NTF CORPORATION UH Division http://www.seatool.net...
-
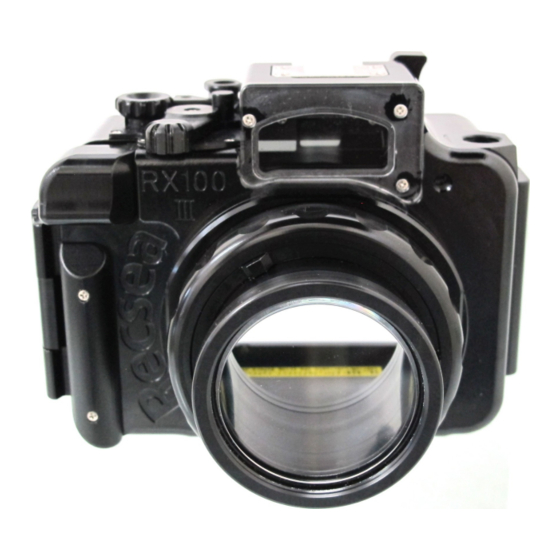
Page 2: Features Of This Product
※ Original Secure-Latch locking mechanism for easy opening and closing. ※ Quality silicone O-ring with wider Back Cover contact surface for added protection at greater depths. ※ Complete camera function control. ※ Wide variety of supported RECSEA original options. - Page 3 PACKAGE CONTENTS Be sure all items listed here were included with your housing: ・Diffuser ・Wrist Strap ・Strobe Mask-External Strobe ・Camera Flash Protection Cover ・Reserve O-ring Connection Mount and Screw ・O-ring Removal Pick ・O-ring Grease GETTING TO KNOW YOUR WHS-RX100Mk III HOUSING...
-
Page 4: Warranty Information
※Dealer: Stamp your company name and contact information, purchase date, model and serial number. Recsea/Seatool Manufacturing & Sales NTF CORPORATION UH Division 390-1 Mii, Midori-Ku, Sagamihara-Shi Kanagawa 252-0151, Japan T: +81 (0)50-7541-0294 F: +81 (0)42-780-5720 http://www.seatool.net E-mail: info@seatool.net... - Page 5 ATTENTION! ※The housing Mode Dial and rear Control Dial are designed to turn the camera dials back and forth via friction from the O-rings that come in contact with camera functions inside the housing. When installing or removing camera pull Mode Dial up. After installing be sure to place the Mode Dial contact into the proper position.
- Page 6 4. Using fresh water and a soft toothbrush, gently clean Control Ring Dial, Dial Locking Ring, Dial Locking Ring Grooves at base of Lens Port and Control Ring Gear as needed. NOTE: The Control Ring Gear can be easily turned to the left or right using a fingernail. Do not use screw driver or other metal object as they may damage the gear.
-
Page 7: Installing Camera
To OPEN, press Lock Lever while pulling Secure-Latch away from housing main body. To CLOSE, press Secure-Latch into place making sure the latch on the underside is properly placed in the Secure-Latch groove attached to the main housing body. Push into the locked position. -
Page 8: Handling Precautions
※Two (2) screw holes are provided at the bottom of the housing for use in attaching Seatool/Recsea genuine tray and grip assemblies. CAUTION! Seatool/Recsea STRONGLY recommends the use of Seatool/Recsea genuine tray and grip assemblies listed below under OPTIONS. Leakage or damages due to the use of non-genuine options are NOT covered under warranty. - Page 9 ※ O-RING GREASING & MAINTENANCE ( 1) CAUTION! This housing uses one (1) O-Ring. Please be sure to install O-ring as shown above. Failure to do so will result in water leakage. 1. Using the O-ring Removal Pick, remove O-ring. 2.
-
Page 10: Specifications
※ For replacement of consumable parts such as O-rings please contact your dealer or Seatool/Recsea. OPTIONS The following items are optional. Please contact Seatool/Recsea or your local dealer if you wish to purchase. ・ST Mount Adapter AD-ST-RX1003 (Bayonet Quick Mount) ・M52-DTP Mount Adapter DTP-04/52- RX1003... -
Page 11: After-Sale Service
※ Warranty does not cover any losses resulting from any malfunction of this product, including those related to lost profits or any related expenses. ※ Seatool/Recsea will stock parts necessary for repair for five (5) years from stop of production. - Page 12 MEMO...
Need help?
Do you have a question about the WHS-RX100Mk 3 and is the answer not in the manual?
Questions and answers