Tunturi Platinum PRO User Manual
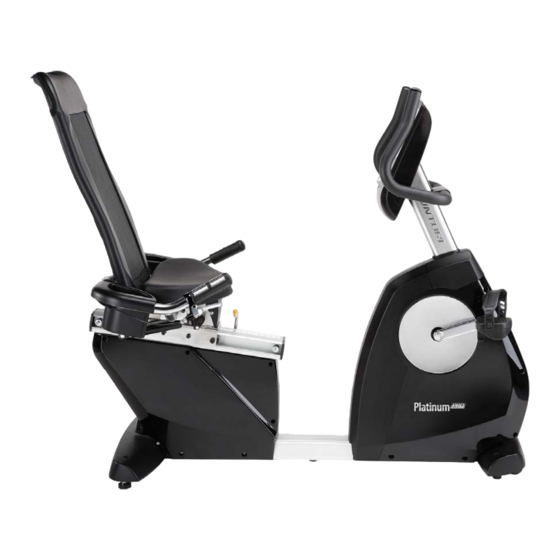
Recumbent bike pro
Hide thumbs
Also See for Platinum PRO:
- User manual (108 pages) ,
- User manual (12 pages) ,
- User manual (32 pages)
Table of Contents
Advertisement
Quick Links
Advertisement
Table of Contents

Related Manuals for Tunturi Platinum PRO


Summary of Contents for Tunturi Platinum PRO
- Page 1 RECUMBENT BIKE PRO USER MANUAL...
-
Page 3: Table Of Contents
Welcome to the world of Tunturi Contents exercising! Your choice shows that you really want to invest in your well being and Welcome ..........2 condition; it also shows you really value high quality, safe and motivating product Safety instructions ......3 as your training partner. -
Page 4: Safety Instructions
• O w n e r ’ s m a n u a l P L A T I N U M P R O Safety Instructions • Before you start using the equipment, make sure that it functions correctly in every way. -
Page 5: Assembly
2. Install the Seat Handlebars (6) onto Assembly the Seat Carriage (4) with four 3/8” x 2” Hex Head bolts (74), four 3/8” x 3” Hex Head bolts (183), eight Step 1: 3/8”x19mm flat washers (77) and eight 3/8” Nyloc nuts (89). Rear support tube, 3. -
Page 6: Step 2
• • O w n e r ’ s m a n u a l O w n e r ’ s m a n u a l P L A T I N U M P R O P L A T I N U M P R O 3. -
Page 7: Step 3
Bolts holding the clamp of the seat Step 3: adjustment Release Lever (40). Seat, backrest, pedals and Install the Release Lever (40) onto the Seat Handle Bar (6) just behind Small Covers the hand pulse sensors. Install the lever at an angle that allows easy 1. -
Page 8: User Interface
• O w n e r ’ s m a n u a l P L A T I N U M P R O Horizontal User interface • Turning clockwise to choose option rightward; counterclockwise for leftward Vertical Jogwheel and Button settings •... -
Page 9: Start Up Screen
• O w n e r ’ s m a n u a l F 3 0 Start up screen Programs When user interface startup it will show loading screen as shown below. Quick start • Turn the jogwheel and select “Quick start“... -
Page 10: End Your Workout
• • O w n e r ’ s m a n u a l O w n e r ’ s m a n u a l P L A T I N U M P R O P L A T I N U M P R O End your workout The workout end screen pops up when Back/stop or Main menu is pressed or... -
Page 11: Manual
Workout screen Manual • Turn the jogwheel and select “Manual” • press the jogwheel to confirm and enter the Setting screen (1). Setting screen (1) The X-axis unit is shown according to the selection of Energy/Time/Distance in Set screen: Energy Unit: kcal Time Unit: Distance Unit:... -
Page 12: Watt Constant
• • O w n e r ’ s m a n u a l O w n e r ’ s m a n u a l P L A T I N U M P R O P L A T I N U M P R O •... -
Page 13: T-Ride
Workout screen T-Ride • Turn the jogwheel and select “T-ride” • press the jogwheel to confirm and enter the Setting screen (1). Setting screen (1) The X-axis is shown as distance unit, km in metric and mile in Imperial • During workout, press the jogwheel button to switch the Y-axis between m↔... -
Page 14: Preset Programs
• • O w n e r ’ s m a n u a l O w n e r ’ s m a n u a l P L A T I N U M P R O P L A T I N U M P R O Workout screen ( Watt Control ) Preset Programs •... -
Page 15: Own Trainings
Workout (Heart Rate Control) NOTE When no saved trainings are found below window will appear. The X-axis unit is shown according to the selection of Time/Distance in Set screen: • Press jogwheel to go back to main Time Unit: menu Distance Unit: km in metric mile in Imperial... -
Page 16: Fitness Test
• • O w n e r ’ s m a n u a l O w n e r ’ s m a n u a l P L A T I N U M P R O P L A T I N U M P R O Choose “Replay”... - Page 17 • Press the jogwheel button to confirm ”No Heart Rate detected”if: and to open information window • It doesn’t detect the user’s heart rate Press Back/stop or Main menu button to Information window leave the workout screen “Target HR reached! Stop test or Continue”...
-
Page 18: T-Road
• • O w n e r ’ s m a n u a l O w n e r ’ s m a n u a l P L A T I N U M P R O P L A T I N U M P R O There are 3 selectable tracks availeble. -
Page 19: User Settings
related) • The white icon + 0°in the left buttom of the screen shows the incline level and it varies with the Profile incline User Setting level change. By selecting the “User Setting” you can: • Press Back/stop, Main menu or the •... -
Page 20: Edit User
• • O w n e r ’ s m a n u a l O w n e r ’ s m a n u a l P L A T I N U M P R O P L A T I N U M P R O Weight •... -
Page 21: Change User
rate (MHR) for someone of your age. To determine the effective heart rate range for specific goals you simply calculate a percentage your MHR. Your Heart rate training zone is 50% to 90% of your Change User maximum heart rate. 60% of your MHR By selecting the “Change User”... -
Page 22: Exercising
• • O w n e r ’ s m a n u a l O w n e r ’ s m a n u a l P L A T I N U M P R O P L A T I N U M P R O the round end and, using the locking Caution! parts, secure the transmitter and... -
Page 23: Maintenance
If the equipment does not function properly during use, contact your Tunturi dealer Maintenance immediately. Always give the model and serial number of your equipment. Please... -
Page 24: Specifi Cations
Some values should be in default setting parts 1 and 9). when shown (not zero) for first time in session. Due to our continuous policy of product development, Tunturi reserves the right Time: ........30:00 min to change specifications without notice. Distance:........10.0 km Energy: ........ -
Page 25: Spare Parts List
Spare parts list Release lever Buble Description Main frame Power cord Console mast Motor controller Mast handlebar Assy Computer cable (1900mm) Seat carriage Hand pulse sensor Assy. Seat back frame Sensor W/Cable (1050mm) Seat handlebar Wire brake coil harness Rear stabilizer DC wire (250mm) Crank axle Crank arm (LH) - Page 26 • • O w n e r ’ s m a n u a l O w n e r ’ s m a n u a l P L A T I N U M P R O P L A T I N U M P R O Nyloc nut (3/8”×7T) PU wheel Nyloc nut (1/4”×8T)
-
Page 27: Exploded View
Exploded view... - Page 28 • O w n e r ’ s m a n u a l P L A T I N U M P R O...
- Page 30 • O w n e r ’ s m a n u a l P L A T I N U M P R O...
- Page 32 TUNTURI FITNESS B.V. P.O. BOX 60001 1320 AA THE NETHERLANDS www.tunturi.com Version 20140509...