Advertisement
Advertisement
Table of Contents

Related Manuals for Crestron TSW-552


Summary of Contents for Crestron TSW-552
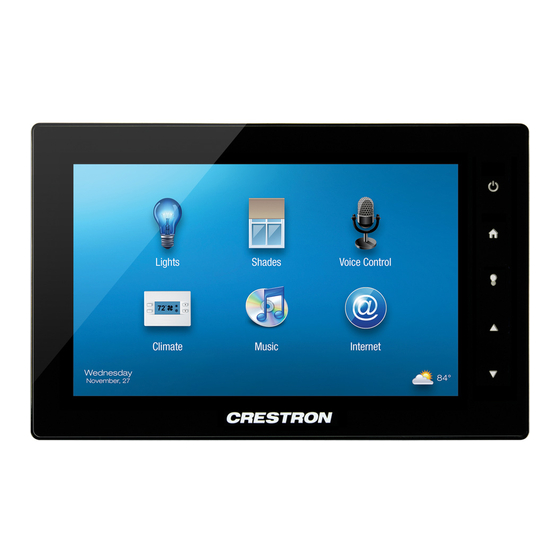
- Page 1 Crestron TSW-552/752/1052 5”/7”/10.1” Touch Screens Configuration Guide...
- Page 2 Other trademarks, registered trademarks, and trade names may be used in this document to refer to either the entities claiming the marks and names or their products. Crestron disclaims any proprietary interest in the marks and names of others. Crestron is not responsible for errors in typography or photography.
-
Page 3: Table Of Contents
Crestron TSW-552/752/1052 5”/7”/10.1” Touch Screens Contents 5”/7”/10.1” Touch Screens: TSW-552/752/1052 Access the Setup Screens ......................1 Configure the Touch Screen ...................... 3 Ethernet Setup ......................3 IP Table Setup ......................5 Audio Setup ......................... 7 Display Setup ......................7 Standby Timeout ......................8 Diagnostics ........................ -
Page 5: 5"/7"/10.1" Touch Screens: Tsw-552/752/1052
5”/7”/10.1” Touch Screens: TSW-552/752/1052 Access the Setup Screens The “TSW-x52 Setup” menu is the starting point for configuring the TSW-552, ® TSW-752, and TSW-1052 touch screens from Crestron NOTE: If no project has been loaded or if an invalid project has been loaded, the screen displays a message saying “There is no display project to start…[Touch... - Page 6 About button that provides information about the touch screen and a Save & Exit button. The functions of each are detailed in the next section of this guide. 2 • 5”/7”/10.1” Touch Screens: TSW-552/752/1052 Configuration Guide – DOC. 7578A...
-
Page 7: Configure The Touch Screen
DHCP is enabled by default. To change to a static IP address, touch Off under DHCP Enabled, then touch Set Static IP Address Settings to display the “Ethernet Setup – Static IPs” screen. “Ethernet Setup – Static IPs” Screen Configuration Guide – DOC. 7578A 5”/7”/10.1” Touch Screens: TSW-552/752/1052 • 3... - Page 8 “Ethernet Setup – Static IPs” screen to reboot the touch screen, so the new settings can take effect. If not making any changes, touch to return to the “Ethernet Setup” menu. Touch again to return to the “TSW-x52 Setup” menu. 4 • 5”/7”/10.1” Touch Screens: TSW-552/752/1052 Configuration Guide – DOC. 7578A...
-
Page 9: Ip Table Setup
Online indicator. To add or edit an entry, touch the Add/Edit button to its left. The “Ethernet Setup – Edit IP Table Entry” screen is displayed. “Ethernet Setup –Edit IP Table Entry” Screen Configuration Guide – DOC. 7578A 5”/7”/10.1” Touch Screens: TSW-552/752/1052 • 5... - Page 10 On the “Ethernet Setup – Edit IP Table Entry” screen, touch Save Entry to save the current entry or Delete Entry to clear it. If not making any changes, touch to return to the “Ethernet Setup –IP Table” menu. 6 • 5”/7”/10.1” Touch Screens: TSW-552/752/1052 Configuration Guide – DOC. 7578A...
-
Page 11: Audio Setup
Master Volume controls. Touch to return to the “TSW-x52 Setup” menu. Display Setup On the “TSW-x52 Setup” menu, touch Display Setup to enter the “Display Setup” screen. “Display Setup” Screen Configuration Guide – DOC. 7578A 5”/7”/10.1” Touch Screens: TSW-552/752/1052 • 7... -
Page 12: Standby Timeout
On and Off as well as controls to display the time in a 24 Hour format and to adjust the Screen Saver Brightness. Touch to return to the “Standby Timeout” menu. 8 • 5”/7”/10.1” Touch Screens: TSW-552/752/1052 Configuration Guide – DOC. 7578A... -
Page 13: Diagnostics
The “Diagnostics - Keypad” screen can be used to test the function of the hard key push buttons on the right side of the screen. When a button is pressed, its corresponding indication on the screen lights. Configuration Guide – DOC. 7578A 5”/7”/10.1” Touch Screens: TSW-552/752/1052 • 9... - Page 14 The built-in microphone is used to record audio and play it back to confirm the microphone is functioning. When playback is finished, the display returns to the “Diagnostics” menu. 10 • 5”/7”/10.1” Touch Screens: TSW-552/752/1052 Configuration Guide – DOC. 7578A...
- Page 15 The “Diagnostics - Test Patterns” screen contains buttons for selecting the different available test patterns: Display Color Bars, Display Vertical Lines, Display Gray Scale, Display Grid Pattern, and Display Test Pattern. Configuration Guide – DOC. 7578A 5”/7”/10.1” Touch Screens: TSW-552/752/1052 • 11...
- Page 16 “Diagnostics - Rava” Menu The “Diagnostics - Rava” menu provides controls for testing the use of Crestron’s Rava™ SIP Intercom with the touch screen. They can be used to test projects and settings. If the intercom works but the project does not, there is an issue with the project;...
-
Page 17: About
“Diagnostics” menu. Touch again to return to the “TSW-x52 Setup” menu. About On the “TSW-x52 Setup” menu, touch About to display the “About” screen. “About” Screen Configuration Guide – DOC. 7578A 5”/7”/10.1” Touch Screens: TSW-552/752/1052 • 13... -
Page 18: Save & Exit
“TSW-x52 Setup” menu. Save & Exit On the “TSW-x52 Setup” menu, touch Save & Exit to save all settings, exit the setup screens and return to the main project. 14 • 5”/7”/10.1” Touch Screens: TSW-552/752/1052 Configuration Guide – DOC. 7578A... - Page 19 Crestron TSW-552/752/1052 5”/7”/10.1” Touch Screens This page is intentionally left blank. Configuration Guide – DOC. 7578A 5”/7”/10.1” Touch Screens: TSW-552/752/1052 • 15...
- Page 20 Crestron Electronics, Inc. Configuration Guide – DOC. 7578A (2040588) 15 Volvo Drive Rockleigh, NJ 07647 Tel: 888.CRESTRON 05.14 Fax: 201.767.7576 Specifications subject to www.crestron.com change without notice.