Table of Contents
Advertisement
Advertisement
Table of Contents

Related Manuals for Crestron TST-902


Summary of Contents for Crestron TST-902
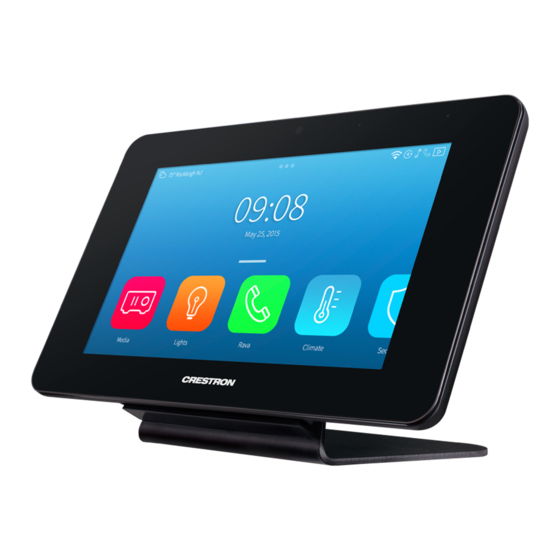
- Page 1 TST-902 8.7" Wireless Touch Screen Supplemental Guide Crestron Electronics, Inc.
- Page 2 Crestron disclaims any proprietary interest in the marks and names of others. Crestron is not responsible for errors in typography or photography.
-
Page 3: Table Of Contents
Contents Access the Setup Screens Configure the TST-902 RF Setup ......................... 2 Audio Setup ......................3 Display Setup ......................4 Standby Timeout ..................... 4 WiFi Setup ......................5 Diagnostics ......................7 Keypad Test ....................8 Touch Test ....................8 Mic Test ..................... 9 WiFi Test .................... -
Page 5: Access The Setup Screens
The setup screens enable basic configuration prior to regular operation of the Crestron ® TST-902. If no project is loaded, tap the screen to access the setup screens. If a project is loaded, access the setup screens by using the included pin tool to press the reset button four times within a 5-second period. -
Page 6: Configure The Tst-902
RF roaming; and selecting the series of the control system. Before a TST-902 can be used with a Crestron control system, it must first be acquired by a Crestron Extended Range (RF) Wireless gateway (sold separately). To acquire a TST-902, perform the following procedure: 1. -
Page 7: Audio Setup
RF Setup - Acquire OK For installations with multiple gateways, the TST-902 can be set up for RF roaming. For details, refer to Touch Screen RF Roaming (Doc. 7671) at www.crestron.com/manuals. to return to the TST-902 Setup screen. Audio Setup On the TST-902 Setup screen, tap Audio Setup to display the Audio Setup screen. -
Page 8: Display Setup
Display Setup On the TST-902 Setup screen, tap Display Setup to enter the Display Setup screen. Display Setup Screen The Display Setup screen provides controls to adjust the screen’s LCD brightness, and controls to enable using a hard key to wake the LCD. -
Page 9: Wifi Setup
TST-902 Setup screen. WiFi Setup On the TST-902 Setup screen, tap WiFi Setup to display the WiFi Setup screen. WiFi Setup Screen The WiFi Setup screen displays current settings and provides controls for enabling the TST-902’s internal Wi-Fi adapter, enabling DHCP, and selecting and managing access... - Page 10 5. Choose from the list of available access points displayed on the left side of the screen. Once selected, the name and security type for the selected access point are displayed on the right side of the screen. 6 • TST-902: 8.7" Wireless Touch Screen Supplemental Guide – DOC. 7750A...
-
Page 11: Diagnostics
7. Tap Step 3 – Make this my Access Point. to return to the TST-902 Setup screen. Diagnostics On the TST-902 Setup screen, tap Diagnostics to display the Diagnostics screen. Diagnostics Screen The Diagnostics screen displays the CPU temperature and the available memory, and it provides controls to open various test screens. -
Page 12: Keypad Test
Diagnostics - Keypad Test Screen The Diagnostics - Keypad Test screen can be used to test the function of the reset button in the pinhole on the back of the TST-902. When the button is pressed, its corresponding indicator on the screen lights. -
Page 13: Mic Test
The Diagnostics - WiFi screen displays current settings. This screen also contains a Link indicator to show the status of the Wi-Fi connection, and controls to test the connection to the default router. to return to the Diagnostics screen. TST-902: 8.7" Wireless Touch Screen • 9 Supplemental Guide – DOC. 7750A... -
Page 14: Rf Test
On the Diagnostics screen, tap Test Patterns to display the Diagnostics - Test Patterns screen. Diagnostics - Test Patterns Screen The Diagnostics - Test Patterns screen provides buttons for selecting the different available test patterns. to return to the Diagnostics screen. 10 • TST-902: 8.7" Wireless Touch Screen Supplemental Guide – DOC. 7750A... -
Page 15: Rtsp Test
Diagnostics screen. Battery Diagnostics On the Diagnostics screen, tap Battery Diagnostics to display the Diagnostics - Battery screen. Diagnostics - Battery Screen TST-902: 8.7" Wireless Touch Screen • 11 Supplemental Guide – DOC. 7750A... -
Page 16: Dock Test
Diagnostics - Dock Screen The Diagnostics - Dock screen has indicators to confirm the presence of external power and a wall dock. There are controls to release the TST-902 from the wall dock and to toggle docking alert messages on and off. -
Page 17: About
TST-902 Setup screen. Save & Edit On the TST-902 Setup screen, tap Save & Exit to save all settings, exit the setup screens, and return to the main project. TST-902: 8.7" Wireless Touch Screen • 13... - Page 18 Crestron Electronics, Inc. Supplemental Guide – DOC. 7750A 15 Volvo Drive Rockleigh, NJ 07647 (2043157) Tel: 888.CRESTRON 07.15 Fax: 201.767.7576 Specifications subject to www.crestron.com change without notice.