Advertisement
Quick Links
Download this manual
See also:
Configuration Manual
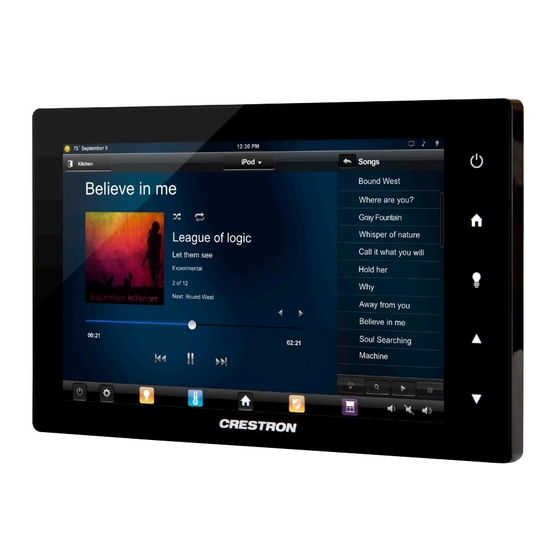
TSW-550
5" Touch Screen
1
Install the Touch Screen
The Crestron
®
TSW-550 touch screen installs into drywall and other surfaces using the included TSW-UMB
Universal Mounting Bracket . When installed, the touch screen protrudes just 1/2" (13 mm) from the mounting
surface is magnetically adhered to the mounting bracket, eliminating any visible screws for an ultra clean
appearance. A pre-construction bracket is also included, which permits fastening to a stud of a framed wall
prior to installation of drywall.
To mount the TSW-550, use the following procedure.
1. For pre-construction applications, use standard drywall nails or screws to attach the included
pre-construction bracket (2035648) to a wall stud. For post-construction applications, use the bracket as
a cutout template by turning the bracket to face the wall, ensuring it is level and temporarily tacking it to
the wall with finishing nails (not included) in the smaller holes around the cutout opening. Trace the
cutout opening with an appropriate drywall saw (not included).
Pre-Construction Bracket Attached to Wall Stud
Pre-Construction Bracket
(2035648)
Use tie wrap to hold cable
until TSW-550 is mounted
Post-Construction Installation of Mounting Bracket Assembly Into Cutout
Mounting Bracket Assembly
(4517962)
2. Loosen the two screws on the mounting bracket assembly (4517962), then install the assembly in the
opening, bottom first, as shown in the illustration that follows step 3.
1
For regulatory compliance information, refer to Doc. 7466.
QUICKSTART DOC. 7465E (2035732, Sheet 1 of 2)
CAUTION: Allow an air gap of at least 12
inches (305 mm) in the wall cavity above and
below the TSW-550 for heat dissipation.
www.crestron.com
07.14
Specifications subject to
change without notice.
CAUTION: To avoid damage to the bracket, do not overtighten screws.
3. Reach into the mounting bracket assembly and push the rear half back to ensure it is fully behind the
mounting surface. Ensure the front of the mounting bracket assembly is level. Then tighten the two
screws to complete the installation of the assembly, as shown in the illustration to the right below.
Installing the Mounting Bracket Assembly
After loosening both screws
push top surface downward,
installing bottom half first
Mounting Bracket Assembly
(4517962)
4. Power and data connection to the TSW-550 is provided by a single Ethernet cable connected to
the LAN port at the rear of the unit. A Crestron PoE power supply or PoE-capable network switch is
recommended. Apply power after the Ethernet cable is connected.
Hardware Connections for the TSW-550
Reset Button
LAN PoE:
10BASE-T/100BASE-TX
Ethernet to LAN
5. Carefully position the touch screen over the mounting bracket and gently place it in position.
The magnets on the rear of the touch screen hold it in place on the mounting bracket.
888.273.7876
201.767.3400
Push rear half back
Ensure front is level,
then tighten both screws
Advertisement

Related Manuals for Crestron TSW-550


Summary of Contents for Crestron TSW-550
- Page 1 4. Power and data connection to the TSW-550 is provided by a single Ethernet cable connected to the LAN port at the rear of the unit. A Crestron PoE power supply or PoE-capable network switch is recommended. Apply power after the Ethernet cable is connected.
- Page 2 “Install the Touch Screen” for details. There is a single method of communication: TCP/IP communication. NOTE: The TSW-550 can take up to 120 seconds to boot to a display after initial power up. Ethernet Communication When power is applied for the first time, the screen Power shown in the illustration to the right appears.
- Page 3 TSW-550 5” Touch Screen Dimensions Pinout Reference TSW-550 Overall Dimensions (Top View) The only connector on the TSW-550 is the LAN PoE port. 3.36 in LAN PoE (86 mm) Pin 1 Pin 8 Speakers Yellow Green DESCRIPTION TX+ / V(A)-...
-
Page 4: Specifications
Crestron Electronics, Inc. in the United States and/or other countries. Other trademarks, registered trademarks, and trade names may be used in this document to refer to either the entities claiming the marks and names or their products. Crestron disclaims proprietary interest in the marks and names of others. Crestron is not responsible for errors in typography or photography.