
Related Manuals for Dimplex DHMH20C


Summary of Contents for Dimplex DHMH20C
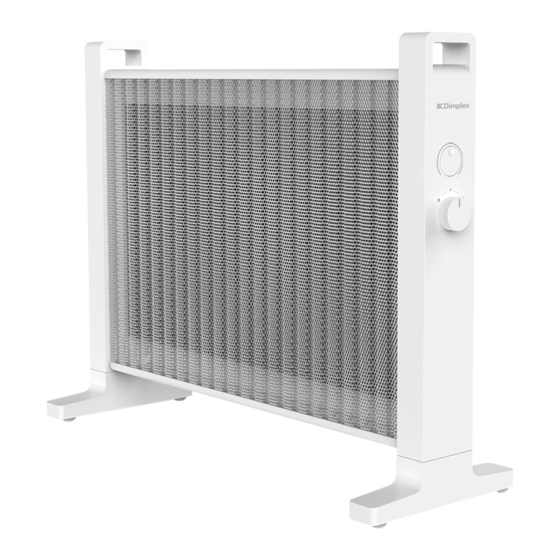
- Page 1 INSTRUCTION MANUAL 2kW Mica Panel Heater Model: DHMH20C For domestic household use only.
- Page 2 IMPORTANT THESE INSTRUCTIONS SHOULD BE READ CAREFULLY AND RETAINED FOR FUTURE REFERENCE. Note also the information presented on the appliance CAUTION: FAILURE TO FOLLOW THESE INSTRUCTIONS MAY CAUSE INJURY AND/OR DAMAGE AND MAY INVALIDATE YOUR WARRANTY Please read the operating instructions carefully before using your product for the first time and keep them in a safe place.
- Page 3 IMPORTANT THESE INSTRUCTIONS SHOULD BE READ CAREFULLY AND RETAINED FOR FUTURE REFERENCE. Note also the information presented on the appliance the cord away from traffic areas and where it will not be a tripping hazard. • This appliance must not be used in a bathroom. •...
- Page 4 Exposed to the Near water If the power cable weather outdoors wires are frayed or cut Where small children No extension leads or Where the power may be left unattended power boards cable may be damaged On a slope or Where there is risk Where it may be uneven surface...
-
Page 5: Specifications
Specifications Model no. DHMH20C Power supply 220-240V~50-60Hz Rated power 2000W Heat settings Thermostat IP rating IP24 Wall mountable Castors Noise Level 50dB(A) Timer Turbo Fan Weight (net) (with feet & castors) 5.36kg Dimensions (w x d x h) 780 x 267 x 580mm... - Page 6 Assembly Castor and Feet Assembly 1. Assemble the castors. 2. Fix the castors into the base of the feet. 3. Fix the feet into the base of the unit, by removing the screws on the base and screwing back in through the holes of the feet. Wall Installation 1.
- Page 7 Assembly 4. Fix the provided rubber plugs into the two holes. 5. Fix the provided screws into the rubber plugs. Ensure the screws are sticking out 5mm, to be able to hang the unit. 6. Install the wall bracket into one of the slots at the bottom of the heater and drill a third hole into the wall where the provided hole in the bracket is.
-
Page 8: Operation
Operation Put the unit into standby state by plugging into an electrical outlet compliant with the device and local legislation, and switch on. 1. Turn the power switch on the unit to 'I' or 'II.' 2. Turn the thermostat to the max, and the heater will begin to work. Adjust accordingly for your desired temperature. -
Page 9: Safety Features
Positioning Select the position for the heater ensuring there is clearance from any furniture and fittings of at least 300mm each side. The heater should only be operated on a flat stable surface. NOTE: The Mica Panel heater is designed for operation on an AC electricity supply, and is only suitable for domestic use and similar indoor locations. - Page 10 Cleaning WARNING - ALWAYS DISCONNECT THE POWER SUPPLY BEFORE CLEANING THE HEATER. • Do not use detergents, abrasive cleaning powder or polish of any kind on the body of the panel heater. • Allow the panel heater to cool, then wipe with a dry cloth to remove dust and a damp cloth (not wet) to clean off any marks.
-
Page 11: Maintenance
Warranty Please refer to the warranty card in the box for warranty information. For any troubleshooting advice, please contact the relative Customer Care Centre below. Glen Dimplex Australia Pty Ltd Glen Dimplex New Zealand Ltd 8 Lakeview Drive, 38 Harris Road, East Tamaki,... - Page 16 Supplied by Glen Dimplex Australia 8 Lakeview Drive, Scoresby, Victoria, 3179 © Glen Dimplex Australia. All rights reserved. Material contained in this publication may not be reproduced in whole or in part, without prior permission in writing of Glen Dimplex Australia.