
Related Manuals for Dimplex DHCER24SG


Summary of Contents for Dimplex DHCER24SG
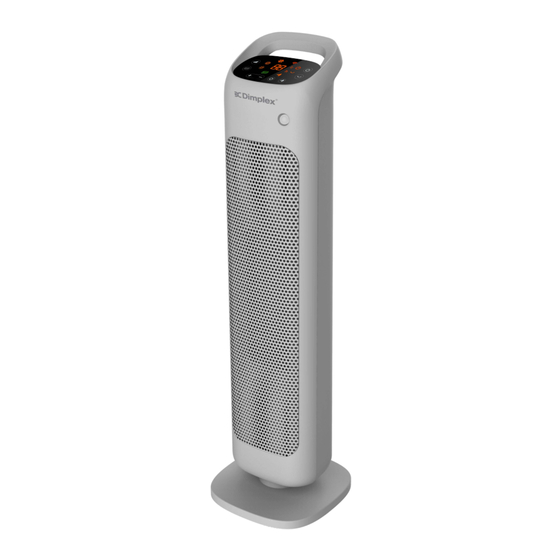
- Page 1 2.4kW Ceramic Heater Model: DHCER24SG INSTRUCTION MANUAL PLEASE READ THE INSTRUCTION MANUAL CAREFULLY BEFORE USING THE UNIT...
-
Page 2: Table Of Contents
TABLE OF CONTENTS WARNINGS AND PRECAUTIONS ............1 STRUCTURE ...................3 OPERATION ..................4 CLEANING AND MAINTENANCE ............10 TECHNICAL REFERENCE DATA ............12 WARRANTY ..................12... -
Page 3: Warnings And Precautions
WARNINGS AND PRECAUTIONS Warnings Never place the unit near gas appliances, flames or flammable liquids. Never hit or shake the unit. Doing so may cause damage. Never cover or obstruct the air inlet or outlet. Doing so may cause overheating. ... - Page 4 This appliance is not intended for use by persons (including children) with reduced physical, sensory or mental capabilities, or lack of experience and knowledge, unless they have been given supervision or instruction concerning use of the appliance by a person responsible for their safety.
-
Page 5: Structure
STRUCTURE 1. Base 2. Front cover 3. Front grille 4. Movement sensor 5. Control & display panel 6. Carry handle 7. Back cover 8. Filter 9. Filter cover... -
Page 6: Operation
OPERATION DISPLAY PANEL Power indicator Temperature indicator ECO function indicator Timer indicator High power indicator Swing indicator Low power indicator Movement sensor indicator Fan indicator... - Page 7 TOUCH CONTROL PANEL ON/OFF button Timer/temperature set button Mode button Timer/temperature button ECO button Swing button Movement Sensor button REMOTE CONTROL...
- Page 8 PRODUCT ASSEMBLY 1. Remove the unit from the packaging. There are 3 x parts – the main body, base & remote control. 2. Insert the base into the main body. 3. Place the unit upright on an even stable surface. ON / OFF This button is used to switch the unit ON and OFF.
- Page 9 pressing the button, you can regulate the mode from LOW Power, HIGH Power or FAN depending on your needs. The unit automatically starts in LOW Power mode. SWING The unit will begin to oscillate after pressing the SWING button, and the indicator light will illuminate.
- Page 10 REMOTE CONTROL The remote control can be used to operate all functions. 1. Remove the battery cover at the back of remote control (Picture 2. Insert the battery (included) [Picture 3]. 3. Replace the battery cover.
- Page 11 Operation 1. Connect the unit to a power supply and switch on. 2. The unit will be in standby mode and sound a ‘beep beep’ once connected to the power supply. The ON/OFF indicator light will illuminate. 3. Press the ON/OFF button to turn the unit ON. 4.
-
Page 12: Cleaning And Maintenance
CLEANING AND MAINTENANCE Cleaning Your unit is designed to remove dirt and other atmospheric impurities by drawing air through the air filter. Do NOT block the air filter, as this will impair the efficiency of the unit. Pushing the unit up against a wall or operating it in close proximity to long window drapes will also impair the unit’s air flow and efficiency. - Page 13 Do not dispose of electrical appliances as unsorted municipal waste. Use separate collection facilities. Contact your local government for information regarding the collection systems available. If electrical appliances are disposed of in landfills or dumps, hazardous substances can leak into the ground water, polluting the food chain and damaging health and well-being.
-
Page 14: Technical Reference Data
The warranty period is 24 months from the date of purchase. For service advice, please contact the Customer Care Centre on 1300 556 816 (AU) / 0800 666 2824 (NZ). Glen Dimplex New Zealand Ltd Glen Dimplex Australia Pty Ltd 1340 Ferntree Gully Road,...