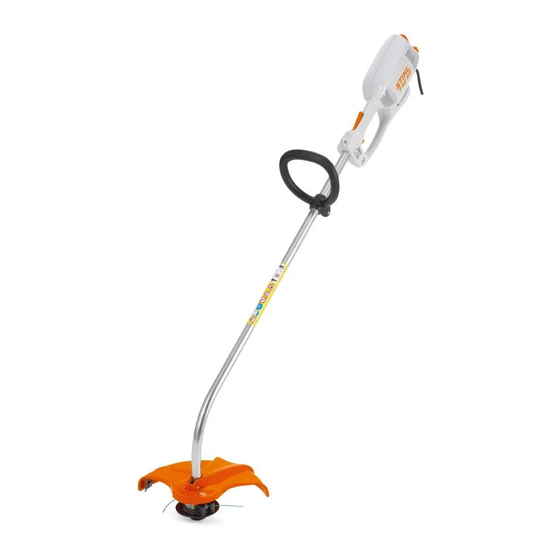
Stihl FSE 60 Instruction Manual
Hide thumbs
Also See for FSE 60:
- Instruction manual (372 pages) ,
- Instruction manual (100 pages) ,
- Instruction manual (256 pages)
Table of Contents
Advertisement
Quick Links
Advertisement
Table of Contents

Summary of Contents for Stihl FSE 60
- Page 1 STIHL FSE 60, 71, 81 2 - 19 Instruction Manual...
-
Page 2: Table Of Contents
Mounting Depth Wheel......10 Engineering improvements Converting Unit to Power Edger....11 Connecting to Power Supply.....11 STIHL's philosophy is to continually improve all Fitting the Harness........12 of its products. For this reason we may modify Switching On..........12 the design, engineering and appearance of our Switching Off..........12... - Page 3 Wear hearing protection, e.g. earplugs or ear that are explicitly approved for this power tool by muffs. STIHL or are technically identical. If you have Wear heavy-duty work gloves made any questions in this respect, consult a servicing of durable material (e.g. leather).
- Page 4 English 2 Safety Precautions and Working Techniques Transporting the Power Tool – Voltage and frequency of the power tool (see rating plate) and the voltage and frequency of Always switch off the power tool and unplug it your power supply must be the same. from the power supply.
- Page 5 2 Safety Precautions and Working Techniques English reduce the risk of damage to property, also main‐ tain this distance from other objects (vehicles, windows). Even maintaining a distance of 15 meters or more cannot exclude the potential dan‐ ger. Inspect the work area: Stones, pieces of metal or other solid objects may be thrown more than 15 meters and cause personal injury or damage the...
- Page 6 To reduce the risk of injury, always switch off the STIHL recommends that you have servicing and power tool and unplug it from the power supply repair work carried out exclusively by an author‐...
-
Page 7: Using The Unit
3 Using the Unit English Clean cooling air inlets in motor housing as nec‐ A depth wheel can be quickly fitted to the trim‐ essary. mer (see "Mounting Depth Wheel"). – It limits the cutting range of the mowing line. Store the machine is a safe and dry place. -
Page 8: Approved Combinations Of Cutting Attach- Ment, Deflector, Handle And Harness
Only mowing heads (1, 2) may be used on trim‐ mers with a curved drive tube and loop handle. Cutting Attachments 4.2.1 Mowing heads 1 STIHL AutoCut C 52 2 STIHL AutoCut C 6‑2 Deflector 3 Deflector with blade, for mowing heads Handle 4 Loop handle ►... -
Page 9: Mounting The Loop Handle
6 Mounting the Loop Handle English Mounting the Loop Handle Mounting the Loop Handle ► Fit the locknut (3) in the hex recess on the deflector. ► Make sure the holes line up. ► Insert the M6x30 screw (4) and tighten it down firmly. -
Page 10: Mounting Depth Wheel
English 9 Mounting Depth Wheel Removing the Mowing Head 8.2.1 STIHL AutoCut C 5-2 ► Hold the spool housing steady ► Unscrew the cap counterclockwise. Mounting Depth Wheel The depth wheel is included in the scope of sup‐ ply or is available as a special accessory. -
Page 11: Converting Unit To Power Edger
10 Converting Unit to Power Edger English Squeeze the locking hooks (3) together to release the depth wheel (1) from the support (2). Fitting Depth Wheel on Deflec‐ The trimmer can now be turned through 180° and used as a power edger (see "Applications"). 11 Connecting to Power Sup‐... -
Page 12: Fitting The Harness
Secure it against unauthorized use. led outlet 15 Overload Cutout 12 Fitting the Harness STIHL FSE 71 and FSE 81 electric trimmers are A shoulder strap is available as a special acces‐ equipped with an overload cutout. sory. The overload cut out cuts off the power supply in Wear the shoulder strap over your left shoulder case of mechanical or thermal overload. -
Page 13: Storing The Machine
16 Storing the Machine English 17.2 Re-Adjusting the Mowing Line Do not switch on the unit during this period because you will otherwise prolong the required cooling time. Once the motor starts: ► Run the unit for about 15 seconds off load. This helps cool the motor windings and con‐... - Page 14 English 17 Maintaining the Mowing Head 17.4 STIHL AutoCut C 5‑2 17.4.2 Assembling the mowing head 17.4.1 Disassembling the mowing head and removing remaining nylon line In normal operation, the supply of nylon line in the head is used up almost completely.
-
Page 15: Maintenance And Care
Complete machine Visual inspection (condition) Clean Power cord Check Have replaced by dealer Switch, starting lockout Check operation Have replaced by dealer Cooling inlets Clean All accessible screws and nuts Retighten STIHL recommends a STIHL servicing dealer. 0458-282-0121-C... -
Page 16: Minimize Wear And Avoid Damage
STIHL recommends that you have servicing and repair work carried out exclusively by an author‐ ized STIHL servicing dealer. STIHL dealers are... -
Page 17: Main Parts
11 Deflector For further details on compliance with Vibration 12 Depth wheel (included as standard equipment Directive 2002/44/EC visit www.stihl.com/vib. or available as special accessory) 13 Strain relief (cord retainer) 21.4.1 Sound pressure level L... -
Page 18: Maintenance And Repairs
K‑factor in accordance with Directive 2006/42/EC is 2.0 m/s for the vibration level. STIHL products must not be thrown in the gar‐ 21.5 REACH bage can. Take the product, accessories and packaging to an approved disposal site for envi‐... - Page 19 FSE 71: 95 db(A) FSE 81: 95 db(A) Technical documents deposited at: ANDREAS STIHL AG & Co. KG Produktzulassung The year of construction, the country of manufac‐ ture and the machine number are shown on the machine. Done at Waiblingen, 03.02.2020 ANDREAS STIHL AG &...
- Page 20 *04582820121C* 0458-282-0121-C...


