Table of Contents
Advertisement
Quick Links
Download this manual
See also:
User Manual
Advertisement
Table of Contents

Related Manuals for EverFocus EHN3261


Summary of Contents for EverFocus EHN3261
-
Page 1: Quick Installation Guide
EHN Series Vandal Proof IP Dome Camera 10x Optical Zoom, Auto Focus, True Day/Night, WDR, IP68, IK10 Quick Installation Guide Copyright © EverFocus Electronics Corp, Release Date: March, 2014... -
Page 2: Physical Description
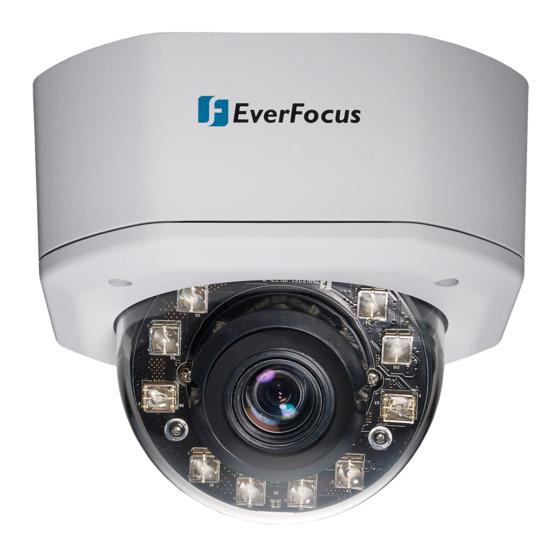
EHN3261/3361 1. Physical Description The EHN series vandal proof IP dome Camera features 10x optical zoom lens and is designed for outdoor use. The series comes in two models: EHN3261 / 3361. 10x Optical Zoom Auto Focus Model Name Megapixel... -
Page 3: System Requirement
Note: Equipment configurations and supplied accessories vary by country. Please consult your local EverFocus office or agents for more information. Please also keep the shipping carton for possible future use. 2. Contact the shipper if any items appear to have been damaged in the shipping process. -
Page 4: Terminal Block
EHN3261/3361 2. Terminal Block The I/O terminal block, located on the camera module, can be used to develop applications for alarm input and output, two-way audio, TV-output or a variety of other functions. Note: 1. You can unplug the terminal block from the camera module for easier wiring. -
Page 5: Important Notice For The Installation
EHN3261/3361 3. Installation Important Notice for the Installation If you want to mount the camera on the wall where direct sunlight may occur, it is strongly recommended to mount the camera using the L-Shaped Mounting Bracket to prevent the camera from being damaged by direct sunlight. - Page 6 EHN3261/3361 2. Unscrew the four screws and remove the Base Plate from the Camera Case. Camera Case Base Plate 3. Unscrew the two screws and take out the camera module. 4. Screw the Base Plate to the Wiring Box using the supplied four screws.
- Page 7 EHN3261/3361 b. Loosen and remove the Cable Gland from the Camera Case. Screw the Cable Gland to the hole on the bottom of the Camera Case. Cable Gland Camera Case c. Screw the Circle Plate to the side hole on the camera Case.
- Page 8 EHN3261/3361 6. Insert the network / PoE cable or the additional cables through the Cable Gland. Up to three cables can be inserted. Note that except the network / PoE cable, additional wires have to be bundled into a cable with diameter ranging from 5.3mm to 6.4mm (see Step d below).
- Page 9 EHN3261/3361 e. Tighten the Screw Cap all the way to the Adjustment Ring(s). Due to the variable cable diameters, for better waterproofing, it is strongly recommended that you apply silicon sealants to the inner Screw Cap. 7. Connect the network / PoE cable to the LAN / PoE port on the camera module.
- Page 10 EHN3261/3361 Pan Adjustment: Simply turn left / right for the top camera module. 360° 360° Tilt Adjustment: Using the two tilt screws. 64° Rotational Adjustment: Using the rotate screw. 180° 13. Screw the cover back to the camera case.
-
Page 11: Accessing The Camera
EHN3261/3361 4. Accessing the Camera You can look up the IP address and access the Web interface of the camera using the IP Utility (IPU) software included in the software CD. Please connect the camera in the same LAN of your computer. - Page 12 EHN3261/3361 3. To optionally configure the Machine Name, IP Address, IP Type or Port Number using the IPU: a. Log in the camera by checking the desired model and then click the Log in icon. b. Type the Username and Password. Click the OK button, the Login status displays.
-
Page 13: Connecting To The Network
EHN3261/3361 5. Connecting to the Network You can use one of the methods below to connect the camera to the network. Direct High-Speed Connection In a Direct High-Speed Connection, the camera connects directly to a modem without the need for a router. -
Page 14: Router Or Lan Connection
EHN3261/3361 Router or LAN Connection This is the most common connection in which the IP camera is connected to a router and allows multiple users on and off site to see the IP camera on a LAN/WAN (Internet). The camera must be assigned an IP address that is compatible with its LAN. - Page 15 EHN3261/3361 Log in the camera by checking the desired model and then click the Log in icon. The Log in dialog box appears. Type the Username and Password. Click the OK button, the Login status displays. Note: 1. The default user ID is user1 and the default password is 11111111.
- Page 16 EverFocus USA - California: EverFocus USA - New York: 1801 Highland Avenue, Unit A, Duarte, CA 91010, USA 415 Oser Avenue, Unit S, Hauppauge, NY 11788, USA TEL: +1 626 844 8888 TEL: +1 631 436 5070...