Advertisement
Quick Links
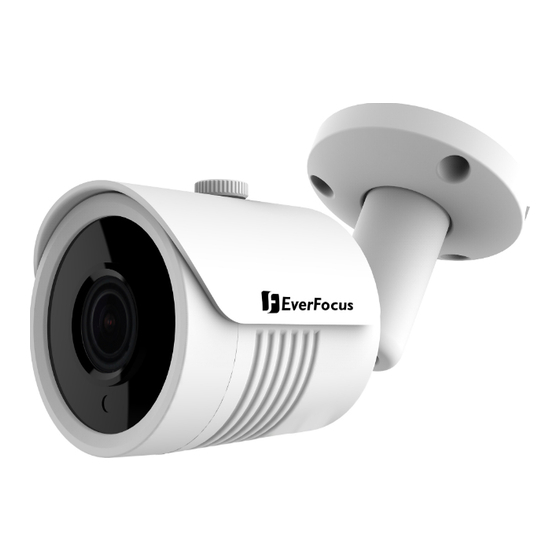
EZA1240 eZ.HD Series
1080p FHD IP66 IR Bullet Camera
User's Manual
Copyright © EverFocus Electronics Corp.
Release Date: April, 2019
All the images including product pictures or screen shots in this document are for example
only. The images may vary depending on the product and software version. Information
contained in this document is subject to change without notice.
EverFocus Taiwan:
2F., No.12, Ln. 270, Sec. 3, Beishen Rd., Shenkeng Dist., New Taipei City 222, Taiwan
TEL: +886 2 2662 2338 FAX: +886 2 2662 3632 www.everfocus.com.tw
Advertisement

Related Manuals for EverFocus EZA1240 eZ.HD Series


Summary of Contents for EverFocus EZA1240 eZ.HD Series
- Page 1 The images may vary depending on the product and software version. Information contained in this document is subject to change without notice. EverFocus Taiwan: 2F., No.12, Ln. 270, Sec. 3, Beishen Rd., Shenkeng Dist., New Taipei City 222, Taiwan TEL: +886 2 2662 2338 FAX: +886 2 2662 3632 www.everfocus.com.tw...
- Page 2 1. Introduction EverFocus eZ.HD series cameras – EZA1240 deliver 1080p full HD image quality. The model provides 3.6mm fixed lens with ICR. Featured with Digital Wide Dynamic Range (D-WDR), the camera can provide clear images even under backlight circumstances where intensity of illumination can vary excessively.
-
Page 3: Installation
1.3 Dimensions 157mm / 6.18" 66mm / 2.6" 1.4 Optional Accessory BA-E310 Color / Material: White / Metal Size (Φ x H): 101 x 52mm / 3.98”x 2” Weight: 540g / 1.2lb 1.5 Cable Description Power Cable Video Output Cable No. - Page 4 2. To mount the camera to the surface, screw the Camera Base to the surface using the supplied 3 Screws. Camera Base Screws Screw Anchors Mounting Surface 3. Connect the Power Cable to a 12VDC power source. Connect the Video Output Cable to a monitor or DVR.
- Page 5 5. You can optionally adjust camera angles. To do so, loosen the Rotate Screw on the bracket using the supplied L-Type Wrench to adjust camera angles. After adjusting camera angles, tightly screw back the Rotate screw. Rotate Screw...
- Page 6 3. Configuration in the OSD Menu No Main Sub Menu Sub Menu / Function Brightness 0-100 Global Center Exposure Mode Return Gray World Mode R Gain 0-63 B Gain 0-63 Return Gain Day/Night Low/Middle/High Auto Gain Night/Day Low/Middle/High Mode Day/Night Color Return Contrast...
- Page 7 Color Red/Green/Blue Transparency On/Off Return Return Version Reset 10 Save & Exit 11 Exit...