Table of Contents
Advertisement
Quick Links
Download this manual
See also:
User Manual
Advertisement
Table of Contents

Related Manuals for EverFocus EZN3261


Summary of Contents for EverFocus EZN3261
- Page 1 EZN Series Outdoor IR Bullet IP Camera 10x Optical Zoom, Auto Focus, True Day/Night, WDR, IP66 Quick Installation Guide Copyright © EverFocus Electronics Corp, Release Date: March, 2014...
-
Page 2: Physical Description
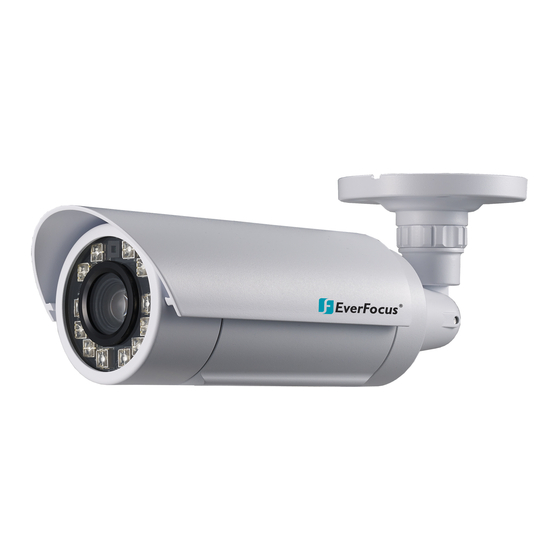
EZN3261/3361 1. Physical Description The EZN series bullet IP Camera features 10x optical zoom lens and provides Auto Focus function. The series comes in two models: EZN3261 / 3361. 10x Optical Zoom Auto Focus Model Name Megapixel EZN3261 2 MP... - Page 3 EZN3261/3361 Cables The Cables provide connections for Network, power, audio input / output and alarm input / output. Note that the audio-in cable features a line-in 3.5mm jack (TRS). Be sure to prepare microphones with TRS connector (see TRS Connector image below). Also, microphones with a (built-in) amplifier and external power supply are required.
-
Page 4: Packing List
Note: Equipment configurations and supplied accessories vary by country. Please consult your local EverFocus office or agents for more information. Please also keep the shipping carton for possible future use. 2. Contact the shipper if any items appear to have been damaged in the shipping process. - Page 5 EZN3261/3361 2. Push the four supplied Anchors into the four holes on the wall. Place the Quick-Mounting Ring against the anchoring surface so that the holes line up. Screw the Quick-Mounting Ring to the wall using the supplied Long Screws.
- Page 6 EZN3261/3361 6. Access the camera live view. Please see 3. Accessing the Camera. Or connect a handheld test monitor to the Video Test Output on the camera module for adjusting camera focus/zoom/angles. For details on how to adjust camera focus / zoom using the 5-Axis Button on the camera module, see 5-Axis Button earlier in this Quick Installation Guide.
-
Page 7: Inserting A Microsd Card
EZN3261/3361 Inserting a Micro SD Card You can optionally insert a micro SD card into the card slot on the camera module for recording videos. 1. Loosen the Set Screw on the Sunshield using the provided Hexagon Wrench and then slide the Sunshield out from the rail on the camera. -
Page 8: Accessing The Camera
EZN3261/3361 3. Accessing the Camera You can look up the IP address and access the Web interface of the camera using the IP Utility (IPU) software included in the software CD. Please connect the camera in the same LAN of your computer. - Page 9 EZN3261/3361 3. To optionally configure the Machine Name, IP Address, IP Type or Port Number using the IPU: a. Log in the camera by checking the desired model and then click the Log in icon. b. Type the Username and Password. Click the OK button, the Login status displays.
-
Page 10: Connecting To The Network
EZN3261/3361 4. Connecting to the Network You can use one of the methods below to connect the camera to the network. Router or LAN Connection This is the most common connection in which the IP camera is connected to a router and allows multiple users on and off site to see the IP camera on a LAN/WAN (Internet). -
Page 11: Direct High-Speed Connection
EZN3261/3361 Direct High-Speed Connection In a Direct High-Speed Connection, the camera connects directly to a modem without the need for a router. You need to set the static or dynamic WAN IP address assigned by your ISP (Internet Service Provider) in the camera’s configuration web pages. To access the camera, just type “http://xxx.xxx.xxx.xxx”, where xxx.xxx.xxx.xxx is the IP address given by your ISP. -
Page 12: Upgrading Firmware
EZN3261/3361 5. Upgrading Firmware You can upgrade camera’s firmware using the IP Utility software, which is included in the software Install and then start the IPU program , the following IPU window appears. The IPU will automatically search the IP devices connected in the LAN. - Page 13 EZN3261/3361 Click the Upgrade Firmware button , a browsing window appears. Select the firmware file (.evb) and then click Open. The IPU will automatically upgrade the firmware. The camera will reboot once the upgrade process is complete.
- Page 14 EverFocus USA - California: EverFocus USA - New York: 1801 Highland Avenue, Unit A, Duarte, CA 91010, USA 415 Oser Avenue, Unit S, Hauppauge, NY 11788, USA TEL: +1 626 844 8888 TEL: +1 631 436 5070...