Daikin EPRA08EAW1 Manuals
Manuals and User Guides for Daikin EPRA08EAW1. We have 6 Daikin EPRA08EAW1 manuals available for free PDF download: Installer's Reference Manual
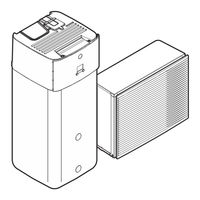
Daikin EPRA08EAW1 Installer's Reference Manual (304 pages)
Table of Contents
-
General10
-
Water13
-
Electrical13
-
Outdoor Unit21
-
Indoor Unit24
-
Single Room35
-
Configuration142
-
Possible Screens147
-
Home Screen148
-
Main Menu Screen150
-
Menu Screen151
-
Setpoint Screen151
-
2-Points Curve157
-
Settings Menu162
-
Malfunctioning162
-
Room162
-
Main Zone166
Advertisement
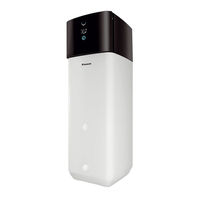
Daikin EPRA08EAW1 Installer's Reference Manual (304 pages)
Table of Contents
-
-
-
-
-
-
10 Configuration
141-
Possible Screens146
-
Home Screen147
-
Main Menu Screen149
-
Menu Screen150
-
Setpoint Screen150
-
Settings Menu161
-
Malfunctioning161
-
Room161
-
Main Zone165
-
Additional Zone175
-
Tank189
-
User Settings194
-
Information199
-
Commissioning228
-
User Profile228
-
Operation229
-
Wlan229
-
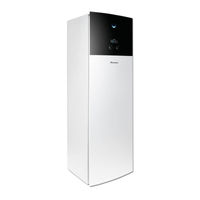
Daikin EPRA08EAW1 Installer's Reference Manual (296 pages)
Table of Contents
-
-
Outdoor Unit22
-
Indoor Unit25
-
-
-
-
-
-
10 Configuration
134-
Possible Screens139
-
Home Screen140
-
Main Menu Screen142
-
Menu Screen143
-
Setpoint Screen144
-
Settings Menu154
-
Malfunctioning154
-
Room155
-
Main Zone159
-
Additional Zone169
-
Tank183
-
User Settings191
-
Information195
-
Commissioning220
-
User Profile220
-
Operation220
-
Wlan221
-
Advertisement

Daikin EPRA08EAW1 Installer's Reference Manual (296 pages)
Table of Contents
-
General10
-
Water13
-
Electrical13
-
Outdoor Unit21
-
Indoor Unit24
-
Single Room34
-
Configuration130
-
Possible Screens135
-
Home Screen136
-
Main Menu Screen138
-
Menu Screen139
-
Setpoint Screen140
-
2-Points Curve146
-
Settings Menu150
-
Malfunctioning150
-
Room151
-
Main Zone155
-
Additional Zone165
-
Tank179
-
User Settings187
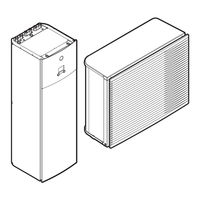
Daikin EPRA08EAW1 Installer's Reference Manual (292 pages)
Table of Contents
-
General10
-
Water13
-
Electrical13
-
Outdoor Unit21
-
Indoor Unit24
-
Single Room34
-
Configuration130
-
Possible Screens135
-
Home Screen136
-
Main Menu Screen138
-
Menu Screen139
-
Setpoint Screen140
-
2-Points Curve146
-
Settings Menu150
-
Malfunctioning150
-
Room151
-
Main Zone155
-
Additional Zone165
-
Tank179
-
User Settings187
-
Information191
Daikin EPRA08EAW1 Installer's Reference Manual (276 pages)
Table of Contents
-
-
-
-
-
-
10 Configuration
116-
Possible Screens121
-
Home Screen122
-
Main Menu Screen124
-
Menu Screen125
-
Setpoint Screen126
-
Settings Menu136
-
Malfunctioning136
-
Room137
-
Main Zone141
-
Additional Zone152
-
Tank166
-
User Settings174
-
Information178
-
Commissioning201
-
User Profile202
-
Operation202
-
Wlan202
-
Advertisement