Daikin Altherma EPGA011-016DV Manuals
Manuals and User Guides for Daikin Altherma EPGA011-016DV. We have 5 Daikin Altherma EPGA011-016DV manuals available for free PDF download: Installer's Reference Manual
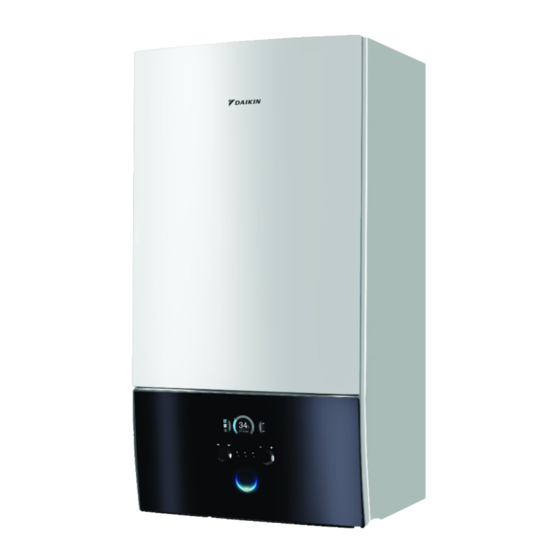
Daikin Altherma EPGA011-016DV Installer's Reference Manual (228 pages)
Table of Contents
-
General7
-
Brine10
-
Water11
-
Electrical11
-
Outdoor Unit16
-
Indoor Unit19
-
Single Room27
-
Preparation51
-
Installation66
-
Configuration100
-
Possible Screens104
-
Home Screen104
-
Main Menu Screen106
-
Menu Screen107
-
Setpoint Screen107
-
Settings Menu114
-
Malfunctioning114
-
Room114
-
Main Zone117
-
Additional Zone127
-
Single Zone134
-
Tank139
-
User Settings145
-
Information149
-
Operation165
-
Commissioning168
-
Troubleshooting187
Advertisement
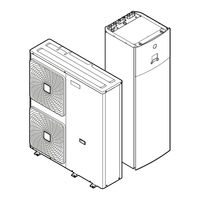
Daikin Altherma EPGA011-016DV Installer's Reference Manual (232 pages)
Table of Contents
-
General10
-
Water13
-
Electrical13
-
Outdoor Unit21
-
Indoor Unit24
-
Single Room31
-
Configuration101
-
Possible Screens105
-
Home Screen106
-
Main Menu Screen108
-
Menu Screen109
-
Setpoint Screen109
-
2-Points Curve115
-
Settings Menu120
-
Malfunctioning120
-
Room120
-
Main Zone123
-
Additional Zone132
-
Tank145
-
User Settings146
-
Information150
-
Commissioning167
-
User Profile167
-
Operation167
-
Commissioning170
-
Troubleshooting187
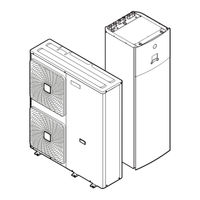
Daikin Altherma EPGA011-016DV Installer's Reference Manual (104 pages)
Low temperature split
Brand: Daikin
|
Category: Air Conditioner
|
Size: 9 MB
Table of Contents
-
General4
-
Brine5
-
Water5
-
Single Room11
-
Preparation21
-
Home Screen42
-
Menu Screen43
-
Malfunction45
-
Room45
-
Main Zone47
-
Tank56
-
Information60
-
Operation67
Advertisement
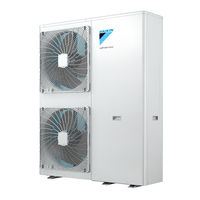
Daikin Altherma EPGA011-016DV Installer's Reference Manual (104 pages)
Low temperature split
Brand: Daikin
|
Category: Air Conditioner
|
Size: 6 MB
Table of Contents
-
General4
-
Brine5
-
Water5
-
Single Room11
-
Preparation21
-
Home Screen42
-
Menu Screen43
-
Malfunction46
-
Room46
-
Main Zone47
-
Tank55
-
Information60
-
Operation68
Daikin Altherma EPGA011-016DV Installer's Reference Manual (100 pages)
Low temperature split
Brand: Daikin
|
Category: Air Conditioner
|
Size: 9 MB
Table of Contents
-
General4
-
Brine5
-
Water5
-
Preparation17
-
Home Screen38
-
Menu Screen39
-
Malfunction42
-
Room42
-
Main Zone43
-
Tank52
-
Information57
-
Operation63
Advertisement
Related Products
- Daikin Altherma EPGA11DAV3
- Daikin Altherma EPGA14DAV3
- Daikin Altherma EPGA16DAV3
- Daikin Altherma EPSK06A V3 Series
- Daikin Altherma EPSK08A V3 Series
- Daikin Altherma EPSK10A V3 Series
- Daikin Altherma EPSK08A W1 Series
- Daikin Altherma EPSK10A W1 Series
- Daikin Altherma EPSK12A W1 Series
- Daikin Altherma EPSK14A W1 Series