Daikin A2 F 32H Manuals
Manuals and User Guides for Daikin A2 F 32H. We have 2 Daikin A2 F 32H manuals available for free PDF download: Installation And Operating Instructions Manual
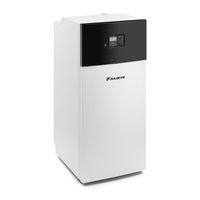
Daikin A2 F 32H Installation And Operating Instructions Manual (64 pages)
Oil condensing boiler
Table of Contents
Advertisement
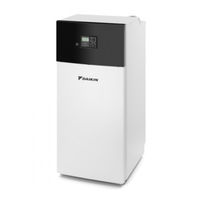
Daikin A2 F 32H Installation And Operating Instructions Manual (64 pages)
ROTEX Oil condensing boiler
Table of Contents
Advertisement