Avocent AutoView 3100 Manuals
Manuals and User Guides for Avocent AutoView 3100. We have 8 Avocent AutoView 3100 manuals available for free PDF download: Installer/User Manual, Specification Sheet, Quick Installation Manual, Brochure, Specifications
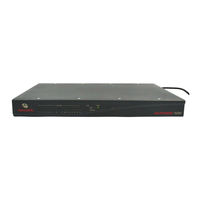
Avocent AutoView 3100 Installer/User Manual (185 pages)
Avocent User Guide 3100/3200
Table of Contents
Advertisement
Advertisement

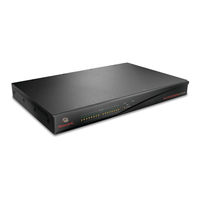
Avocent AutoView 3100 Specification Sheet (2 pages)
Avocent Digital KVM Switch Specification sheet

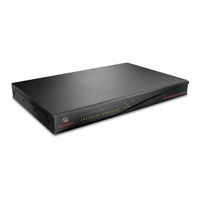
Avocent AutoView 3100 Brochure (2 pages)
Avocent AutoView AutoView 1400: Supplementary Guide

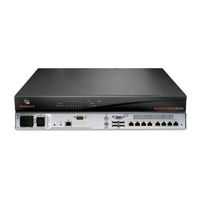
Avocent AutoView 3100 Specifications (2 pages)
Digital KVM Switches

Avocent AutoView 3100 Specifications (2 pages)
Digital KVM Switches
Advertisement