Do you have a question about the 15550 and is the answer not in the manual?
Questions and answers
Robert William Sword
January 18, 2025
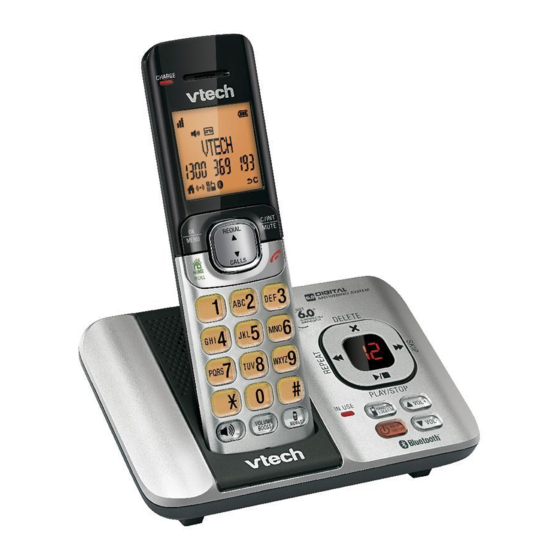
My VTech 15550 twin phone is not receiving calls. Please assist
1 comments:
Mr. Anderson
February 4, 2025
Your VTech 15550 twin phone may not be receiving calls for the following reasons:
1. REN Limit Exceeded: The phone has a Ringer Equivalence Number (REN) of 0.1. If the total REN of devices connected to the same line exceeds 3, the phone may not ring.
2. Compatibility Issues: If other devices (e.g., fax machines) are connected to the same line, they might interfere. Try disconnecting those devices to test.
3. Electrical Storm Damage: If the phone was connected during an electrical storm, it could have been damaged.
4. Reset Required: The phone may need a reset. Follow these steps: - Disconnect power from the base. - Remove the handset battery. - Wait a few minutes. - Reconnect power to the base. - Reinstall the battery and place the handset in the charger. - Wait up to one minute for reconnection.
If none of these resolve the issue, contact TecHelp at 1300 369 193 for further assistance.


Need help?
Do you have a question about the 15550 and is the answer not in the manual?
Questions and answers
My VTech 15550 twin phone is not receiving calls. Please assist
Your VTech 15550 twin phone may not be receiving calls for the following reasons:
1. REN Limit Exceeded: The phone has a Ringer Equivalence Number (REN) of 0.1. If the total REN of devices connected to the same line exceeds 3, the phone may not ring.
2. Compatibility Issues: If other devices (e.g., fax machines) are connected to the same line, they might interfere. Try disconnecting those devices to test.
3. Electrical Storm Damage: If the phone was connected during an electrical storm, it could have been damaged.
4. Reset Required: The phone may need a reset. Follow these steps:
- Disconnect power from the base.
- Remove the handset battery.
- Wait a few minutes.
- Reconnect power to the base.
- Reinstall the battery and place the handset in the charger.
- Wait up to one minute for reconnection.
If none of these resolve the issue, contact TecHelp at 1300 369 193 for further assistance.
This answer is automatically generated