Table of Contents
Advertisement
Advertisement
Table of Contents

Related Manuals for ViTiny UM-CAM


Summary of Contents for ViTiny UM-CAM
- Page 1 UM-CAM User’s Guide USB MICROSCOPE Version 2.6A...
-
Page 3: Table Of Contents
1. Product Introduction Contents 1.1 Packing Contents 1.Product Introduction ..........1 Object Quantity Object Quantity 1.1 Packing Contents .........1 USB Digital User’s Guide Microscope 1.2 USB Digital Microscope Function ....1 Installation Mini USB2.0 Cable 1.3 USB Digital Microscope Operation ....2 Calibrator Supporter 1.4 USB Cable ...........3... -
Page 4: Usb Digital Microscope Operation
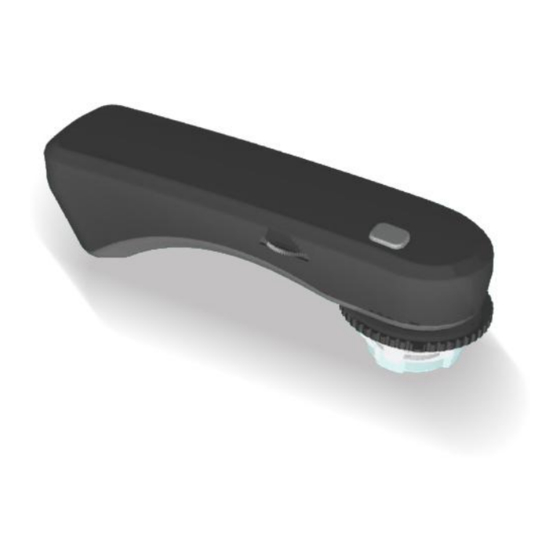
c. Focus Dial:Focus button、Adjust magnification and also can b. Flat Mode: Adjust flat mode button to L or H to observer. adjust the distance just like a video camera. d. USB Port:It is USB2.0 port. Please don’t connect a different transmission line. -
Page 5: Usb Cable
1.4 USB Cable 2.1 Insert Installation CD (Step 1) USB lines have two different joint, one is connected to PC Insert Installation CD provided together with the product into (Normal), and another one is connected to Mini 5 pin. CD-ROM Drive. The CD will be read by computer automatically, and the installation window will be displayed: ◎Attention: Please use the included USB 2.0 cable in the package, and do not use the other extended USB line or... -
Page 6: Install Application Program (Step 2)
3.4 Main Button Please click and select the position of Step 3. Press button of Install Microscope Driver to install UM-CAM driving program. ◎Attention: Before install diver, please connect UM-CAM USB Microscope Camera to the computer. If not, you can’t install the 3.1 Video Preview Window... -
Page 7: Main Button
a. File: open, save and print files. listed below Images Preview Window as follows: b. Setting:includes input device, image quality, video information formats, sources and compression, as well as automatic storage, etc. :Pressing delete Icon will delete image. e. Delete Image c. -
Page 8: Files List
3.5 Files List object, as well as adjusting contrast, brightness and exposure Files List is primarily applied to list all current files contained rate of the image. Please refer to the following image for tools in folders. Select BMP, JPG or AVI to view saved images/videos. of Image Control Model. - Page 9 © MicroLinks Technology Corp. All rights reserved. HTTP://WWW.VITINY.COM...
Need help?
Do you have a question about the UM-CAM and is the answer not in the manual?
Questions and answers