Advertisement
Quick Links
ASSEMBLY & INSTALLATION INSTRUCTIONS
Focal Point Fires plc.
Christchurch, Dorset BH23 2BT
Tel: 01202 499330
Fax: 01202 499326
www.focalpointfires.co.uk
e : sales@focalpointfires.co.uk
Questions or problems with your appliance?
Don't take it back to the store
01202 588601
just give us a call on
lines open between 9am and 5pm, Monday to Friday
Please note : Except where otherwise stated, all rights, including copy-
right in the text, images and layout of this booklet is owned by Focal
Point Fires plc. You are not permitted to copy or adapt any of the con-
tent without the prior written permission of Focal Point Fires plc.
MODELS COVERED BY THESE INSTRUCTIONS
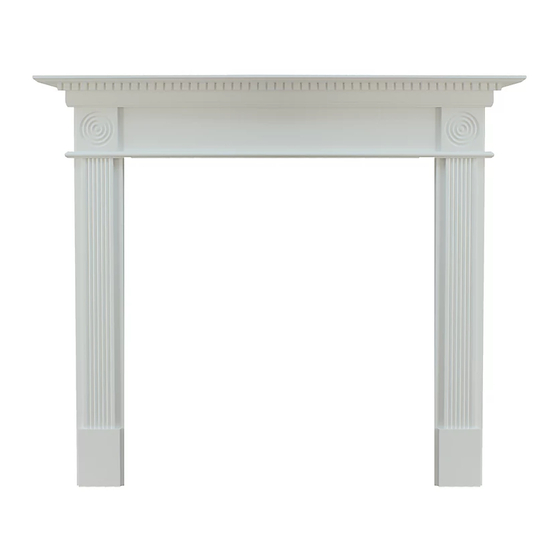
F820590 FPFBQ392 WOODTHORPE FIRE SURROUND PINE
F820591 FPFBQ393 WOODTHORPE FIRE SURROUND OAK VENEER
F820592 FPFBQ394 WOODTHORPE FIRE SURROUND WHITE
we're here to help
All instructions must be handed to the user for
1
safekeeping.
Revision B - 03/14
© 2014 Focal Point Fires plc.
Advertisement

Summary of Contents for FocalPoint F820590 FPFBQ392
- Page 1 ASSEMBLY & INSTALLATION INSTRUCTIONS MODELS COVERED BY THESE INSTRUCTIONS F820590 FPFBQ392 WOODTHORPE FIRE SURROUND PINE F820591 FPFBQ393 WOODTHORPE FIRE SURROUND OAK VENEER F820592 FPFBQ394 WOODTHORPE FIRE SURROUND WHITE Focal Point Fires plc. Christchurch, Dorset BH23 2BT Tel: 01202 499330 Fax: 01202 499326 www.focalpointfires.co.uk...
-
Page 2: Important Notes
A S S E M B L Y I N S T R U C T I O N S GB IE Section Contents Page No. Important notes Tools required Hardware & parts list Assembly Installation Cleaning/ finishing Guarantee - terms and conditions 1.0 IMPORTANT NOTES To ensure safe and stable installation: 1.The assembled Fire Surround must be fixed / secured to wall. - Page 3 4.0 ASSEMBLY GB IE STEP 1 Fixings Parts A x 12 PCS ① ② ③ TAKE CARE - LAY THE SURROUND ON A SOFT SURFACE THAT WILL NOT DAMAGE THE SURROUND. Lay the left leg(2) and the right leg(3) along with the top shelf (1) on the floor. Push them together so that the 3 parts fit together with no gaps.
- Page 4 5.0 INSTALLATION GB IE Fixings B x 4 PCS C x 2 PCS D x 2 PCS E x 2 PCS With a pencil mark out the desired height where you would like the mirror brackets (E) to be situated on the rear of the legs. To avoid splitting the leg, pre drill the bracket holes with a 2mm drill bit.


