
Subscribe to Our Youtube Channel
Related Manuals for Bluewater CLEONE


Summary of Contents for Bluewater CLEONE
- Page 1 CLEONE Water purifier Complete User Manual Document No 822901704 Revision BB1505 © Bluewater 2015-01...
-
Page 2: Table Of Contents
Limited warranty ..................................03 Disposal .....................................03 Safety instructions ................................03 Safety information ................................04 PRODUCT OVERVIEW ............................ 05 Cleone outside ..................................05 Cleone inside ..................................06 SYSTEM OVERVIEW............................07 Clean water tank ..................................07 Clean water faucet ................................08 Water filtration system ..............................08 Leak protection system .............................. -
Page 3: Introduction
INTRODUCTION About this manual This manual contains complete user instructions for the Cleone. It gives you the necessary instructions to safely install, operate, do maintenance and do troubleshooting on the device. Original language The original language of this instruction is English, all other languages are translations of the original instruction. -
Page 4: Safety Information
It can also cause damage to internal parts of the Cleone. Do not use the cord if there are visible signs of damage on it. If the supply cord is damaged, replace it in order to prevent danger. -
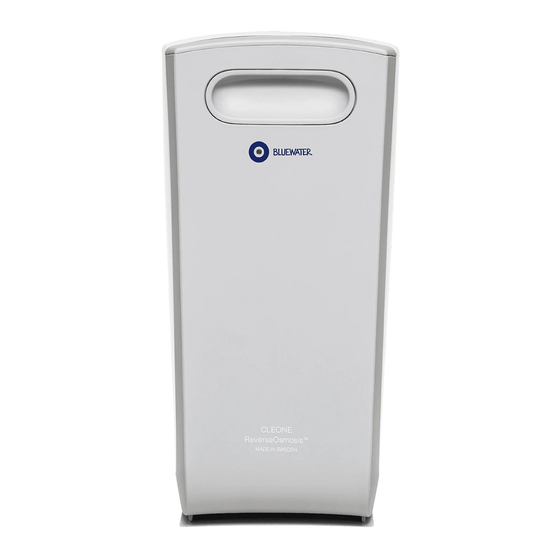
Page 5: Product Overview
Power switch Figure 2. Power switch Position Description Cleone is started. Water can be cleaned. Cleone is stopped. No water is cleaned. Water from the clean water tank can be used until the tank is empty. © Bluewater January 2015... -
Page 6: Cleone Inside
System operation indicator Description On – Cleone operates correctly. Off – Cleone is shut off. If power switch is in position “1” See “Troubleshooting” on page 10. Flashes – There is a problem with Cleone. Contact your Bluewater dealer. Cleone inside Figure 4. -
Page 7: System Overview
SYSTEM OVERVIEW Figure 5. System overview Description Description Cleone water purifier Feed water connection Power adapter Drain water connection Clean water tank Clean water faucet Clean water tank Figure 6. Clean water tank valve Description Valve closed – no water can flow Valve open –... -
Page 8: Clean Water Faucet
Cleone cleans water in three steps: prefiltration, membrane filtration and postfiltration. Clean water from Cleone is collected in the clean water tank. When the tank is full, Cleone is put in standby mode. When the clean water tank level is low, Cleone opens the feed water supply and starts to clean water. -
Page 9: Installation
If the Cleone is connected to a portable water system, the system shall be protected against backflow. Before installation Remove the cable ties under Cleone before it is installed. They are used for load securing of the pump. Figure 8. -
Page 10: Install Feed Water Connection
Install feed water connection Ø Ø 6-8mm 10-13mm (1/4”) (1/2”) Figure 10. Install feed water connections Complete User manual... -
Page 11: Install Drain Water Connection
Install drain water connection Install clean water tank Figure 12. Install clean water tank Action Step Install clean water tank valve (1). Put the tank (2) under the kitchen sink. (Use the stand (3) if it is included.) © Bluewater January 2015... -
Page 12: Connect Tubing
Connect tubing Figure 13. Connect tubing, ORANGE (1) and RED (2) Figure 14. Connect tubing, YELLOW (3) and BLUE (4) Complete User manual... - Page 13 Secure water connectors with safety locking clips ×8 Figure 15. Safety locking clips Open feed water valve Figure 16. Open feed water valve Action Step Turn the valve handle counter clockwise until it is fully open. © Bluewater January 2015...
-
Page 14: Install Power Adapter
See “Technical information” on page 30 for allowed electric current and frequency. Use only the original Bluewater power adapter as electrical power source for your Cleone. To use a different power adapter can make Cleone dangerous to use. It can also cause damage to internal parts of the Cleone. -
Page 15: After Installation
After installation When Cleone is installed, and after each maintenance, the following procedures must be perfomed before operation. Flush Cleone 20 s Figure 18. Flush Cleone Condition Cleone Do not use the water from the conditioning procedure! The reverse osmosis membrane is factory disinfected with a biocidic preservative solution. - Page 16 Do a check for leaks The tubing connections must be tight! ×8 Figure 20. Check for leaks Repair leaks 10mm Figure 21. Repair leaks Complete User manual...
- Page 17 Do an automatic water shut off check Figure 23. Automatic water shut off check Result: After 1 minute or less, Cleone closes the feed water valve. No water flows to the drain. Do a leak protection system check Figure 24. Leak protection system check Result: The feed water valve closes immediately.
-
Page 18: Maintenance
MAINTENANCE After each maintenance, all procedures in chapter “After installation” on page 15, must be perfomed before operation. Regular maintenance is important for correct function and long term operation. Only educated and approved personnel can do the maintenance. The water quality controls the maintenance frequency. If the feed water contains high levels of suspended solids, more frequent maintenance can be necessary. -
Page 19: Each 6 Months
Replace prefilters and integrated mineral filter Always flush the activated carbon prefilter after the filter is replaced. See “Flush Cleone” on page 15. The instruction applies to the coarse sediment prefilter, the fine sediment prefilter and the activated carbon prefilter. - Page 20 Use disinfectant to clean the system Disinfectant is harmful! Always flush and condition Cleone after disinfectant is used. See “Flush Cleone” on page 15 and “Condition Cleone” on page 15. ×3 Complete User manual...
- Page 21 10 s ×3 ×3 © Bluewater January 2015...
- Page 22 1-2 min 30 s ×2 ×3 Figure 28. Use disinfectant to clean the system Complete User manual...
- Page 23 Do a feed water pressure check ×3 © Bluewater January 2015...
- Page 24 30 s ×3 Figure 29. Feed water pressure check Complete User manual...
-
Page 25: Each Year
Each year Replace activated carbon postfilter Always flush the activated carbon postfilter after the filter is replaced. See “Flush Cleone” on page 15. See “Product overview” on page 05 for filter position. ×3 ×3 30 s Figure 30. Replace activated carbon postfilter... - Page 26 Replace UV lamp ×2 ×2 30 min Figure 31. Replace UV lamp Complete User manual...
- Page 27 0.48 bar (7 psi) + 0.1 bar (1.4 psi) for each metre below the kitchen floor. Example: Cleone is put below the kitchen sink, but the clean water tank is put in the basement 3.5 metres below the kitchen floor. The correct air cushion pressure is: 0.48 bar + 3.5 m ×...
-
Page 28: Each 3-5 Years
Each 3-5 years Replace reverse osmosis membrane If the rejection rate of Cleone is less than 90%, and the prefilter cartride and the postfilter cartridge are replaced, replace the reverse osmosis membrane. ×3 ×3 30 s Figure 33. Replace reverse osmosis membrane... -
Page 29: Technical Information
Water tank (8L, 12L, 17 L, 40 L) option option option option Prolonged contact polishing filter option Integrated booster pump High flow booster pump kit option option option option Integrated membrane flushing Leak protection system Positive automatic water shut-off Installation kit © Bluewater January 2015... -
Page 30: Troubleshooting
Make sure that the connections are or the connection is made incorrectly. made correctly. The feed water pressure is too low Cleone will start to operate as usual and the pump protection system has when the feed water pressure comes stopped the feed water supply. - Page 32 Bluewater Group Danderydsgatan 11, SE-114 26 Stockholm Sweden Tel: +46-8-679 45 00, Fax: +46-8-679 45 45 info@bluewater.se - www.bluewater.se For a complete list of sales offices and dealers, please visit www.bluewater.se...
Need help?
Do you have a question about the CLEONE and is the answer not in the manual?
Questions and answers