Table of Contents
Advertisement
A S S E M B LY- A N D I N S T R U C T I O N S M A N U A L
Congratulations on your new Scan wood-burning stove
You have purchased a product by one of Europe's leading manufacturer's of wood-burning stoves, and we are sure that you will have years of
pleasure with your purchase. To make the best possible use of your stove, it is important that you follow our advice and instructions.
Please read this Assembly- and instructions manual before you start to assemble your stove.
Make a note of your stove's product
registration number here so that you
have it available if you need to contact
us.
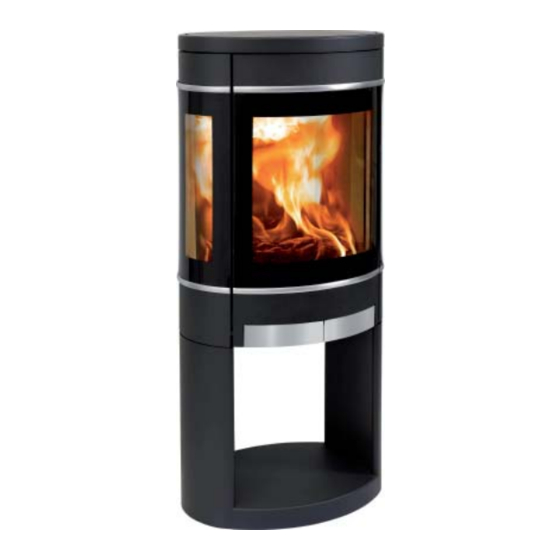
Scan 58
Test in compliance with
EN 13240
The EC declaration of conformity is available from www.scan.dk
Version GB 28.08.08 - 1
Advertisement
Table of Contents


Need help?
Do you have a question about the 58-2 and is the answer not in the manual?
Questions and answers