Table of Contents
Advertisement
Quick Links
MonteCarloFans.com
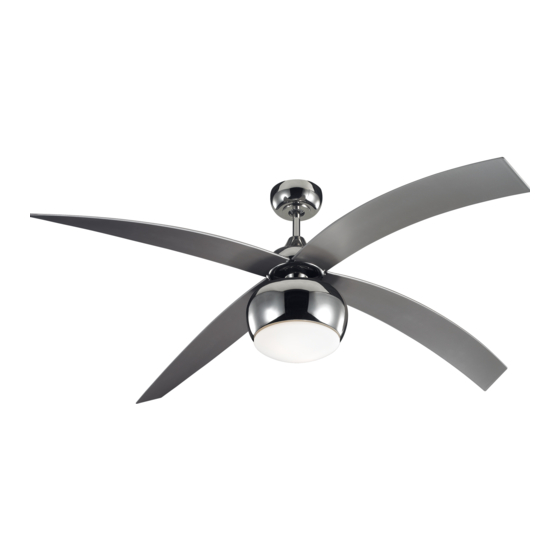
shown without light
To register your fixture, please visit our website:
MonteCarloFans.com
STOP
If you need installation
assistance, replacement parts,
or have questions regarding
our warranty, please call our
customer care center:
Total fan weight
with light kit
R
NEED HELP?
¿NECESITA AYUDA?
AVEZ-VOUS BESOIN D'AIDE?
Please do not return this product to the store.
Por favor no devulva este producto a la tienda.
Prière de ne pas retourner ce produit au magasin.
Si necesita asistencia en la instalación,
piezas de repuesto, o tiene preguntas
acerca de nuestra garantía, por favor
llame a nuestro centro de servicio
al cliente:
1-800-519-4092
MonteCarloFans.com
READ AND SAVE
THESE INSTRUCTIONS
4VOR60XXD Series Fan
UL Model No. : AC-560F819
shown with light
ALTO
Si vous avez besoin d'aide pour l'installation,
des pièces de remplacement, ou si vous avez
des questions concernant notre garantie,
veuillez contacter notre service après-vente:
Advertisement
Table of Contents

Related Manuals for Monte Carlo Fan Company 4VOR60XXD Series


Summary of Contents for Monte Carlo Fan Company 4VOR60XXD Series
- Page 1 4VOR60XXD Series Fan UL Model No. : AC-560F819 MonteCarloFans.com shown with light shown without light To register your fixture, please visit our website: MonteCarloFans.com NEED HELP? STOP ALTO ¿NECESITA AYUDA? AVEZ-VOUS BESOIN D’AIDE? Please do not return this product to the store.
-
Page 2: Safety Instructions
Helpful Tools Safety instructions WARNING: TO REDUCE THE RISK OF FIRE, ELECTRIC SHOCK, OR INJURY TO PERSONS, OBSERVE THE FOLLOWING: READ AND SAVE THESE INSTRUCTIONS Installation work and electrical wiring must be done by qualified person(s) in accordance with applicable codes and standards (ANSI/NFPA 70-1999), including fire-rated construction. - Page 3 I n s t a l l b l a d e w i t h s c r e w s and fiber washers provided, aligning each of the holes as I n s e r t b l a d e i n t o t h e s l o t o n shown and tighten all screws Remove the reinforced plate flywheel.
- Page 4 Safety cable installation Remote transmitter dip switch Safety cable Lag screw Lag screw Safety cable Remote receiver dip switch Washer Set dip switches on the Remote Transmitter Lock washer and Remote Receiver to the same settings. For Canadian installation and for USA fan and light T h i s m u s t b e d o n e s o t h e u n i t s w i l l kit combinations over 35 lbs, in both flush and communcate properly.
- Page 5 For fan without light, go to step 31. For fan with light, go to Install 75-watt JD E11 base bulbs. Bulbs included. WARNING: Over lamping the step 32. A t t a c h b l a n k i n g p l a t e b y l o c a t i n g fan will result in the fan lights shutting dimples in light fixture with grooves in down until the proper wattage of bulbs...
- Page 6 Remote Control Transmitter Features: MEDIUM SPEED LED LIGHT FAN REVERSE (Press once to change direction of the fan) Fan must be running to reverse. LOW SPEED HIGH SPEED LIGHT ON/OFF SETTING A N D D I M M E R ( P r e s s a n d h o l d t o d i m l i g h t infinitively) F A N O F F S E T T I N G...
- Page 7 Trouble Shooting If you have difficulty operating your new ceiling fan, it may be the result of incorrect assembly, installation, or wiring. In some cases, these installation errors may be mistaken for defects. If you experience any faults, please check this Trouble Shooting Chart. If a problem cannot be remedied, or you are experiencing difficulty in installation, please call our Customer Service Center at the number printed on your parts list insert sheet.
- Page 8 Jan.2011...
Need help?
Do you have a question about the 4VOR60XXD Series and is the answer not in the manual?
Questions and answers