Monte Carlo Fan Company AC-552 Owner's Manual And Installation Manual
Bf3-xx series
Hide thumbs
Also See for AC-552:
- Owner's manual and installation manual (9 pages) ,
- Manual (8 pages) ,
- Owner's manual and installation manual (9 pages)
Advertisement
Owner's Guide and Installation Manual
Attach sales receipt to this card and retain as your proof of purchase
DATE OF PURCHASE:
MODEL NUMBER:
To register your fixture, please visit our website www.montecarlofans.com
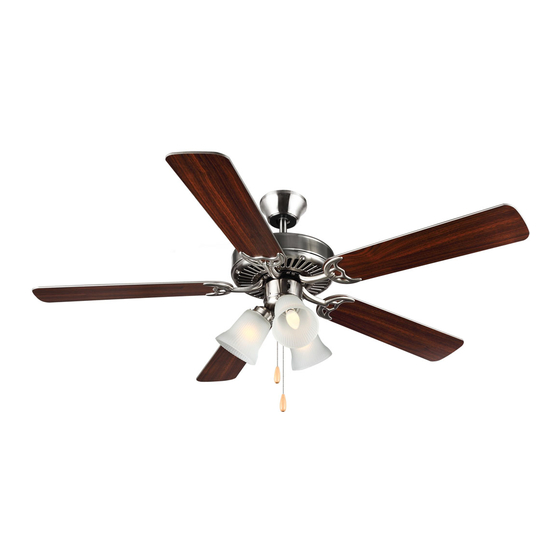
BF3-XX Series Fan
RETAILER NAME:
RETAILER ADDRESS:
UL Model NO. : AC-552
7.91 kgs
17.4 lbs
Total fan weight with light
Advertisement
Table of Contents

Related Manuals for Monte Carlo Fan Company AC-552


Summary of Contents for Monte Carlo Fan Company AC-552
- Page 1 Owner’s Guide and Installation Manual BF3-XX Series Fan UL Model NO. : AC-552 Attach sales receipt to this card and retain as your proof of purchase DATE OF PURCHASE: RETAILER NAME: RETAILER ADDRESS: MODEL NUMBER: To register your fixture, please visit our website www.montecarlofans.com 7.91 kgs...
-
Page 2: Cautions And Warnings
All set screws must be checked and tightened where necessary before installation. Tools Required for Assembly (not included): Electrical Tape, Phillips Screwdriver, Pliers, Safety Glasses, Stepladder and Wire Strippers Customer Service 800-969-3347 Customer Service Center 7400 Linder Ave. Skokie, IL 60077 www.montecarlofans.com © 2013 Monte Carlo Fan Company 3/8/2013... -
Page 3: Installation Instruction
Fig. 2 Fig. 2-1 mounting bracket with the holes of the outlet box. Reinstall the 2 outlet box screws securely. (Fig. 2-1) © 2013 Monte Carlo Fan Company 3/8/2013... - Page 4 Install ball end of downrod into mounting bracket opening. Align (engage) slot on ball with tab on mounting bracket. Warning: Failure to align slot on ball with tab may result in serious injury. (Fig. 4) Slot Fig. 4 © 2013 Monte Carlo Fan Company 3/8/2013...
-
Page 5: Safety Cable Installation
(Fig. 8) Lag screw Note : If Installing The Secondary Support Safety Cable in the U.S., Do Not Remove Knockouts In The Outlet Box. Safety cable Washer Lock washer Fig. 8 © 2013 Monte Carlo Fan Company 3/8/2013... - Page 6 Twist canopy to lock. Reinstall screws (with washers) that were previously removed and then tighten all screw securely. (Fig. 10, Fig. 10-1) Fig. 10 Outlet box Screws Mounting bracket Canopy Fig. 10-1 © 2013 Monte Carlo Fan Company 3/8/2013...
- Page 7 fixture onto switch housing. Reinstall the 3 set screws. Securely tighten all 3 screws. (Fig. 12) Switch housing Wire connectors (plugs) Screws Light fixture Reverse switch Fig. 12 Slot © 2013 Monte Carlo Fan Company © 3/8/2013 /2013...
- Page 8 If the reverse switch is set in the middle position, fan will not operate. (Fig. 14) Operation and Maintenance Refer to operation and maintenance on the second page of Reverse switch parts list. Fig.14 © 2013 Monte Carlo Fan Company 3/8/2013...
-
Page 9: Troubleshooting
Trouble Shooting Warning Trouble Suggested Remedy CAUTION CAUTION CAUTION WARNING © 2013 Monte Carlo Fan Company 3/8/2013... - Page 10 Mar. 2013 May.2013 CUL requirement...
Need help?
Do you have a question about the AC-552 and is the answer not in the manual?
Questions and answers