Advertisement
Quick Links
Owner's Guide and Installation Manual
Attach sales receipt to this card and retain as your proof of purchase
DATE OF PURCHASE:
MODEL NUMBER:
To register your fixture, please visit our website www.montecarlofans.com
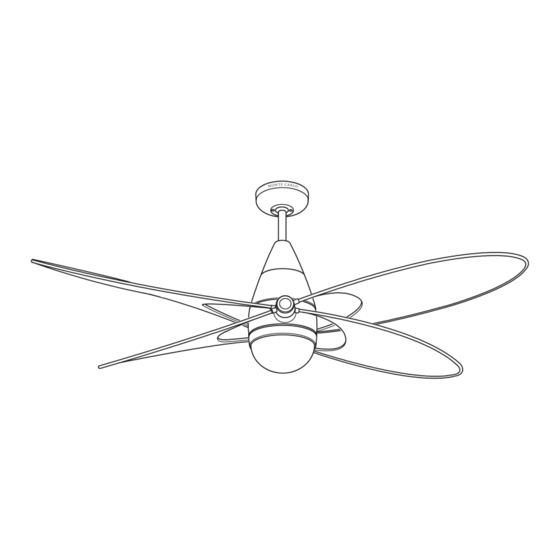
4BFR54XXD-V1 Series Fan
RETAILER NAME:
RETAILER ADDRESS:
cETL Model NO. : 4BFR54
9.7 kgs
21.34 lbs
Total fan weight with light
Advertisement

Related Manuals for Monte Carlo Fan Company 4BFR54 D-V1 Series


Summary of Contents for Monte Carlo Fan Company 4BFR54 D-V1 Series
- Page 1 Owner’s Guide and Installation Manual 4BFR54XXD-V1 Series Fan cETL Model NO. : 4BFR54 Attach sales receipt to this card and retain as your proof of purchase DATE OF PURCHASE: RETAILER NAME: RETAILER ADDRESS: MODEL NUMBER: To register your fixture, please visit our website www.montecarlofans.com 9.7 kgs 21.34 lbs Total fan weight with light...
-
Page 2: Cautions And Warnings
Note: Suitable for use in damp locations. Tools Required for Assembly (not included): Electrical Tape, Phillips Screwdriver, Pliers, Safety Glasses, Stepladder and Wire Strippers Customer Service 800-969-3347 Customer Service Center 7400 Linder Ave. Skokie, IL 60077 www.montecarlofans.com © 2014 Monte Carlo Fan Company 1/5/2014... - Page 3 Place yoke cover on top housing of fan. Warning: Cross pin must be installed securely, failure to install it will result in serious injury. © 2014 Monte Carlo Fan Company 1/5/2014...
- Page 4 AC N. Black from house to Black from remote marked AC L. Connect all green grounded wires to Grounded wire from House. Make sure that no filaments are outside of the wire connectors. Insert the remote receiver into mounting bracket. © 2014 Monte Carlo Fan Company 1/5/2014...
- Page 5 : Tuck the lead wires into the plate on socket assembly as shown in inset and make sure the light lead wires are not pinched between the light pan and the LED light fixture. © 2014 Monte Carlo Fan Company 1/5/2014...
- Page 6 Place remote machine screws provided. screws provided. Snap battery cover in over 2 pins on front cover. Attach cover place of remote by placing over 4 pins and snapping into place. © 2014 Monte Carlo Fan Company 1/5/2014...
- Page 7 “light dimmer”. The light will cycle from bright to dim to bright until button is released. Light will maintain last setting if turned off. Note: If not using for long periods of time, remove battery to prevent damage to remote transmitter, and store the remote transmitter away from excess heat or humidity © 2014 Monte Carlo Fan Company 1/5/2014...
-
Page 8: Troubleshooting
5.Remove light kit and check the plug connections if they are present. 6.If this fan uses remote controller, make sure dip switches are setting properly and make CAUTION: Make sure main power is turned off before entering switch housing and/or canopy. © 2014 Monte Carlo Fan Company 1/5/2014... - Page 9 Jan.2014 Apr.12.14, Change light lead wires from fan to be black and white from blue and white Jan.2018 change CUL to cETL Jun.2019 change to LED light...
Need help?
Do you have a question about the 4BFR54 D-V1 Series and is the answer not in the manual?
Questions and answers