Advertisement
Quick Links
Download this manual
See also:
Quick Reference Manual
Welcome
Thank you for purchasing Fluke Networks LinkRunner Pro! This test tool enables you to quickly check the network,
test a cable, or PING.
What's in the box?
Item
1. LinkRunner Pro
2. LinkRunner Connect CD
3. Quick Reference Guide
4. Wireview
Office Locator #1
TM
5. USB-A – USB-B Mini Cable
6. Registration Card
7. Batteries (4 AA)
PN 2688136 September 2006
© 2006 Fluke Networks. All rights reserved.
All product names are trademarks of their respective companies
LinkRunner Pro
1
3
2
Visit us at www.TestEquipmentDepot.com
.
Network MultiMeter
TM
Quick Reference Guide
4
6
7
99 Washington Street
Melrose, MA 02176
Phone 781-665-1400
Toll Free 1-800-517-8431
5
Advertisement

Related Manuals for Fluke LinkRunner Pro


Summary of Contents for Fluke LinkRunner Pro
-
Page 1: Washington Street
LinkRunner Pro Network MultiMeter Quick Reference Guide Welcome Thank you for purchasing Fluke Networks LinkRunner Pro! This test tool enables you to quickly check the network, test a cable, or PING. What’s in the box? Item 1. LinkRunner Pro 2. LinkRunner Connect CD 3. -
Page 2: Safety Information
Cleaning To prevent moisture from entering the LinkRunner Pro, clean it with a moist cloth only. Do not use organic solvents, acid, or alkali solutions. Safety Information The following symbols are used on the product and in this document: NOT FOR CONNECTION TO PUBLIC TELEPHONE SYSTEMS... - Page 3 Count on LinkRunner Pro for Answers! First connect an RJ-45 cable from the network hub or wall plate to the LinkRunner Pro LAN port. Check the following list of questions and associated answers to see how LinkRunner Pro can help you get the job done.
- Page 4 LinkRunner Pro is connected to (up to 5 devices). Flash Hub Port screen – Causes the LinkRunner Pro to continuously link and unlink at a selected speed. This is useful when identifying which port LinkRunner Pro is connected to. Use LLDP/EDP/CDP test first if your network supports it.
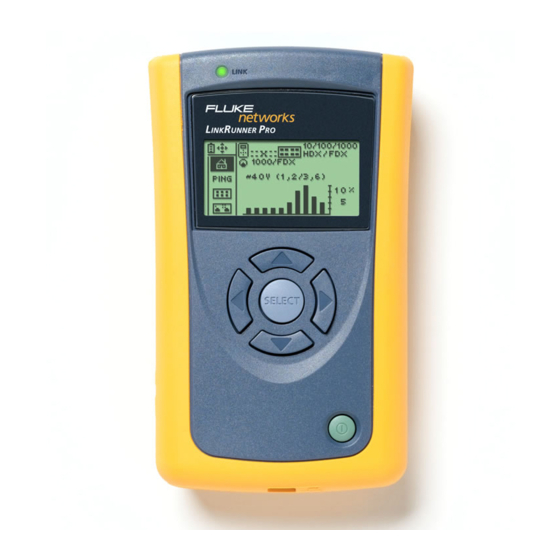
- Page 5 LinkRunner Pro will display link information which will include link, speed/duplex, cable length to the nearest switch, and utilization. If LinkRunner Pro detects PoE, this screen will display PoE information. Notice the PoE voltage and wire pairs are displayed.
- Page 6 This screen is displayed if LinkRunner Pro has successfully linked, and 802.1X has been detected and authenticated. Good cable Unknown cable Split cable Shorted cable Open cable - If the RJ-45 Ethernet cable is not connected to the RJ-45 MAP port on the LinkRunner Pro, a Wireview Office Locator, or your network, LinkRunner Pro will display cable information.
- Page 7 The 10 additional IP addresses are entered in the Configuration screen, or by using the LinkRunner Connect PC application and downloading them via a provided USB cable to the LinkRunner Pro. Note: If configured for DHCP, and the DHCP server cannot be found, Ping will display...
- Page 8 It allows you to change the cable length measurements from feet to meters, to use DHCP or manually enter the LinkRunner Pro IP address, enter up to 10 IP addresses to PING, and to enable options.
- Page 9 You may also use the LinkRunner Connect PC application to enter the IP addresses, then using the supplied USB cable, download the IP addresses to LinkRunner Pro. Selecting the IP number/name to edit: When is highlighted, press the selection button (center).
- Page 10 Option Key entry Allows you to enable options by entering the purchased option key code. Presently, 802.1X and Reports are a bundled option which can be enabled. To enable an option: Press the selection button to get into the options menu. Press the selection button and use the up/down arrow keys to choose the key digit.
-
Page 11: Other Features
Firmware update Allows you to download the latest LinkRunner Pro firmware through the LinkRunner Connect PC application. Firmware updates can be downloaded from www.flukenetworks.com/linkrunnerpro. Navigate to the LinkRunner Pro product page and follow the links for downloads and updates. Press the right arrow to update. Use the LinkRunner Connect PC application to download the update files. -
Page 12: Environment Specifications
Tone Generator IntelliTone digital tone: [500 KHz] Analog tones: [400Hz, 1KHz] UI Interface B&W, 2”x 1” display, Link LED UI Control / Data Entry Five push-buttons for selection of icons and navigation of menus Power Button On/Off Ports (2) RJ45s: network test port, loop-back wire map port Application Port Mini-USB Back to the LinkRunner Product Info Page...
Need help?
Do you have a question about the LinkRunner Pro and is the answer not in the manual?
Questions and answers