
Related Manuals for LDG RT-600


Summary of Contents for LDG RT-600
- Page 1 LDG RT-600 600 WATT REMOTE AUTOMATIC TUNER LDG Electronics 1445 Parran Road St. Leonard MD 20685-2903 USA Phone: 410-586-2177 Fax: 410-586-8475 ldg@ldgelectronics.com www.ldgelectronics.com...
-
Page 2: Table Of Contents
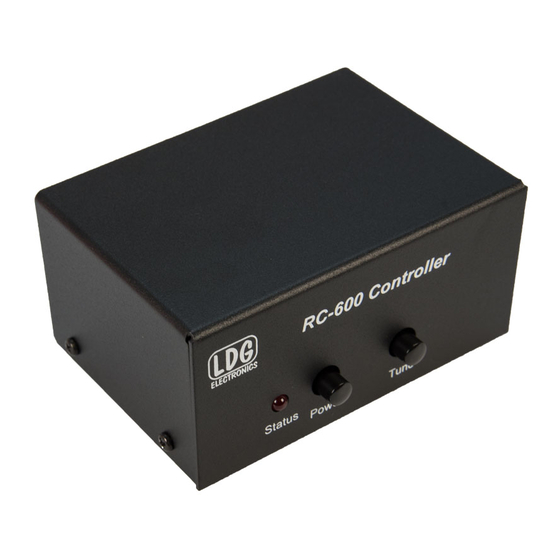
An Important Word About Power Levels Getting to know your RT-600 RC-600 Front Panel Connections Installation Overview Basic Installation Secure the RT-600 to a Mast Tips for Outdoor Installation SWR Meter Bias Tee Information Operation Operation Overview Memory Tuning Cycle... -
Page 3: Introduction
Introduction LDG pioneered the automatic, wide-range switched-L tuner in 1995. From its laboratories in St. Leonard, Maryland LDG continues to define the state of the art in this field with innovative automatic tuners and related products for every amateur need. -
Page 4: Specifications
Weight: RT-600: 3 lb.; RC-600: 8oz. An Important Word About Power Levels The RT-600 is rated at 650 watts peak power input at most. Many amateur amplifiers Never exceed 600 are capable of transmitting well over 650 watts. Power levels that significantly exceed watts peak on specifications will definitely damage or destroy your RT-600. -
Page 5: Getting To Know Your Rt-600
RT-600 for a long time; take The RT-600 tuner is designed to be used remotely, powered over the coax cable that a few minutes to carries both the RF energy and DC power. An internal “Bias Tee” circuit separates get to know it. -
Page 6: Connections
Gnd (wingnut): Connect to antenna system ground. connectors. Radio SO-239: Connect to the feedline which comes from the RC-600 controller. The RC-600 controller has three connectors: Tuner: connects via coaxial cable to the Radio port on the RT-600. -
Page 7: Installation
To avoid damage always turn your radio and amplifier off before connecting or disconnecting anything. Basic Installation Place the RT-600 tuner as near the antenna feed point as possible. Place the included Install the RT- RC-600 controller in a convenient position near your amplifier. Connect a 50-ohm 600 as close as coax jumper from the amplifier’s antenna jack to the RC-600’s Radio jack. -
Page 8: Secure The Rt-600 To A Mast
Version 1.0 Secure the RT-600 to a Mast Your RT-600 is designed to be mounted on a mast or other similar support; a clamp The RT-600 is and U-bolt are provided for this purpose. Remove the nuts and clamp from the U-bolt. -
Page 9: Tips For Outdoor Installation
The RT-600 is weather resistant and suitable for permanent outdoor installation, but it Mount the RT- may leak if immersed. The RT-600 should be mounted on a mast with the mounting 600 on a mast. Do bracket facing upward, and the SO-239 jacks facing down; do not simply lay it on the not simply lay it ground, as a puddle could form around it. - Page 10 Be sure the drip loop hangs below the coax entry point into the house. If you are using existing coax between the RT-600 and the RC-600, inspect it carefully for water damage. Best Amateur practice calls for cutting away one foot of coax for each year it has been outdoors.
-
Page 11: Swr Meter
DC power from both the transmitter and the antenna; two are required, one at each your own Bias end of the coax. The LDG RT-600 contains an internal Bias Tee, and the RC-600 Tee circuit if contains a Bias Tee designed specifically for use with the RT-600. The following... - Page 12 RT-600 Operations Manual Version 1.0 A sample schematic appears below:...
-
Page 13: Operation
In this manner the RT-600 “learns” as you use it, adapting itself to the bands, frequencies and antennas you use. -
Page 14: Bypass
1. Turn off power to the RT-600, wait for one full second. 2. Turn on power to the RT-600 wait for one full second. Do not transmit. 3. Repeat this cycle three times. In other words, turn power off and back on slowly three times in a row, but do not transmit during this time. -
Page 15: A Word About Tuning Etiquette
When you consider buying another LDG product, our website has complete specifications and photographs you can use to help make your purchase decision. There are also links to all of the quality LDG dealers who are ready to help you make your purchase decision. -
Page 16: Out Of Warranty Service
St. Leonard, MD 20685 Product Feedback We love to hear We encourage product feedback; tell us what you think of your LDG product. In a card, letter, or email (preferred) tell us how you used the product, how well it worked from our in your application, and any suggestions you have for enhancements or new products.
Need help?
Do you have a question about the RT-600 and is the answer not in the manual?
Questions and answers