Table of Contents
Advertisement
Quick Links
Advertisement
Table of Contents

Related Manuals for OWC Envoy Pro


Summary of Contents for OWC Envoy Pro
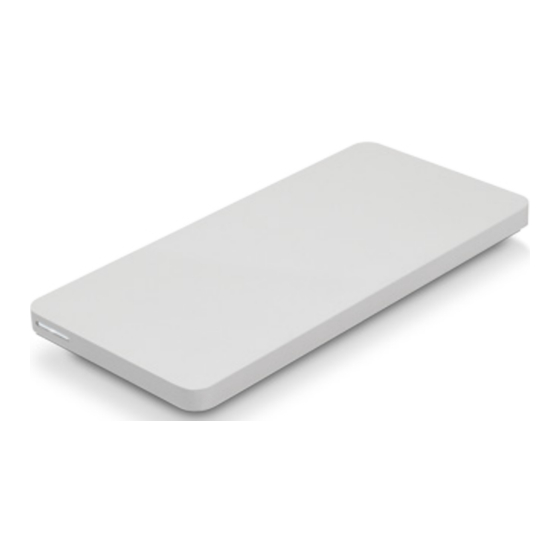
- Page 1 ® OWC Envoy® Pro from OWC Digital USER GUIDE...
- Page 2 1.1.2 PC Requirements 1.2 PACKAGE CONTENTS 1.3 ABOUT THIS MANUAL 1.4 ENCLOSURE FEATURES DEVICE SETUP ..................... 2 2.1 DRIVE COMPATIBILITY 2.1.1 Envoy Pro for SATA Drives 2.1.2 Envoy Pro for PCIe Drives 2.1 ASSEMBLY APPENDIX ..................... 5 3.1 FORMATTING 3.2 TROUBLESHOOTING 3.3 ABOUT DATA BACKUP...
- Page 3 3. (1) Short Torx T5 screw 6. Storage bag NOTE: A Torx T5 screwdriver is required to install an SSD in the Envoy Pro. If you purchased the Envoy Pro as part of a kit including an OWC SSD, a Torx T5 screwdriver is included.
-
Page 4: Device Setup
Envoy Pro for PCIe drives. 1. Remove the Envoy Pro from the storage bag and set it down on a soft surface. Use your fingers to slide the top cover in the direction shown below, then lift up and set the top cover aside. - Page 5 Make sure that the SSD is secure, but do not over-tighten the screw. 4. Replace the top cover and slide it in the direction shown below until it is flush with the bottom. OWC ENVOY PRO DEVICE SETUP...
- Page 6 5. Flip over the Envoy Pro as shown below. Insert the two long Torx T5 screws into the screw holes in the bottom, as circled in the picture below. 6. Remove the backing the adhesive rubber foot and place the sticky side of the foot in the groove to cover up the screws, as circled in the picture below.
- Page 7 To ensure that your files are protected and to prevent data loss, we strongly suggest that you keep two copies of your data: one copy on your OWC Envoy Pro and a sec- ond copy on either your internal drive or another storage medium, such as an optical backup, or on another external storage unit.
- Page 8 Copyrights and Trademarks: © 2015 OWC Digital. All rights reserved. No part of this publication may be reproduced, stored in a retrieval system, or transmitted in any form or by any means, electronic, mechanical, photocopying, recording or otherwise, without the prior written consent of OWC Digital.
Need help?
Do you have a question about the Envoy Pro and is the answer not in the manual?
Questions and answers