Subscribe to Our Youtube Channel
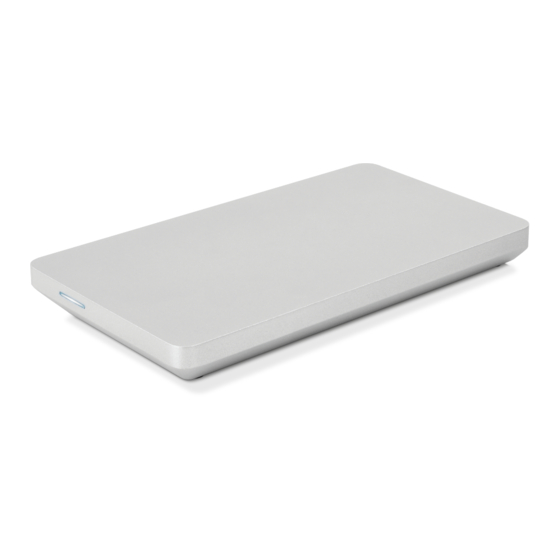
Summary of Contents for OWC Envoy Pro EX
- Page 1 E N V O Y P R O Assembly Manual & User Guide USB-C Up to 980MB/s Bus Powered Dust Resistant Water Resistant Mac and PC...
- Page 2 1.4 Enclosure Features ..............1 Device Setup 2.1 Drive Assembly ..............2 2.1 Usage Notes ................3 Support Resources 3.1 Troubleshooting ..............4 3.2 About Data Backup ...............4 3.3 Online Resources ..............4 3.4 Contacting Technical Support ..........4 OWC Envoy Pro EX with USB-C Contents...
-
Page 3: Minimum System Requirements
1.3 About This Manual The instructions below are for customers who purchased the Envoy Pro EX with USB-C enclosure and need to install their own NVMe M.2 SSD. This device requires an M.2 drive with a 2280 form factor. Please contact our customer service team if you still have questions after reviewing the steps that follow. - Page 4 PCIe connector on the Envoy Pro’s circuit board. Carefully seat the drive into the connector. 5. Using the shorter drive mount screw from the packet, carefully secure the M.2 SSD to the drive post. OWC Envoy Pro EX with USB-C Device Setup...
-
Page 5: Usage Notes
2.2 Usage Notes - This device does not function with USB Type-A to Type-C cables or adapters - With prolonged use, the drive case may be warm to the touch. This is normal. OWC Envoy Pro EX with USB-C Device Setup... -
Page 6: Troubleshooting
Begin troubleshooting by verifying that the USB-C cable is properly plugged into the computer and the Envoy Pro EX. If the Envoy Pro EX is still not working properly, try connecting the cable to a different USB-C port, and also using a different USB-C cable if necessary. If problems persist, remove the SSD from the Envoy Pro EX, then re-connect the SSD to the Envoy Pro EX and try again. -
Page 7: Fcc Statement
Warranty: The OWC Envoy Pro EX with USB-C has a 3 Year OWC Limited Warranty if it was bundled with a drive. OWC Envoy Pro EX with USB-C enclosures that do not ship with a drive have a 1 Year OWC Limited Warranty.


Need help?
Do you have a question about the Envoy Pro EX and is the answer not in the manual?
Questions and answers