Table of Contents
Advertisement
Quick Links
Advertisement
Table of Contents

Related Manuals for Inalto IE92T


Summary of Contents for Inalto IE92T
- Page 1 MODEL CODE / S PRODUCT D OCUMENT IE92T ELECTRIC USER COOKTOP MANUAL...
- Page 2 Again, thank you for choosing an Inalto appliance and we look forward to being of service to you. Kind Regards,...
-
Page 3: Troubleshooting
PAGE 03 PAGE CONTENT SAFETY INSTRUCTIONS YOUR INALTO COOKTOP INSTALLATION INSTRUCTIONS OPERATING YOUR COOKTOP CLEANING & MAINTENANCE TROUBLESHOOTING & TECHNICAL DATA WARRANTY INFORMATION PURCHASE DETAILS... -
Page 4: Safety Instructions
► Repairs may only be carried out by authorised service agents. ► Your Inalto cooktop is not to be used by children or persons with reduced physical, sensory or mental capabilities, or lack of experience and knowledge, unless they have been given supervision or instruction. - Page 5 PAGE 05 COOKTOP GUIDELINES DISPOSAL OF THE APPLIANCE ► The first few times the cooktop is used, it may give off Old appliances should not simply be disposed of with a burning smell. This smell will disappear completely normal household waste, but should be delivered to a with repeated use.
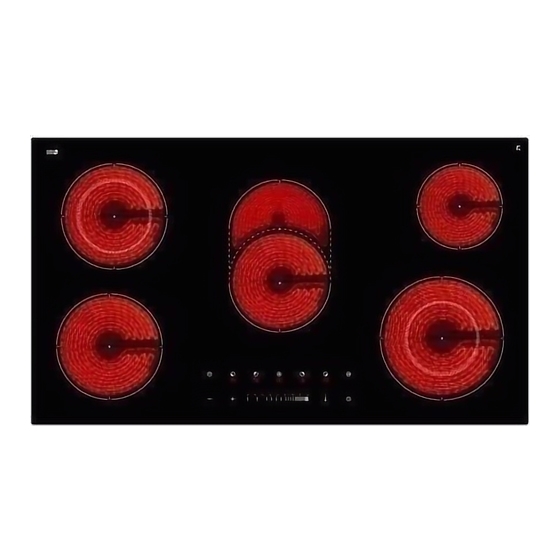
- Page 6 USER MANUAL PAGE 06 YOUR INALTO COOKTOP SPECIFICATIONS MODEL PRODUCT DIMENSIONS (W×D×H) CUT-OUT DIMENSIONS (W×D) IE92T 900mm, 520mm, 56mm 870mm x 485mm MODEL BURNERS OTHER 1 x 1.10 / 2.10 kW double zone (Ø 120/220 mm) Front touch control operation Slider control 1 x 1.40 / 2.20 kW oval zone (Ø...
- Page 7 PAGE 07 CONTROL PANEL LAYOUT...
-
Page 8: Installation Instructions
USER MANUAL PAGE 08 INSTALLATION INSTRUCTIONS It’s important to carefully read the following installation instructions before beginning the installation of your cooktop. IMPORTANT! The connection of this cooktop must be carried out by a suitably qualified and licensed person, in accordance with the current version of the following: ►... - Page 9 ► Your Inalto cooktop comes fitted with the sealing strip already attached to the underside of the cooktop. This should not be removed as it will prevent liquid or spillages from penetrating the underside of the cooktop.
- Page 10 USER MANUAL PAGE 10 INSTALLATION INSTRUCTIONS CONNECTING THE MAINS SUPPLY CABLE ► The mains terminal block is located on the underside of the cooktop and the terminals are accessible by removing the terminal block cover. This is done by depressing the front of the cover and releasing it from the securing clips. ►...
- Page 11 PAGE 1 1 REPLACING THE MAINS SUPPLY CABLE If the mains supply cable is damaged, then it must be replaced by an appropriate replacement which can be obtained via the manufacturer or its service agents, in order to avoid hazard. IMPORTANT! The replacement of the mains supply cable must be carried out by a suitably qualified and licensed electrician.
-
Page 12: Operating Your Cooktop
USER MANUAL PAGE 12 OPERATING YOUR COOKTOP BEFORE FIRST USE IMPORTANT! You should clean the ceramic cooktop surface (refer to the “Cleaning and Maintenance” section). ► You should switch on one cooking zone at a time, for 5 minutes at the maximum setting. This will help to eliminate any new smell that exists and evaporate any humidity that has formed on the heating elements during transit. - Page 13 PAGE 13 SWITCHING OFF A ZONE ► Press the cooking zone selection button (6) of the zone that you want to switch off. ► Pressing the zone selection button again within a few seconds will turn the corresponding heating zone off. If it is the only active heating zone, the whole cooktop will be turned off as well.
- Page 14 USER MANUAL PAGE 14 OPERATING YOUR COOKTOP RESIDUAL HEAT INDICATORS ► After a zone is switched off, the corresponding cooking zone indicator (9) will show a flashing letter “H”. This means that the temperature of the zone could still be high enough to cause injury. ►...
- Page 15 PAGE 15 ► After you set a timer, the zone LED display will show the countdown time and the zone power level in turn for 3 secs. ► To cancel the timer, press the corresponding cooking zone selection button – and the zone LED display (8) will flash.
- Page 16 USER MANUAL PAGE 16 CLEANING & MAINTENANCE By ensuring proper cleaning and maintenance of your Inalto cooktop, you can ensure that it will have a long and fault free operation. WARNING! Do not start cleaning the cooktop until it has completely cooled.
-
Page 17: Technical Data
PAGE 17 TROUBLESHOOTING & TECHNICAL DATA OPERATION IN CASE OF EMERGENCY IMPORTANT! If your appliance appears to be operating incorrectly, then you should disconnect it from your mains gas and electrical supply and then contact the Residentia Group Support team on 1300 11 HELP (4357). -
Page 18: Warranty Information
USER MANUAL PAGE 18 WARRANTY INFORMATION WARRANTY TERMS & CONDITIONS You will bear the cost of transportation, travel and COOKING APPLIANCES delivery of the Appliance to and from Residentia (BUILT-IN OVENS, COOKTOPS) Group or its ASR. If you reside outside of the service area, you will bear the cost of: This document sets out the terms and conditions of the travel of an authorised representative;... - Page 19 PAGE 19 RECEIPT 10. For Appliances and services provided by Residentia To enquire about claiming under this warranty, please Group in Australia, the Appliances come with a follow these steps: guarantee by Residentia Group that cannot be carefully check the operating instructions, user excluded under the Australian Consumer Law.
- Page 20 MODEL CODE / S IE92T...
Need help?
Do you have a question about the IE92T and is the answer not in the manual?
Questions and answers