Table of Contents
Advertisement
Quick Links
Advertisement
Table of Contents

Related Manuals for Life Fitness Ab Crunch


Summary of Contents for Life Fitness Ab Crunch
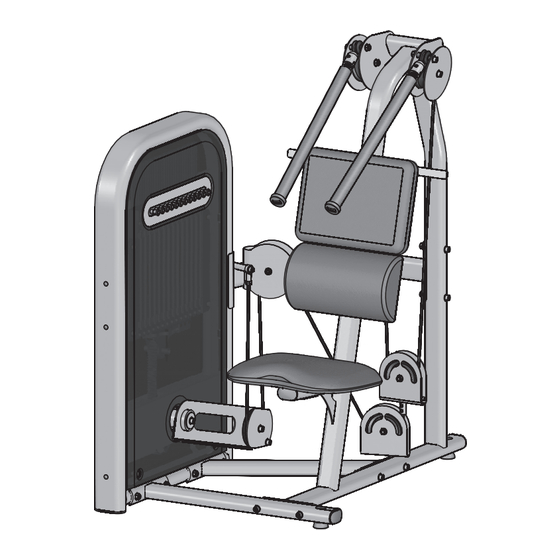
- Page 1 Ab Crunch Assembly Instructions...
-
Page 2: Table Of Contents
Ab Crunch Assembly Instructions Item Description Front Brace Rear Brace Tower M10 x 130mm Bolt 3/8” Flat Washer M10 Nylock Nut Top Brace M10 x 70mm Bolt Seat Frame M10 x 90mm Bolt 4.5” O.D. Pulley Output Cam Output Plate... -
Page 4: M10 X 130Mm Bolt
Ab Crunch Assembly Instructions 1. LOOSELY assemble the FRONT BRACE (1) and REAR BRACE (2) to the TOWER (3) using four M10 X 130mm BOLTS (4), eight 3/8" SAE WASH- ERS (5) and four M10 NYLOCK NUTS (6) as shown. -
Page 5: Front Shroud
5. Assemble the PULLEY (11), OUTPUT CAM (12) and OUTPUT PLATE (13) using two M10 X 50mm BOLTS (14), four 3/8" SAE WASHERS (5) and two M10 NYLOCK NUTS (6) as shown. Tighten the BOLTS and NUTS securely. 6. Assemble the FRONT SHROUD (15) and REAR SHROUD (16) to the TOWER (3) using four M10 X 20mm BOLTS (17), four 3/8"... -
Page 6: Assembly Instructions
Ab Crunch Assembly Instructions 8. Attach the SEAT PAD (20) to the SEAT FRAME (9) using two M10 X 25mm BOLTS (18) and two 3/8" SAE WASHERS (5). Tighten the BOLTS securely. 9. Attach the LUMBAR PAD (21) to the SEAT FRAME (9) using two M10 X 35mm BOLTS (22) and two 3/8"... -
Page 7: V-Groove Pulley
11. Assemble one V-GROOVE PULLEY (26), CABLE BALL STOP (27) and PULLEY PLATE (28) to the SEAT FRAME (9) using two M10 X 75mm BOLTS (29), four 3/8" SAE WASHERS (5) and two M10 NYLOCK NUTS (6) as shown. Repeat for the other side. Tighten the BOLTS and NUTS securely. -
Page 8: Rod End Bearing
BOLT and NUT. Do not overtighten the BOLT. 19. Install HOLE PLUGS in all open bolt holes. 2006 Life Fitness, a division of Brunswick Corporation. All rights reserved. © Life Fitness is a registered trademark of Brunswick Corporation.
Need help?
Do you have a question about the Ab Crunch and is the answer not in the manual?
Questions and answers