Sign In
Upload
Download
Table of Contents
Contents
Add to my manuals
Delete from my manuals
Share
URL of this page:
HTML Link:
Bookmark this page
Add
Manual will be automatically added to "My Manuals"
Print this page
×
Bookmark added
×
Added to my manuals
Manuals
Brands
Graco Manuals
Stroller
Fast Action Fold
Owner's manual
Graco Fast Action Fold Owner's Manual
Hide thumbs
1
2
3
4
5
6
7
8
9
10
11
12
13
14
15
16
17
18
19
20
21
22
23
24
25
26
27
28
page
of
28
Go
/
28
Contents
Table of Contents
Bookmarks
Advertisement
Table of Contents
1
Kickstand
2
Basket Assembly
3
Removing Rear Wheel
4
Child's Tray
5
To Fold Stroller
6
To Attach Graco
7
Infant Car Seat
8
Care and Maintenance
Download this manual
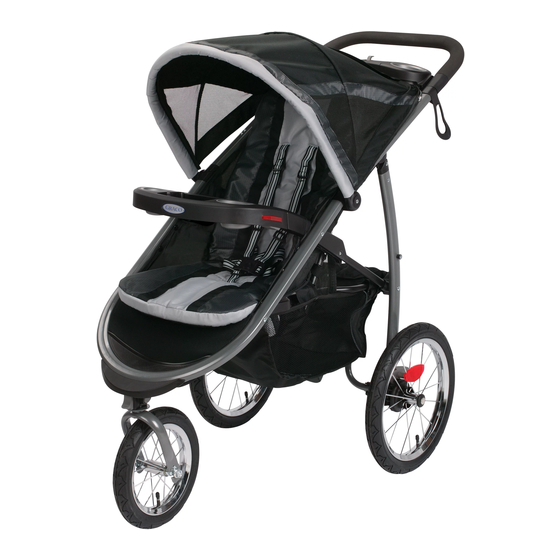
Fast Action Fold
TM
TM
Jogger Click Connect
Owner'
www.gracobaby.com
©2012 Graco PD213968B 10/12
Table of
Contents
Previous
Page
Next
Page
1
2
3
4
5
Advertisement
Table of Contents
Need help?
Do you have a question about the Fast Action Fold and is the answer not in the manual?
Ask a question
Questions and answers
Subscribe to Our Youtube Channel
Related Manuals for Graco Fast Action Fold
Stroller Graco FastAction Fold Duo Click Connect Owner's Manual
Fastaction fold duo click connect (32 pages)
Stroller Graco FastAction Fold Duo LX PD278921A Owner's Manual
(36 pages)
Stroller Graco Fast Action Fold Jogger Click Connect Owner's Manual
Fast action fold jogger click connect (124 pages)
Stroller Graco Fast Action Fold Jogger Click Connect Owner's Manual
(136 pages)
Stroller Graco FastAction Fold Sport Click Connect Owner's Manual
(124 pages)
Stroller Graco FastAction Fold Sport Click Connect Owner's Manual
(28 pages)
Stroller Graco FastAction Fold Owner's Manual
(120 pages)
Stroller Graco FastAction Fold Owner's Manual
(32 pages)
Stroller Graco FastAction Fold Owner's Manual
(28 pages)
Stroller Graco FastAction Fold Owner's Manual
(32 pages)
Stroller Graco FastAction Fold Classic Connect Owner's Manual
(32 pages)
Stroller Graco FAST ACTION FOLD JOGGER XT Owner's Manual
(192 pages)
Stroller Graco FASTACTION JOGGER LX Owner's Manual
(53 pages)
Stroller Graco FastAction SE Owner's Manual
(36 pages)
Graco FastAction SE Manual
(article)
Stroller Graco FASTACTION FOLD DLX Owner's Manual
(40 pages)
This manual is also suitable for:
Jogger click connect
Table of Contents
Print
Rename the bookmark
Delete bookmark?
Delete from my manuals?
Login
Sign In
OR
Sign in with Facebook
Sign in with Google
Upload manual
Upload from disk
Upload from URL


Need help?
Do you have a question about the Fast Action Fold and is the answer not in the manual?
Questions and answers