Advertisement
Quick Links
Installation Guide
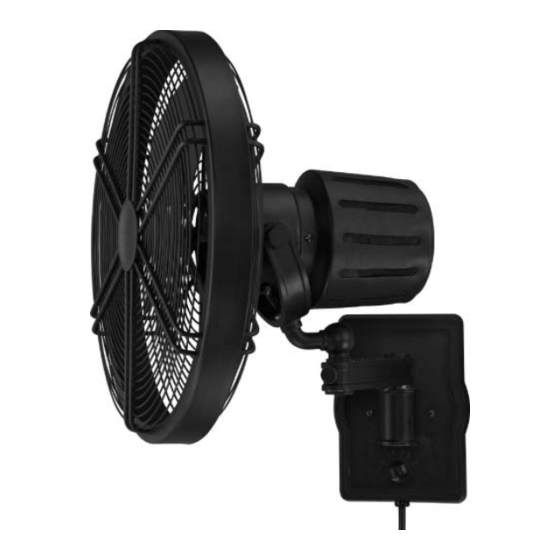
For Models:
FAR14ABZ3W
FAR14BNK3W
Damp Location
E3171583
net weight of fan: 17.55 lb (7.96 kg)
READ THESE INSTRUCTIONS AND
SAVE THEM FOR FUTURE USE
Table of Contents:
Safety Tips. pg. 1
Unpacking Your Fan. pg. 2
Parts Inventory. pg. 2
Installation Preparation. pg. 3
Installation of Fan. pgs. 4 - 5
Wiring. pg. 5
Testing Your Fan. pg. 6
Troubleshooting. pg. 6
Warranty. pg. 6
Parts Replacement. pg. 6
PRINTED IN CHINA
Advertisement

Related Manuals for Ellington FAR14ABZ3W


Summary of Contents for Ellington FAR14ABZ3W
-
Page 1: Table Of Contents
READ THESE INSTRUCTIONS AND SAVE THEM FOR FUTURE USE Installation Guide For Models: FAR14ABZ3W FAR14BNK3W Table of Contents: Safety Tips. pg. 1 Unpacking Your Fan. pg. 2 Parts Inventory. pg. 2 Installation Preparation. pg. 3 Installation of Wall Bracket. pgs. 3 - 4 Installation of Fan. -
Page 2: Safety Tips
SAFETY TIPS. WARNING: To reduce the risk of electrical shock, turn off the electricity to the fan at the main fuse box or circuit panel before you begin the fan installation or before servicing the fan or installing accessories. READ ALL INSTRUCTIONS AND SAFETY INFORMATION CAREFULLY BEFORE INSTALLING YOUR FAN AND SAVE THESE INSTRUCTIONS. -
Page 3: Unpacking Your Fan
1. Unpacking Your Fan. Carefully open the packaging. Remove items from Styrofoam inserts. Remove motor housing and place on carpet or Styrofoam to avoid damage to finish. Do not discard fan carton or Styrofoam inserts should this fan need to be returned for repairs. -
Page 4: Installation Preparation
3. Installation Preparation. To prevent personal injury and damage, ensure that the hanging location allows the fan a clearance of 7 feet (2.13m) from the floor to 7 feet prevent accidental contact with the fan blades. (2.13m) This fan can only be mounted on an indoor wall or on an enclosed porch or enclosed patio wall. -
Page 5: Installation Of Fan. Pgs
stud 4. Installation of Wall Bracket. (cont.) stud First determine the approximate position of 1/4" pilot holes where you want the fan to be located on the (6.5mm) wall. [Remember that the fan must be mounted mounting at least 7 feet (2.13m) from the floor.] Then, hole locate the stud in the wall. -
Page 6: Wiring
5. Installation of Fan. (cont.) assembly After you have assembled the fan assembly to adjustable screw the wall bracket, partially insert 2 Allen screws, provided in one of hardware packs, into 2 Allen screw holes located in the front of wall bracket. Tighten the Allen screws with the Allen wrench provided in one of the hardware packs. -
Page 7: Testing Your Fan
LOW ("L"). If fan does not function to arrange for return of fan. Return fan, shipping prepaid, to Craftmade/Ellington. We will repair or ship you a properly, please refer to "Troubleshooting" replacement fan, and we will pay the return shipping cost.