Advertisement
Quick Links
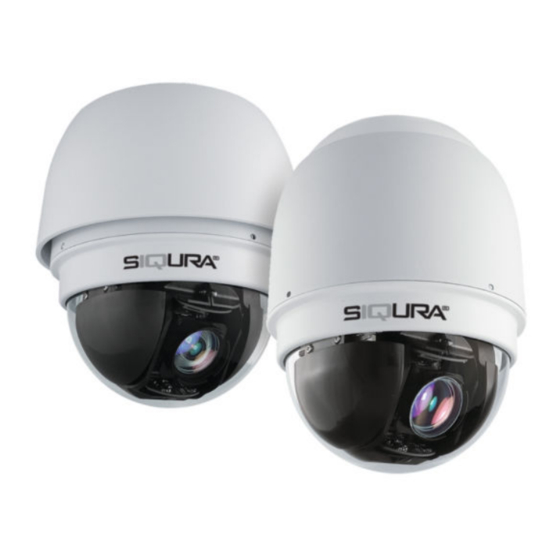
Siqura HSD820 Series
High-speed 1080p PTZ dome camera series
Quick Start Guide
Unpack
Figure 1 Outdoor camera package contents
Dome camera with
Waterproof
White rubber ring
outdoor mount kit
boot
Siqura
Quick Start Guide
Optical
Security
Product CD
and two leaflets
cover
torx
Camera body
Hard ceiling
M4 screws (5x)
mount
and anchors (5x)
Note: Subject to modification. Actual product and accessories may differ in appearance.
Note: You can order wall mounts separately.
Outdoor camera mounting requirements
Use one of two types of Siqura mounts to install an outdoor HSD820 on a wall:
WM01A Mini Wall Mount
WM07 Long Wall Mount
Figure 5 WM01A Mini Wall Mount
Figure 6 WM07 Long Wall Mount
The mini wall mount and the long wall mount can be installed
onto a box mount if extra space for the cables is required.
Outdoor installation requires the following items:
Dome camera
Supplied waterproof boot
Wall mount (optional accessory)
Screws and screw anchors
Figure 7 WM06 Wall Box Mount
Screwdriver and drill
© Siqura B.V. 2015
Version 2.1 (132101-2a)
HSD820 QSG (MW10)
To wire the camera, use the images showing the positions of the switches and
connectors (below) and the cable pin definition diagrams (next section).
M3 & M5 screws
Lubricant
Terminal
RJ-45 and SFP
block (2x)
connectors
Figure 3 Indoor model
Connector
A
Figure 2
B
Indoor camera
M3 & M5
package contents
screws
C
D
E
F
Prepare outdoor camera for installation
To prepare the HSD820 for installation
1.
Remove the outdoor tube adaptor by rotating counter clockwise (figure 8a).
2.
Rotate to remove the protective cover.
3.
Make a note of the IP address on the label attached to the cylindrical heat sink.
4.
Remove the PE cloth and take off the lens cap.
5.
Generously apply the supplied lubricant to the optical cover's waterproof boot to
ensure an IP66 quality installation (figure 8b).
6.
Loosen the screw head alignment pins on the dome cover by turning clockwise
and line up the alignment pin and screws on the optical cover with the holes in
the dome body.
7.
Attach the optical cover to the dome body by pressing gently down on the sides
of the dome cover (figure 8c).
8.
Turn the screw head alignment pins counter-clockwise with a suitable
screwdriver to lock the dome into place and secure the dome with the included
Phillips-head or TORX screw.
Figure 8a/b/c Remove the outdoor tube adaptor (left). Lubricate the optical cover's
waterproof boot (centre). Attach the optical cover to the dome body (right).
Switches and connectors
Figure 4 Outdoor model
Definition
See accompanying leaflets: "Install the
RJ-45 / SFP connector
HSD820H2/H3 network connector" and
Alarm I/O
"Safety Instructions"
Power
Micro-SD Card Slot
Factory reset button
Table 1 Connector definition
Audio I/O
www.siqura.com
www.tkhsecurity-usa.com
Connector pin definition
It is necessary to configure the power, alarms, and audio before connecting
the dome camera to other devices. The switches used for configuring these
settings are located on the bottom of the camera. The indoor and outdoor
models have slightly different configurations, but these connectors are in
approximately the same place on each camera.
Connect the power core through the
Use the pin definition below to set up
supplied power adapter.
audio.
Pin
Definition
1
AC 24_1
2
FG
3
AC 24_2
Table 2 Connector C - Power
Use the pin definition
Pin
Definition
on the right to set up
1
ALARM_OUT_NO_1
Alarm I/O.
2
ALARM_OUT_NC_1
3
ALARM_OUT_COM_1
4
GND
5
ALARM_OUT_NO_2
6
ALARM_OUT_NC_2
Table 4 Connector B – Alarm I/O
Install outdoor camera with wall mount
Installation requires the following tools:
Dome camera
Supplied waterproof boot
Wall mount
Figure 9
Screws and screw anchors
Mini wall mount
Screwdriver and drill
To mount the outdoor HSD820 with a wall mount
1.
Make a hole in the wall or metal access plate for the cables and secure the
supplied cable gland in the wall.
2.
Ensure that the weather resistant gasket is correctly attached to the mount.
3.
Thread the cables through the wall mount and screw it onto the wall.
4.
Attach the waterproof boot to the wall mount.
5.
Thread the cables through the outdoor tube adaptor and fix it to the wall mount
with the supplied screws and washers.
6.
Clip the safety wire to the dome camera.
7.
To keep insects out, block the cable entry hole with the supplied sponge.
8.
Connect the cables to the dome camera.
9.
Attach the dome to the outdoor tube adaptor and fasten them together with the
supplied screws.
Fully torque down the mounting bolt that attaches the
Warning:
WM02 tube adapter to the mounting bracket to prevent any
movement of the camera due to wind, vibration, etc. Make sure
the camera cannot move at all in its bracket after installation. Any
movement of the camera in its bracket can compromise positional
accuracy.
Pin
Definition
3
LINE_IN
2
GND
1
LINE_OUT
Table 3 Connector F - Audio
Pin
Definition
7
ALARM_OUT_COM_2
8
GND
9
VIDEO_GND
10
VIDEO_OUT
11
ALARM_IN_2
12
ALARM_IN_1
Advertisement

Related Manuals for Siqura HSD820 Series


Summary of Contents for Siqura HSD820 Series
-
Page 1: Quick Start Guide
Outdoor camera mounting requirements Prepare outdoor camera for installation Install outdoor camera with wall mount Use one of two types of Siqura mounts to install an outdoor HSD820 on a wall: To prepare the HSD820 for installation Installation requires the following tools: ... - Page 2 When prompted about an ActiveX control installation, right-click the information bar, and then click Install ActiveX control. This installs Siqura Viewer, an add-on required to view camera images in the webpages. Make sure that ActiveX controls are enabled in your web browser.
Need help?
Do you have a question about the HSD820 Series and is the answer not in the manual?
Questions and answers