Advertisement
Quick Links
Advertisement

Subscribe to Our Youtube Channel
Related Manuals for Belling MK2


Summary of Contents for Belling MK2
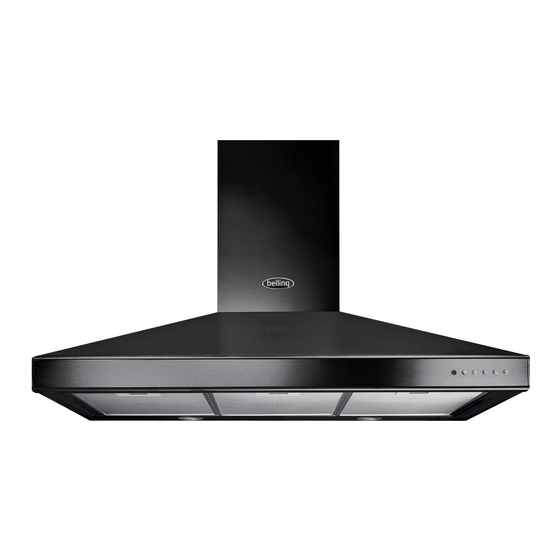
- Page 1 Belling Cooker Hood User Manual...
-
Page 2: Table Of Contents
Belling Customer Care........ -
Page 3: Introduction
Introduction Thank you for buying this high quality hood from Belling, we hope it makes Installation and attractive and useful addition to This appliance has been designed for your kitchen. use as an exhausting (air evacuation Our policy is one of constant to the outside) or filtering (indoor air development and improvement. -
Page 4: Using The Hood
Using the Hood Important safety notes • Keep hob rings covered with pans when switched on to avoid damaging the hood. The use of an unprotected flame can cause a fire Lamp – Turn on/off light; hazard. Do not • flambé... - Page 5 Care & Cleaning Before cleaning or maintenance, The grease filters should be removed switch off the electricity supply. and cleaned regularly - with normal Replacing a light bulb use, this should be every 2 months. 1. Switch the unit off and unplug the To clean use warm soapy water, or appliance.
-
Page 6: Prepare For Installation
Installation Prepare for installation: a. If you have an outlet to the outside, your cooker hood can be connected as below picture by means of an extraction duct (enamel, aluminium, flexible pipe or inflammable material with an interior diameter of 150mm) b. -
Page 7: Installation (Vent Inside)
Installation 1 Installation (Vent outside): Attention! Observe the warning in the instruction sheet concerning the operation of the appliance when air is discharged from the room. When the range hood and appliance supplied with energy other than electricity are simultaneously in operation, the negative pressure in the room must be not exceed 4 Pa (4×10 Bar) Drill 3 x 8mm holes to accommodate the bracket. - Page 8 Installation Chimney installation. 2.1 For Flat chimney, Put the upper chimney into lower chimney .Then pulling out the upper chimney upwards. Adjust to reach the height required. Sliding the chimney to adjust the chimney height. When the height you ...
- Page 9 Installation 2.2 For chimney hood By put the inner chimney into upper chimney. Then pulling out the upper chimney upwards. Adjust to reach the height required. Fix the lower chimney with 2 pcs of 4x8mm screws.
- Page 10 Installation Sliding the chimney to adjust the chimney height. When the height you required is reached, then fix 2 pcs of 4x8mm screws onto the hole fixing with plate I as showed in below pictures. Drill 2 x 8mm holes to accommodate the plate II. Screw and tighten the plate II onto the wall with 2 screws provided.
-
Page 11: Installation (Vent Inside)
Installation 2pcs ST4x8mm screws to attach lower and upper chimney together, do upper decorative chimney not fasten screws too much, make sure can be telescopically adjusted after assembled. Upper decorative chimney (Inner) Lower Chimney bracket Lower decorative chimney (Outer) Installation (Vent inside) NOTE: Carbon Filter not supplied, these can be purchased as an accessory If you do not have an outlet to the outside, exhaust pipe is not required and the... - Page 12 Installation Plug the activated carbon filter into the unit and turn it in clockwise direction. Repeat the same on the other side. NOTE: Make sure the filter is securely locked. Otherwise, it would loosen and cause dangerous. When activated carbon filter attached, the suction power will be lower. Remove all blue protective film on chimney and cooker hood, the installation is now finished.
-
Page 13: Technical Data
Technical Data Electricity supply 230 - 240V ~ 50Hz Classification class I Noise level (External Venting) Position 3 54 dBA Position 2 47 dBA Position 1 40 dBA Light bulbs 2 x 1.5W LED Please make sure you follow the instructions for replacing light bulbs carefully and always make sure you use the correct bulb type. -
Page 14: Belling Customer Care
Belling Customer Care Please keep this handbook in a safe place. Please fill in the model number and serial number in the spaces provided below as they will assist us should you need to call. 0844 815 3746 When you dial this number you will hear a recorded message and be given a number of options.
Need help?
Do you have a question about the MK2 and is the answer not in the manual?
Questions and answers