Advertisement
Table of Contents
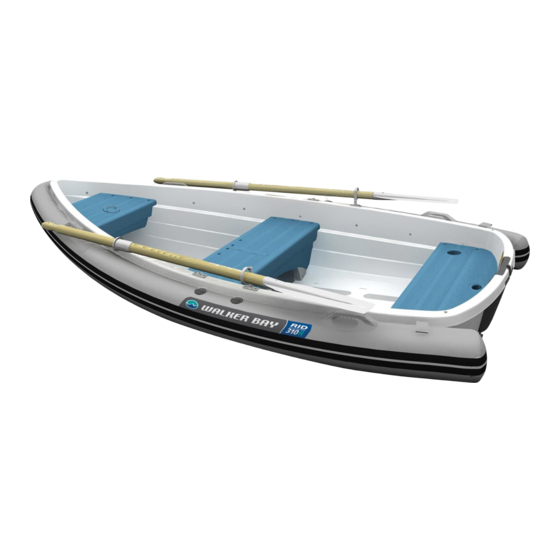
RID
:310R, 310H Assembly Instructions
™
Toll Free Phone (U.S.A & Canada) 1-888-44WALKER (449-2553) or 604-682-5699 Fax (U.S.A & Canada) 1-888-228-7222 or 604-683-1877
Walker Bay Boats Inc. 717 Butterfield Rd, Yakima, WA 98901, USA
web: www.walkerbay.com email: info@walkerbay.com
RID Kit Part #91711,91710,91712 Instruction Book Part #14032 Rev #SR.01.16.06
PARTS LIST
(Specifications and contents subject to change without notice)
Description
A. RID Track .........................................................
B. RID Tube
310R: ......................................................................
310H: ......................................................................
C. Davit Lifting Eyebolts (with washer & nut) .......
D. Pump ...............................................................
E. Repair Kit (with valve wrench) .........................
F.
Capacity Plate .................................................
G. Robertson Screw Bit or Driver #2 ....................
®
Part #
#17327
#17341
#17358
#21021
#91601
#975000
#10054
#11068
Advertisement
Table of Contents

Related Manuals for Walker Bay 310R


Summary of Contents for Walker Bay 310R
-
Page 1: Parts List
G. Robertson Screw Bit or Driver #2 ....#11068 Walker Bay Boats Inc. 717 Butterfield Rd, Yakima, WA 98901, USA Toll Free Phone (U.S.A & Canada) 1-888-44WALKER (449-2553) or 604-682-5699 Fax (U.S.A & Canada) 1-888-228-7222 or 604-683-1877 web: www.walkerbay.com email: info@walkerbay.com... - Page 2 RID TRACK ASSEMBLY INSTRUCTIONS NOTE: TOOLS AND EQUIPMENT: Before you begin the installation process, make sure your boat hull is completely A 7/16” Nut Driver to remove seat bolts. One was supplied with your boat and its stabilized. The boat should not be able to move freely in any direction. assembly instructions.
- Page 3 Step 4: Reinstall screws into gunwale cap. Step 5: Insert track into gunwale with the DO NOT TIGHTEN COMPLETELY capped end facing the bow of the boat. Step 6: Reinsert gunwale cap into the gunwale Step 7: Reinstall screws into gunwale cap, hand tighten with the track firmly against the hull of the boat.
- Page 4 Repeat steps 1-7 on Starboard (other) side of boat. Step 9: Insert bow gunwale cap unto the gunwale, insert screws and hand tighten until snug. DO NOT OVER TIGHTEN SCREWS Step 10: Remove 2 seat bolts from the bow and stern seats.
- Page 5 TUBE INSTALLATION INSTRUCTIONS NOTE: If alone, try sliding tube on with boat upside down. Before you begin the installation process, make sure your boat hull is completely stabilized. The boat should not be able to move freely in any direction. Partially inflate tube (1/4 full) and apply liquid soap and water to track runner on tube to help feed tube into track with greater ease.
- Page 6 Using wrench provided in repair kit, hand tighten each valve. DO NOT OVER TIGHTEN VALVE. Inflate chambers in sequence shown until wrinkles disappear. Peel backing from capacity plate and apply new plate on inside of the stern, over top of existing plate. WARNING TUBE PROVIDES FLOTATION AND STABILITY.
- Page 7 For longterm or winter storage you may remove the tube. Apply 303 Aerospace Protectant at least once per season to protect tube from UV (ultra violet) rays. Walker Bay® recommends 303 because it is free If you store the boat with the tube attached you must release some air...
- Page 8 For large tears or repairs to seams or bulkheads it is recommended that tube and the patch. Wait 5 minutes between each coat. the tube be returned to Walker Bay® or your dealer for repair by a trained professional. Contact Walker Bay® customer service for return 5.
Need help?
Do you have a question about the 310R and is the answer not in the manual?
Questions and answers